Meal prep boxes make it easy to plan weekly meals, save time in everyday life, and create calm in the kitchen. When you choose fixed sizes, clear placement, and a simple system, it becomes easier to maintain an overview and use what you have prepared. Below, you'll find concrete tips for choosing boxes, organizing them in the refrigerator, and small habits that will make your system last.
Glass meal prep boxes for everyday use
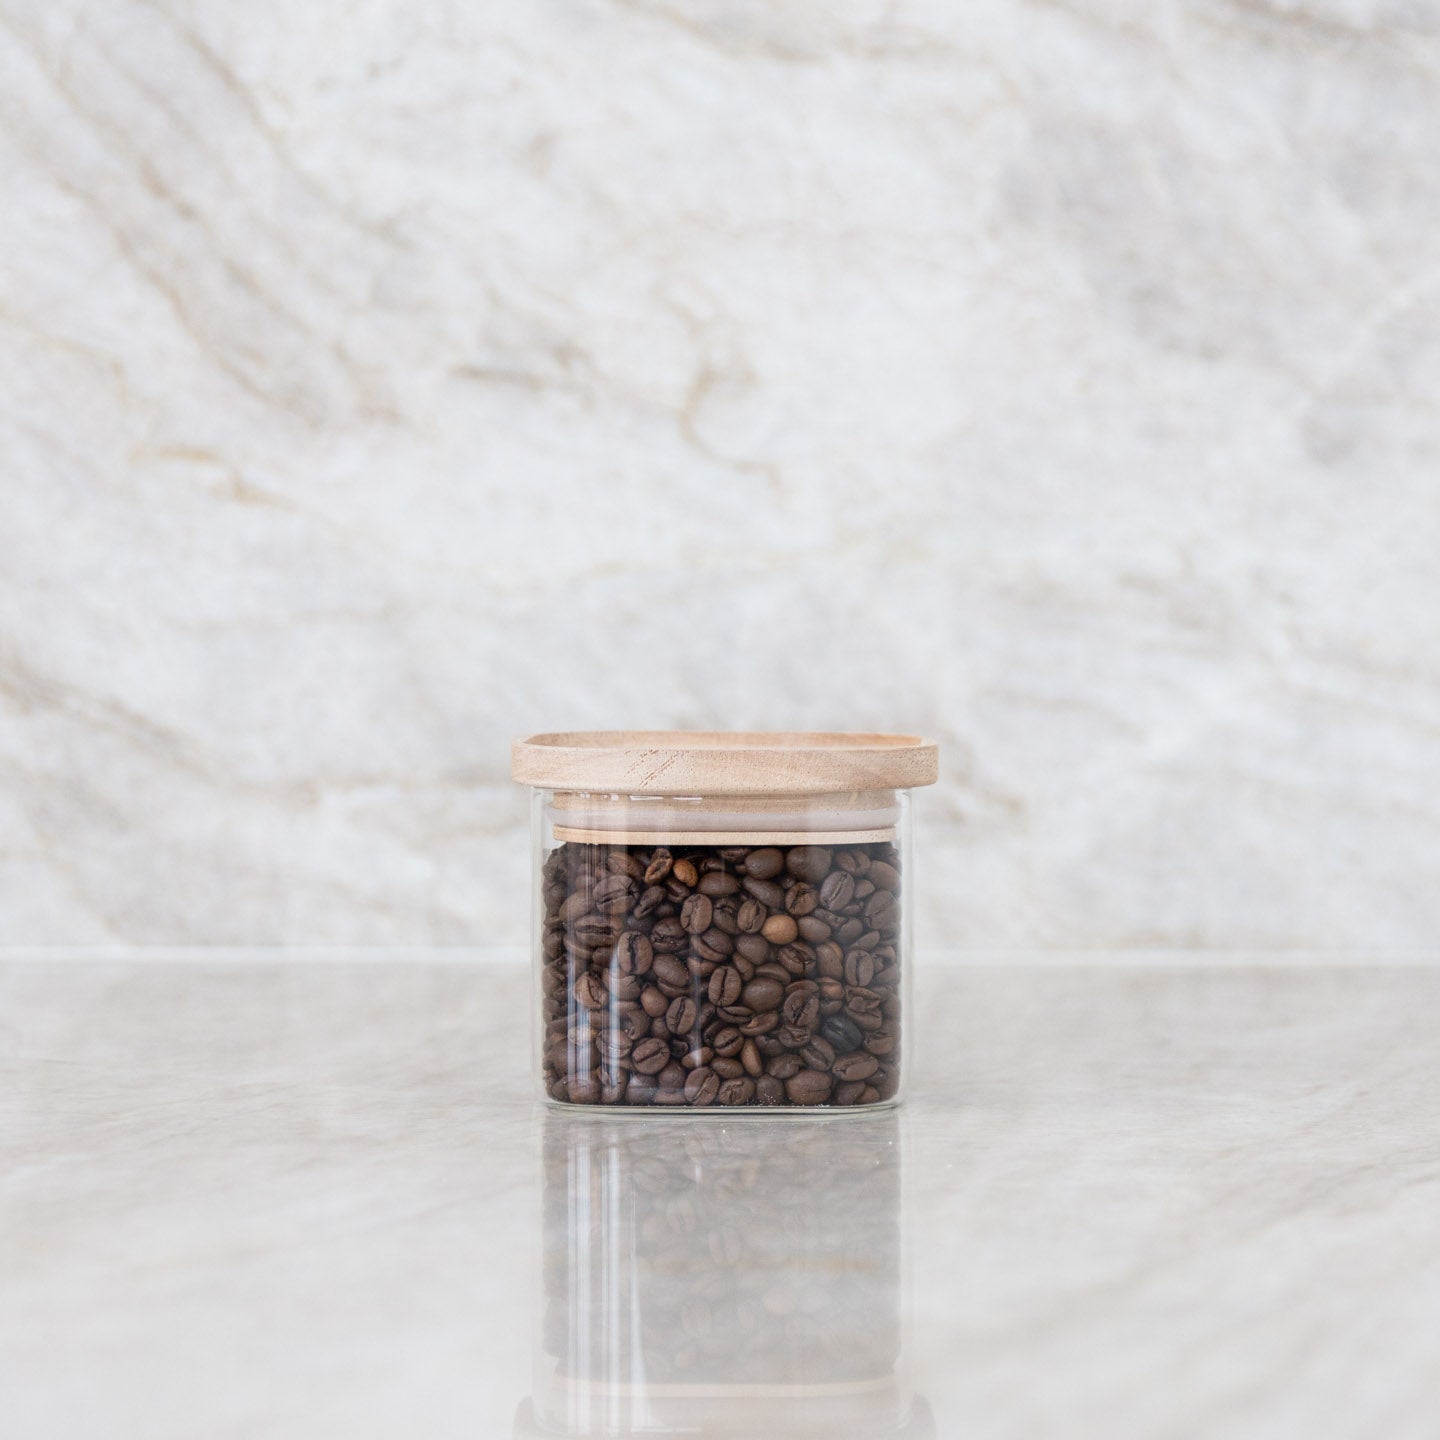
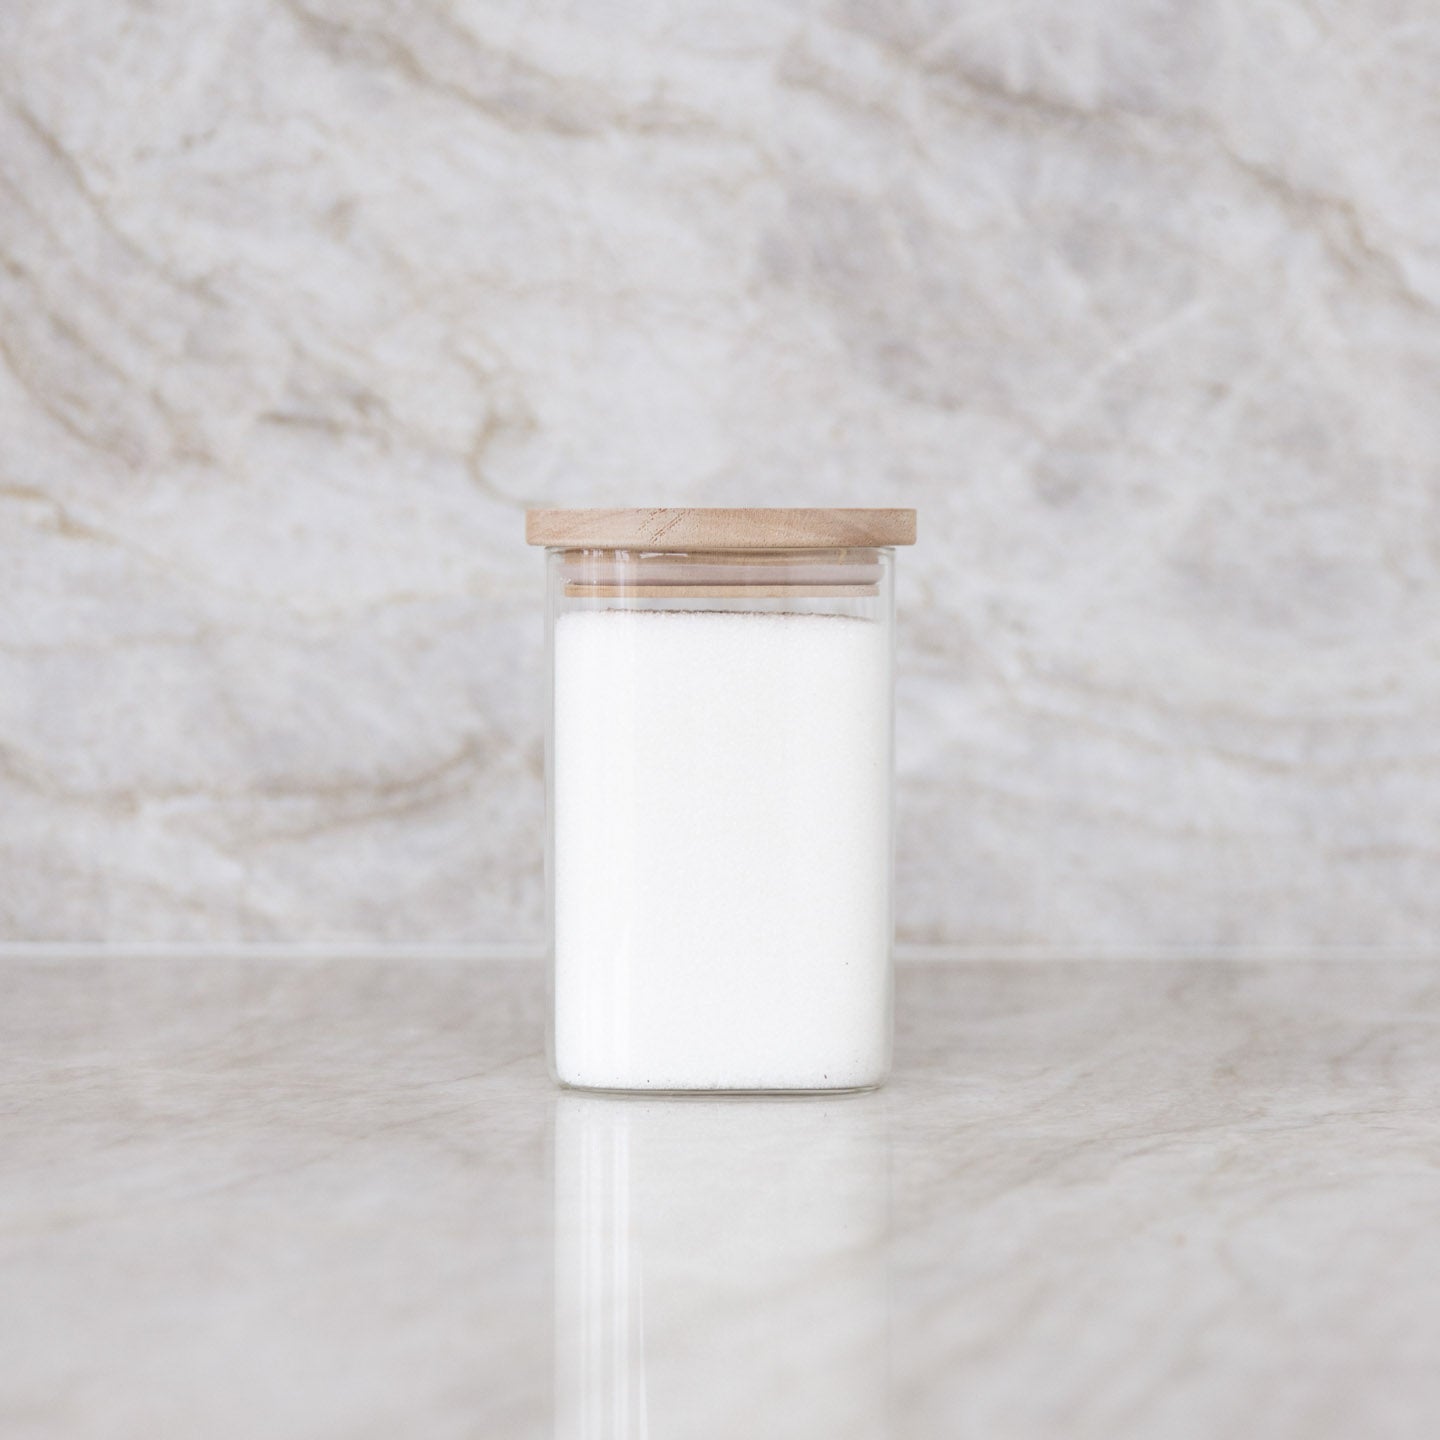
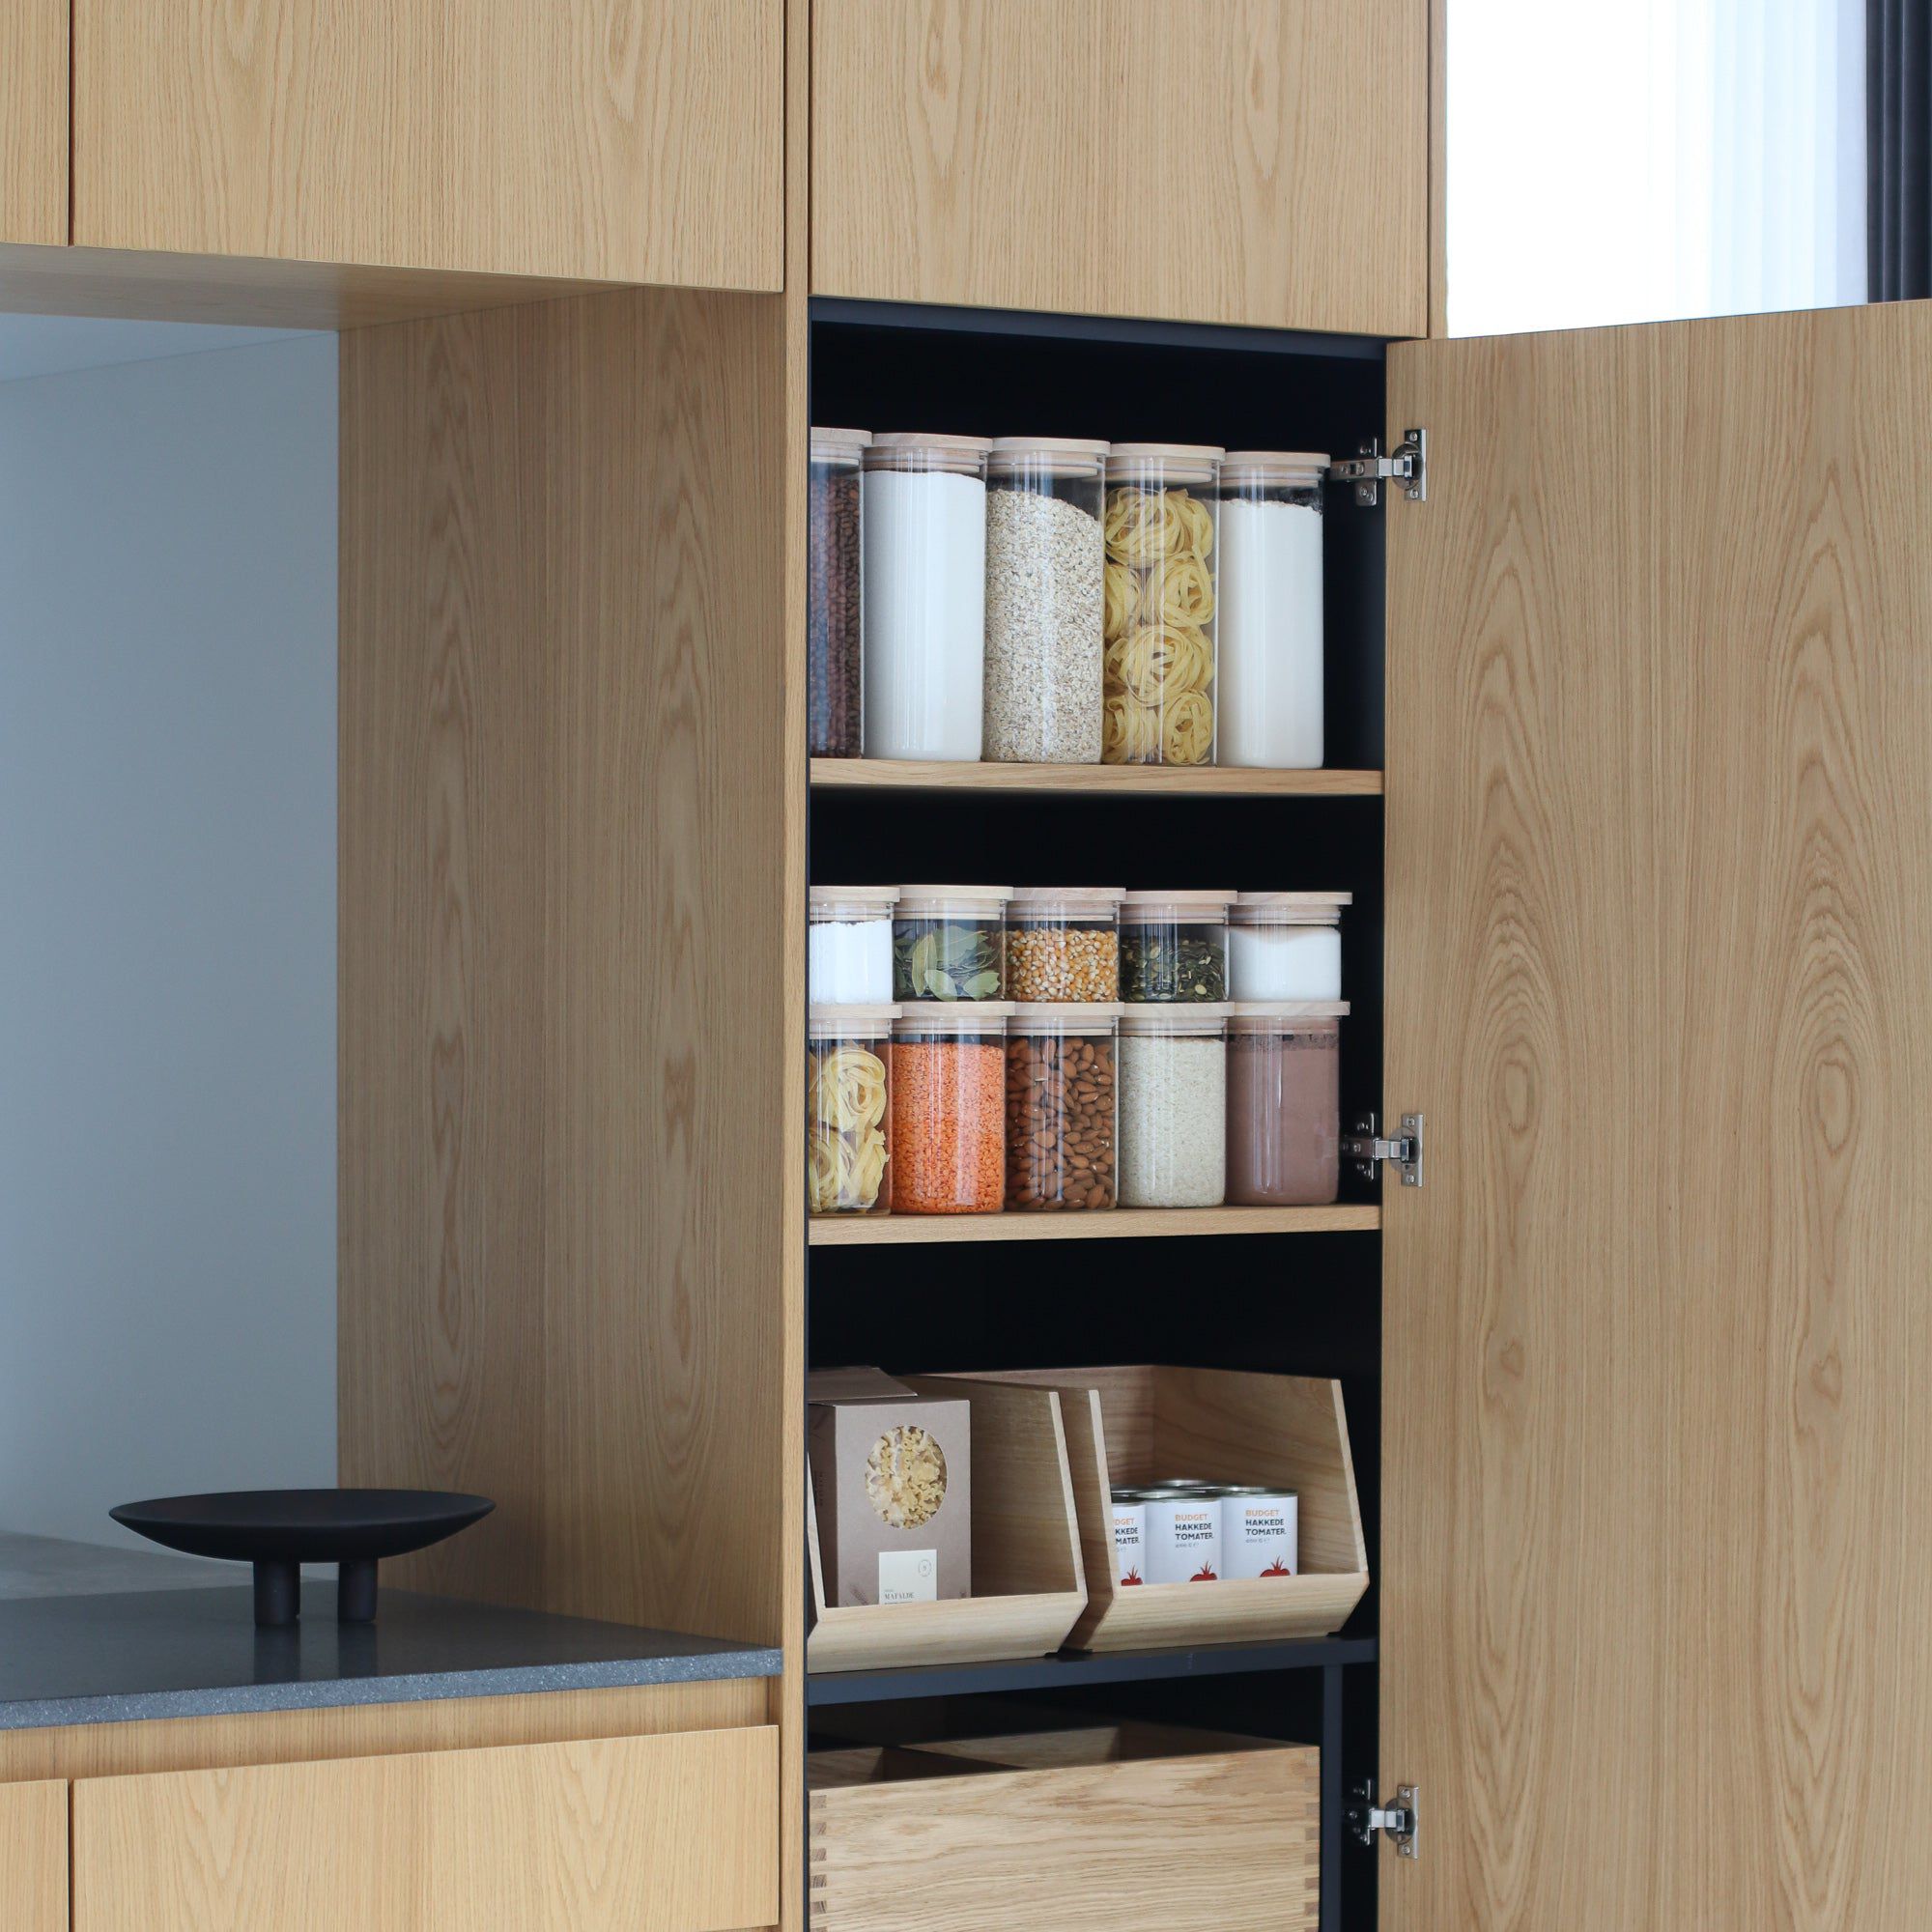
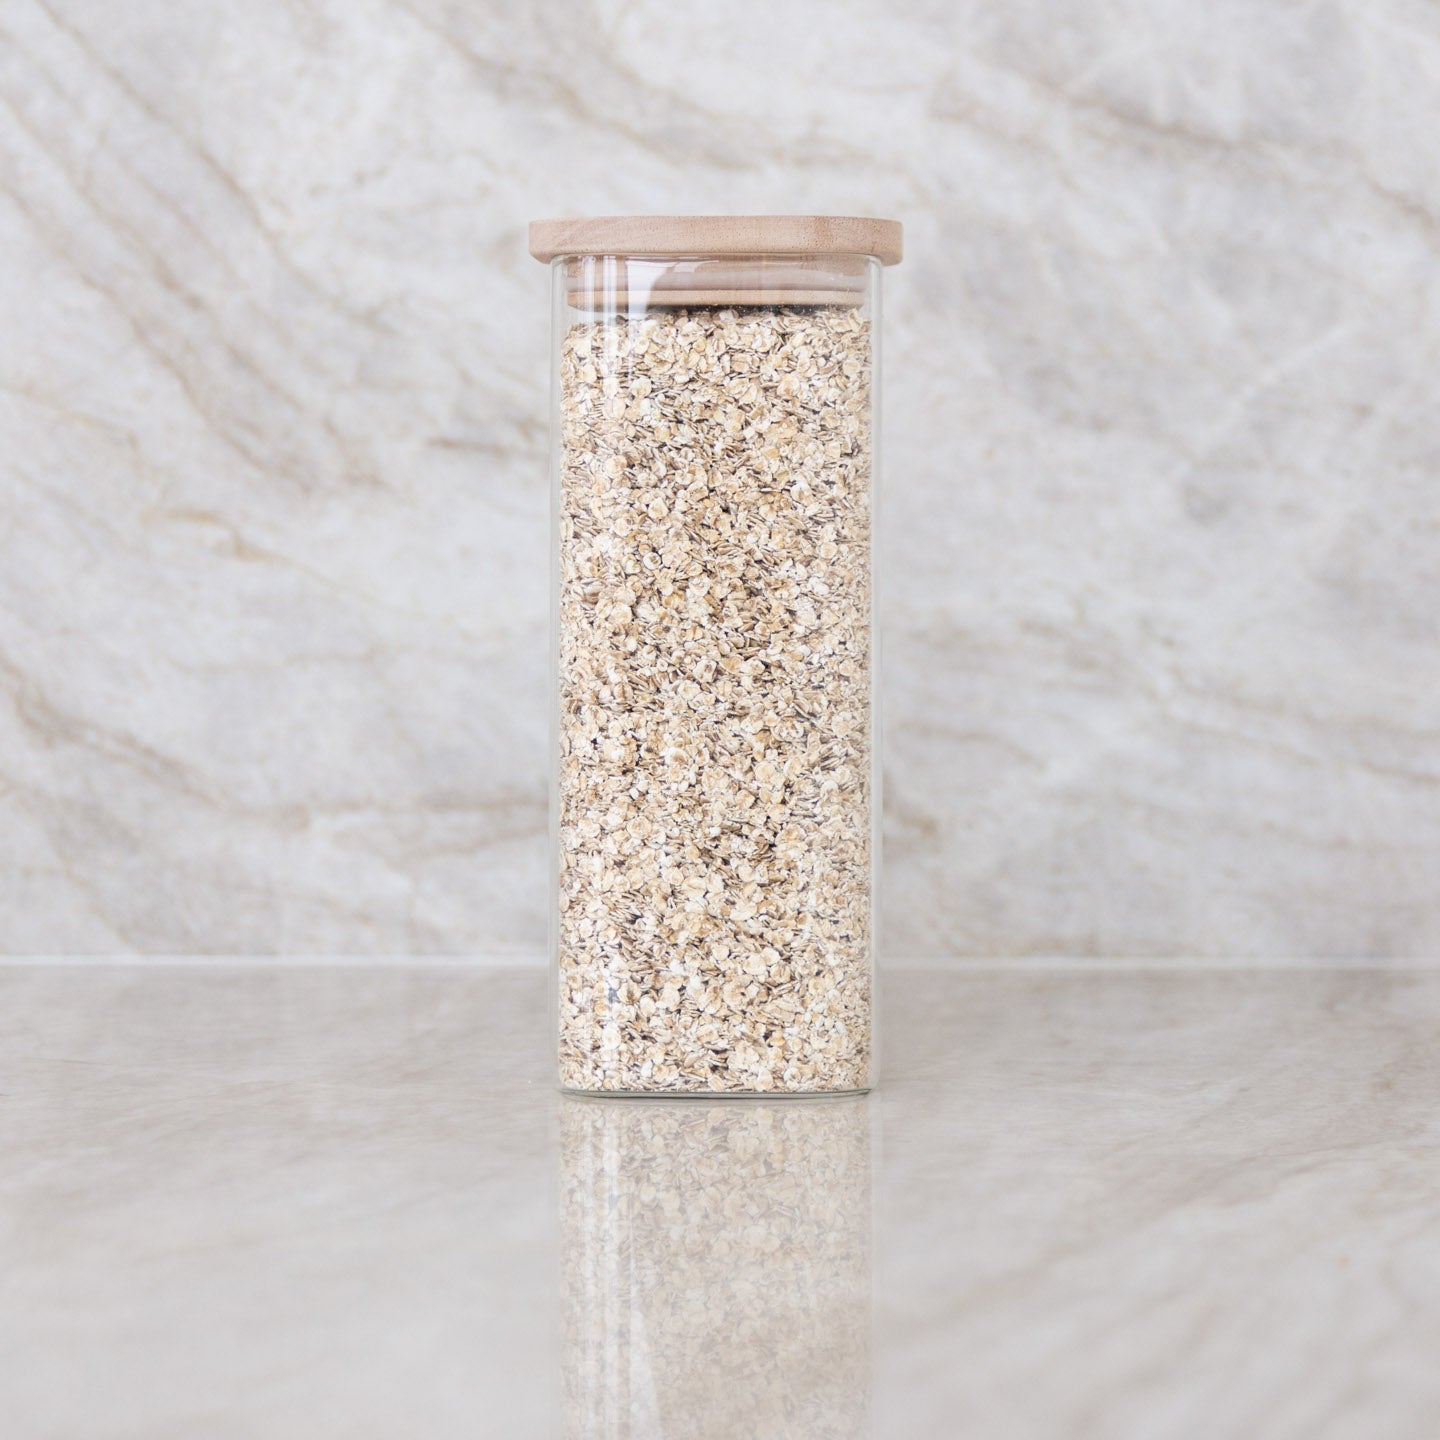
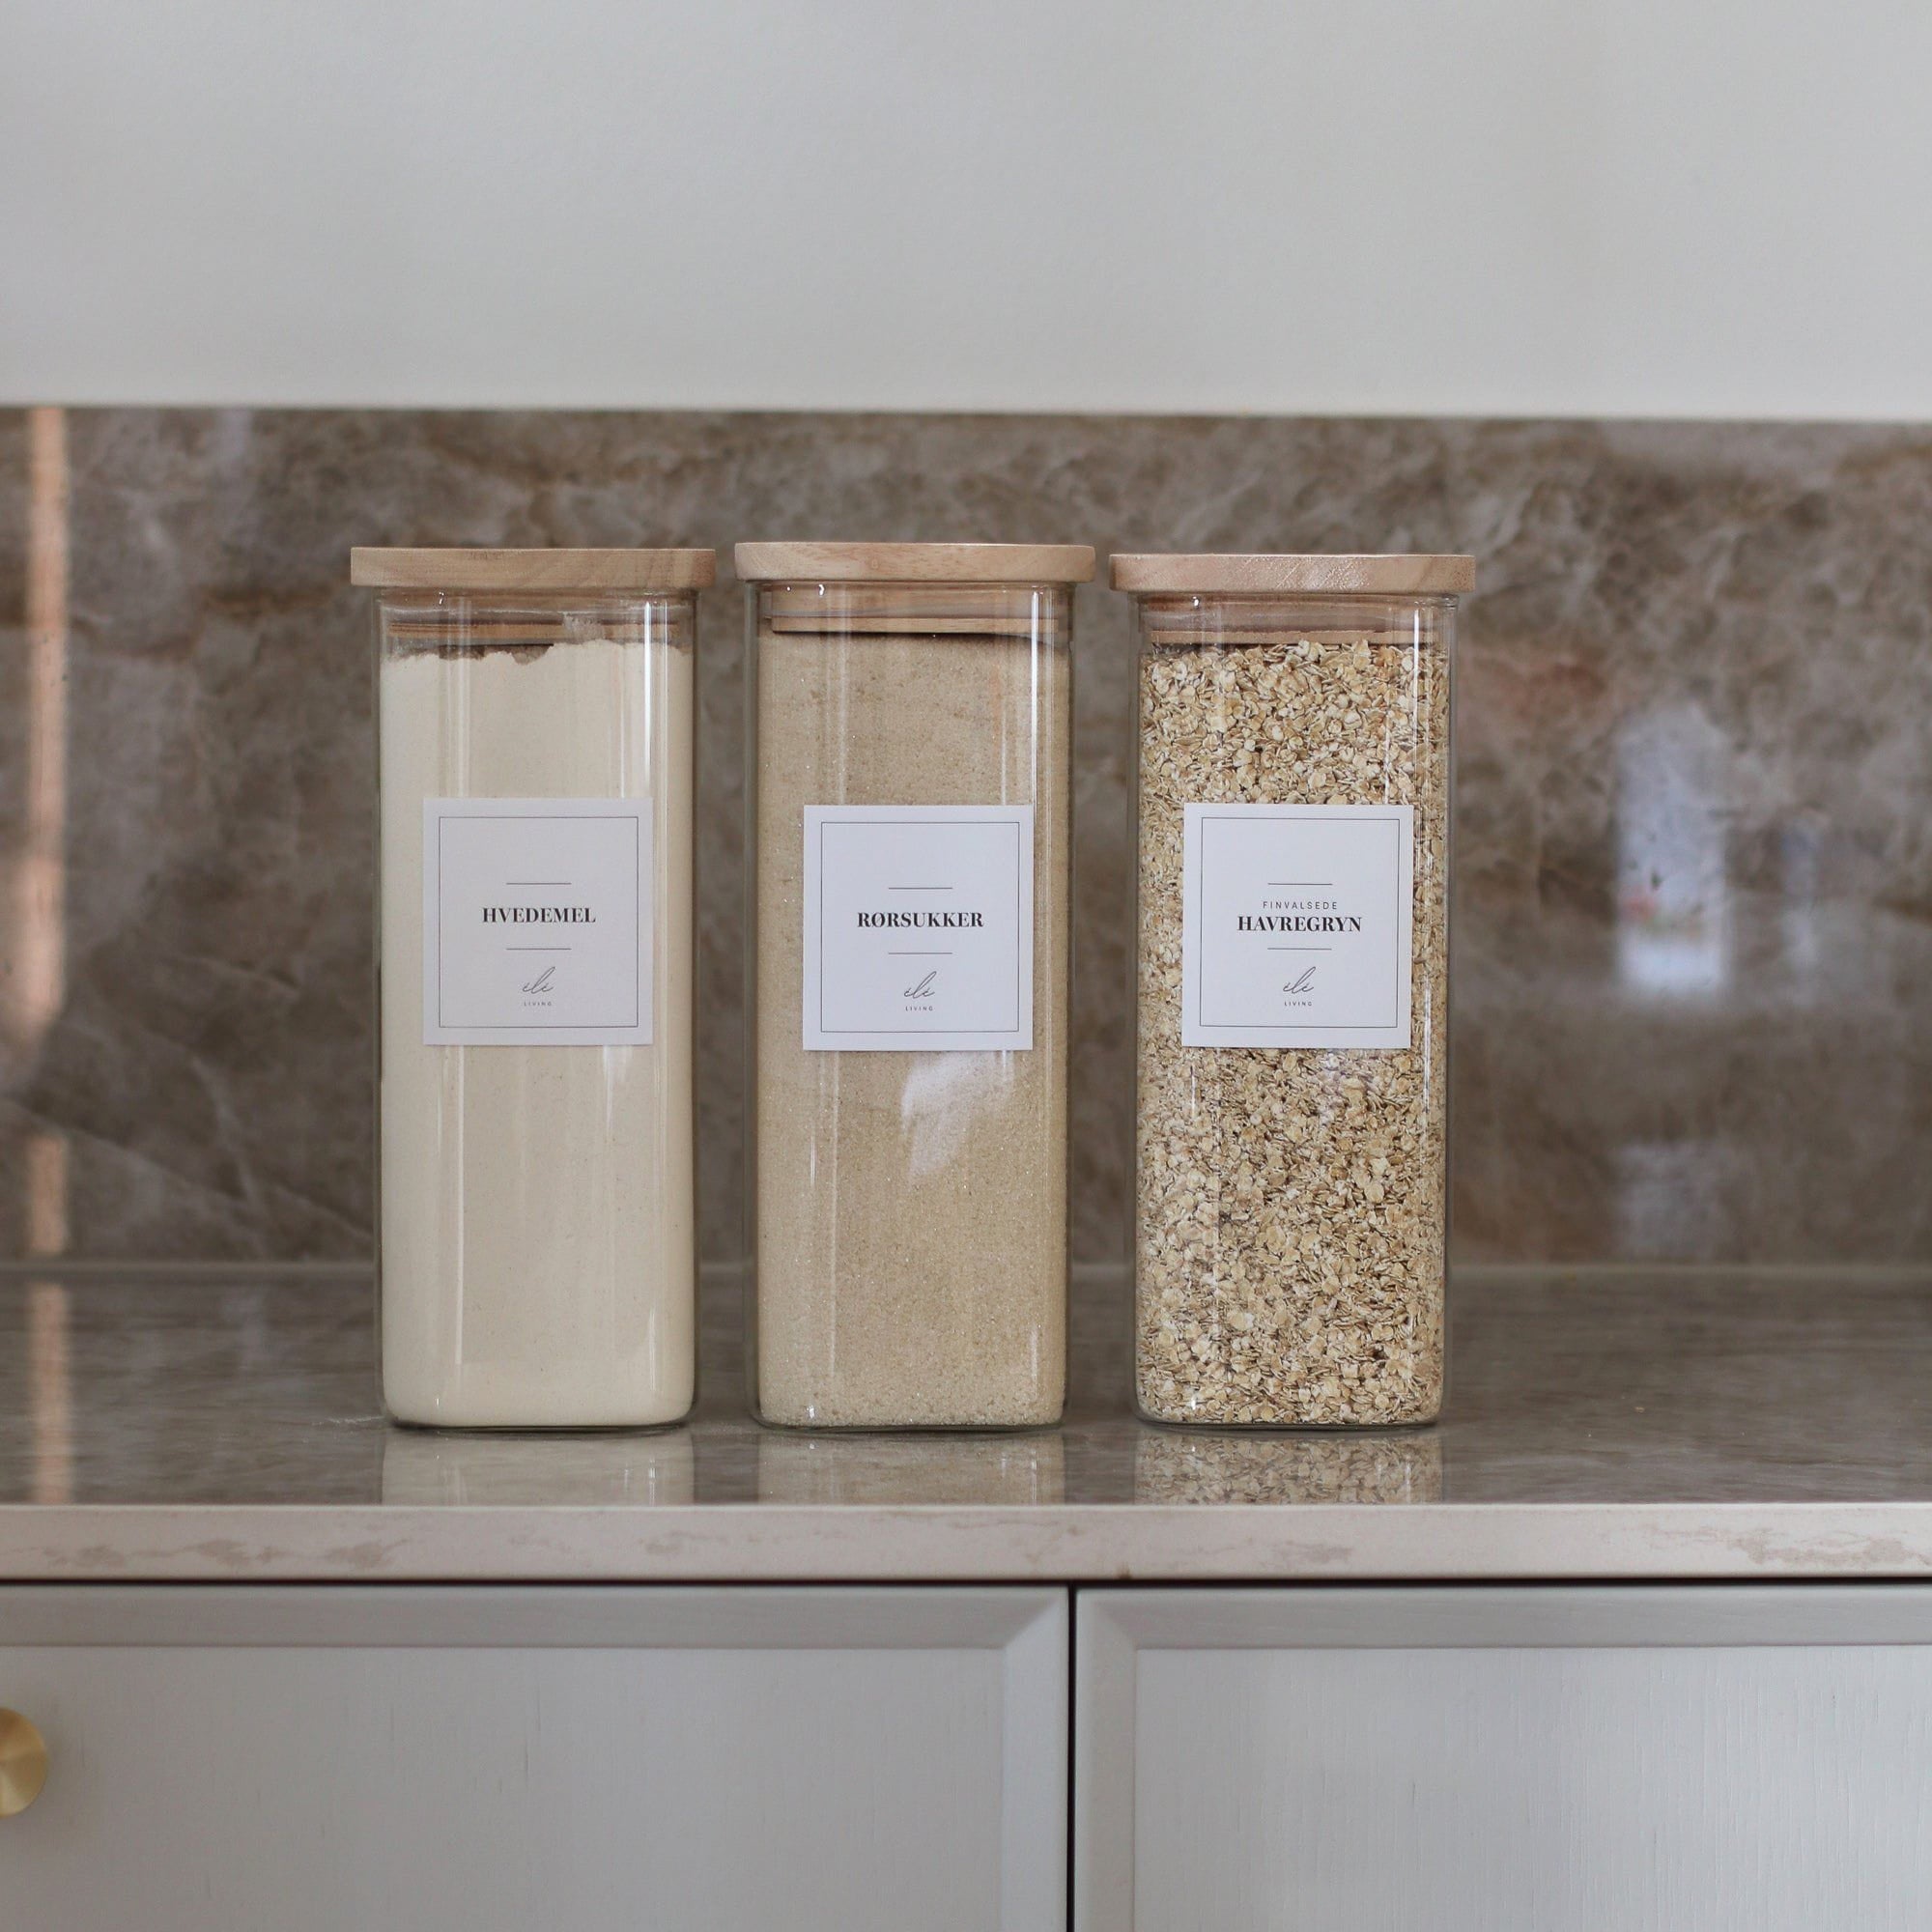
Glass boxes are practical for portions of salads, vegetable sticks, grains, proteins, and ready meals. Choose a set with recurring sizes so you can stack identical ones on top of each other and quickly see what's ready for today. A good starting point is to use a combination of smaller, medium, and larger portions so that both lunch and dinner are covered. An example is glass food storage boxes 3-pack, which gives you three functional sizes for everything from sides to entire meals.
How to choose sizes
- Small box: Chopped vegetables, snacks, nuts, or side dishes.
- Medium box: Lunch portion with salad, pasta, or grains mixed with greens.
- Large box: Dinner for one or two, e.g., baked vegetables and proteins stored separately.
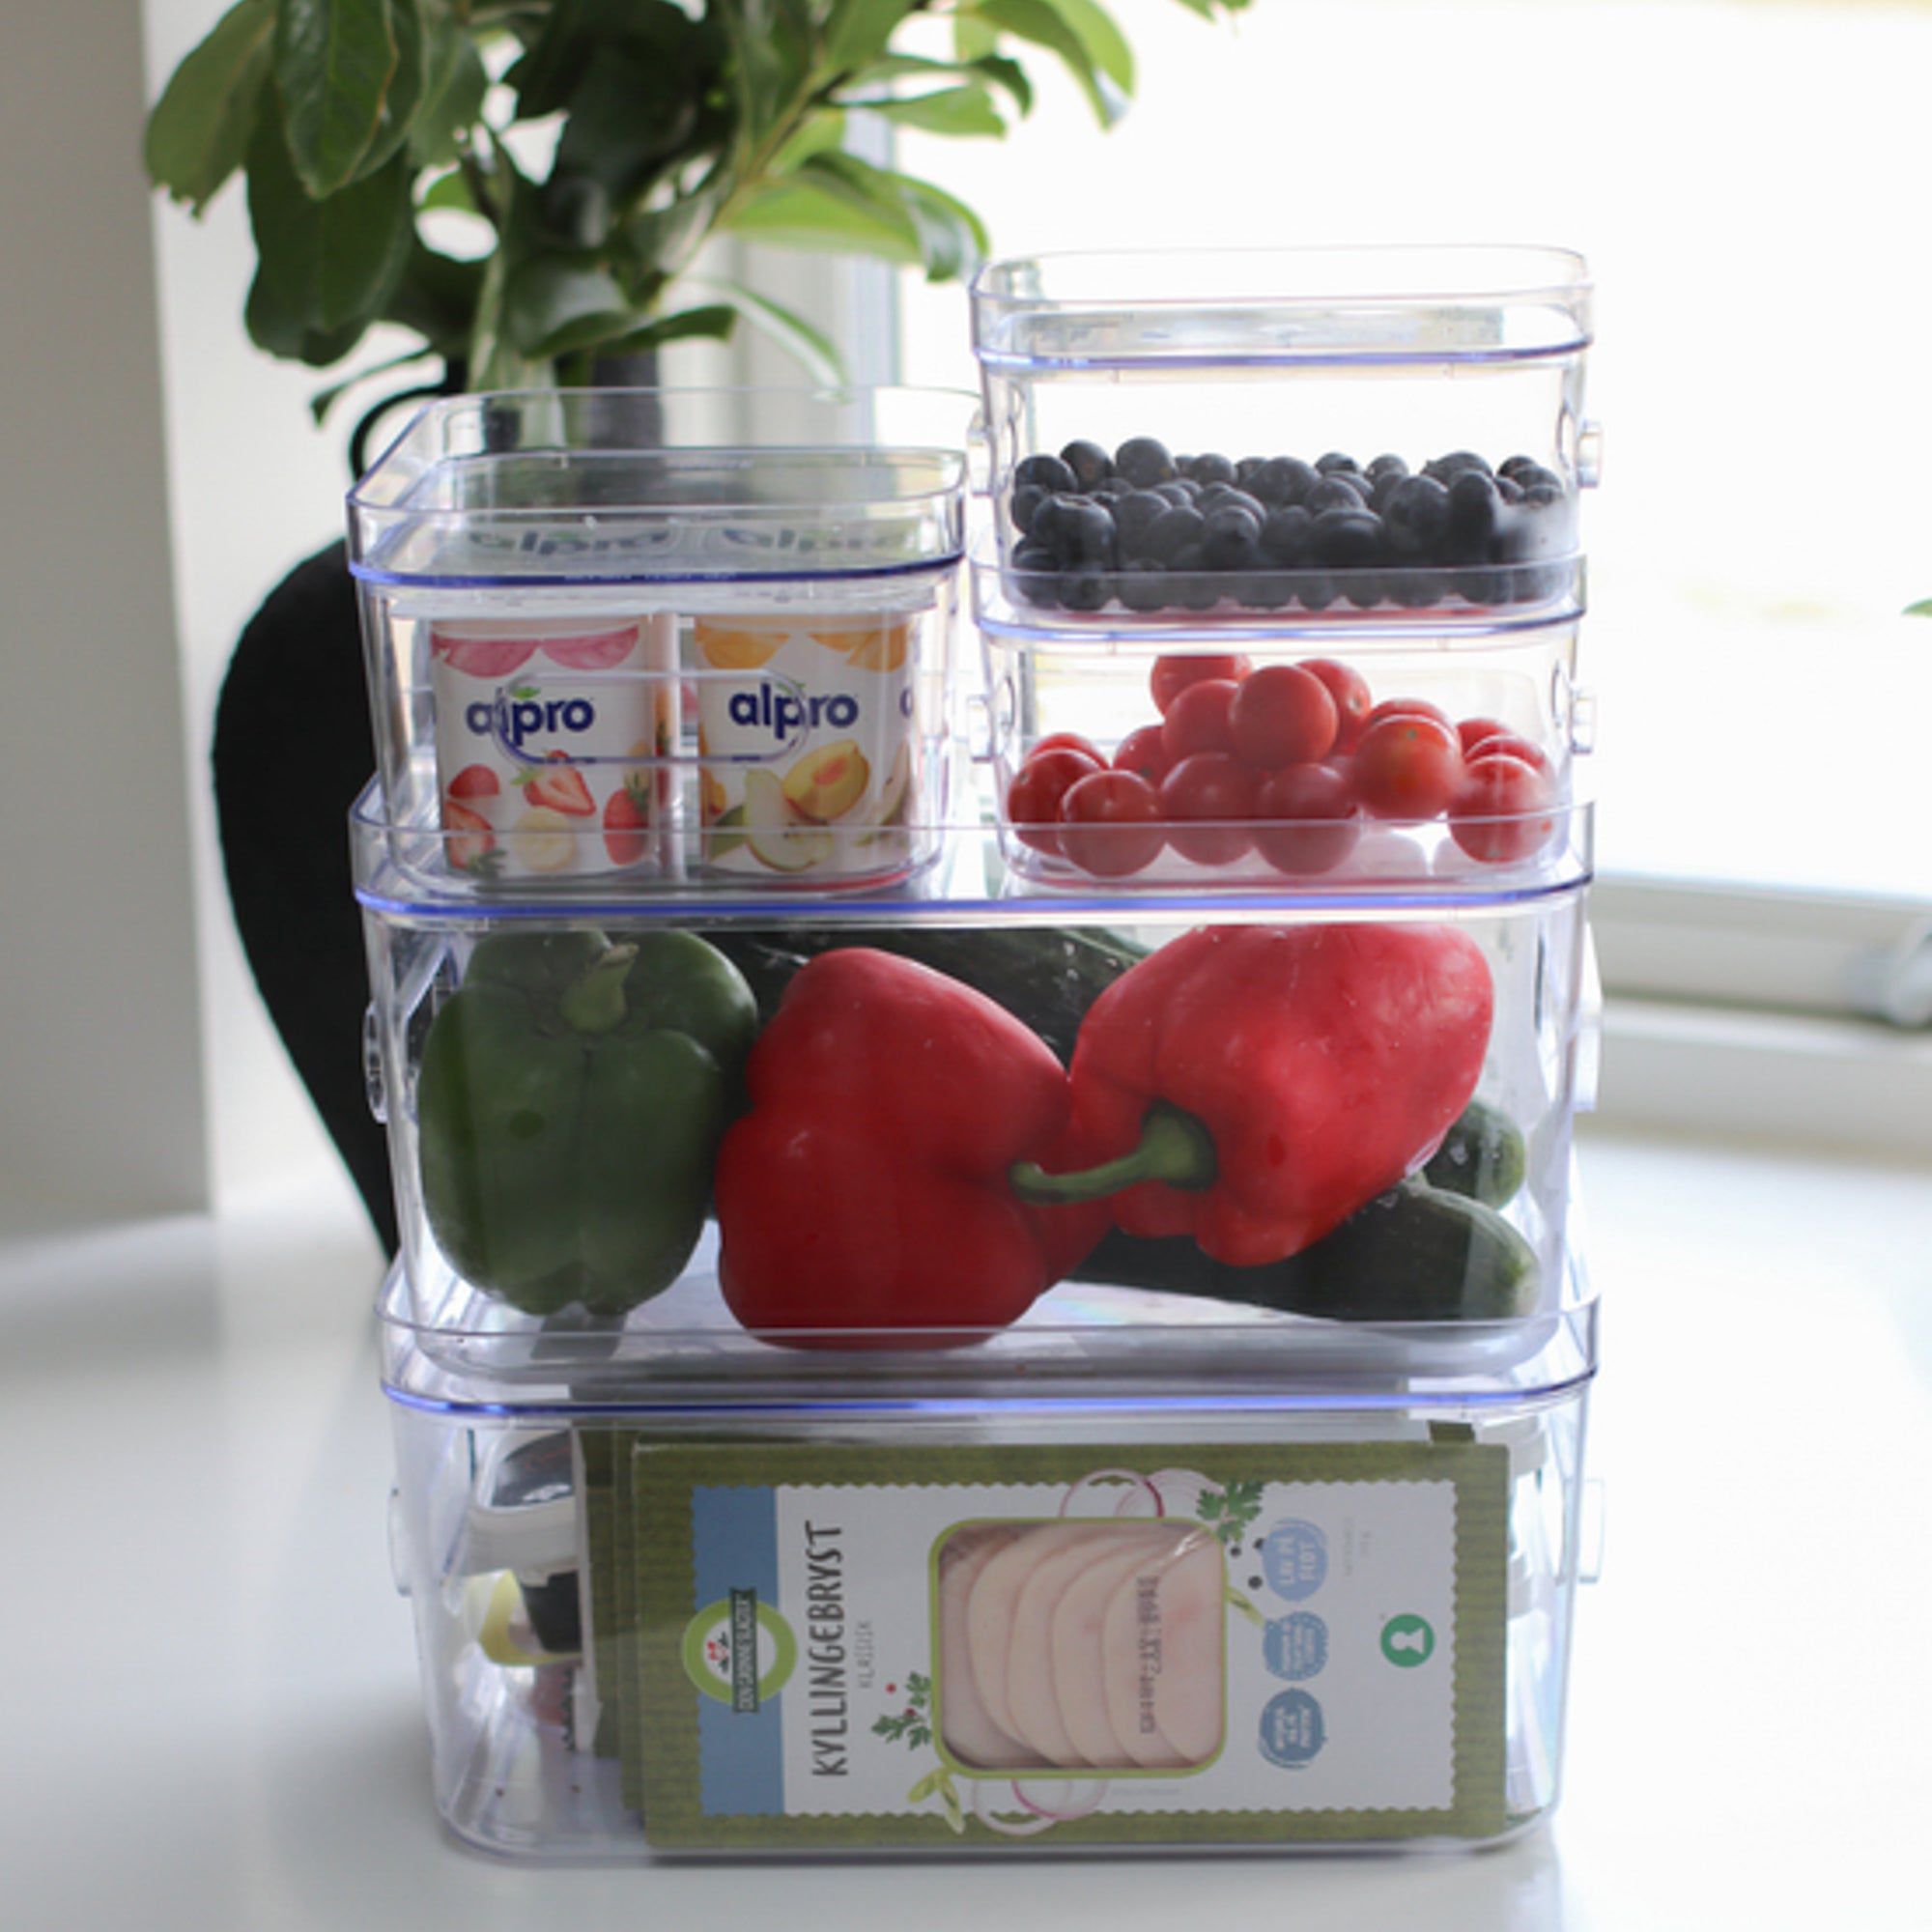
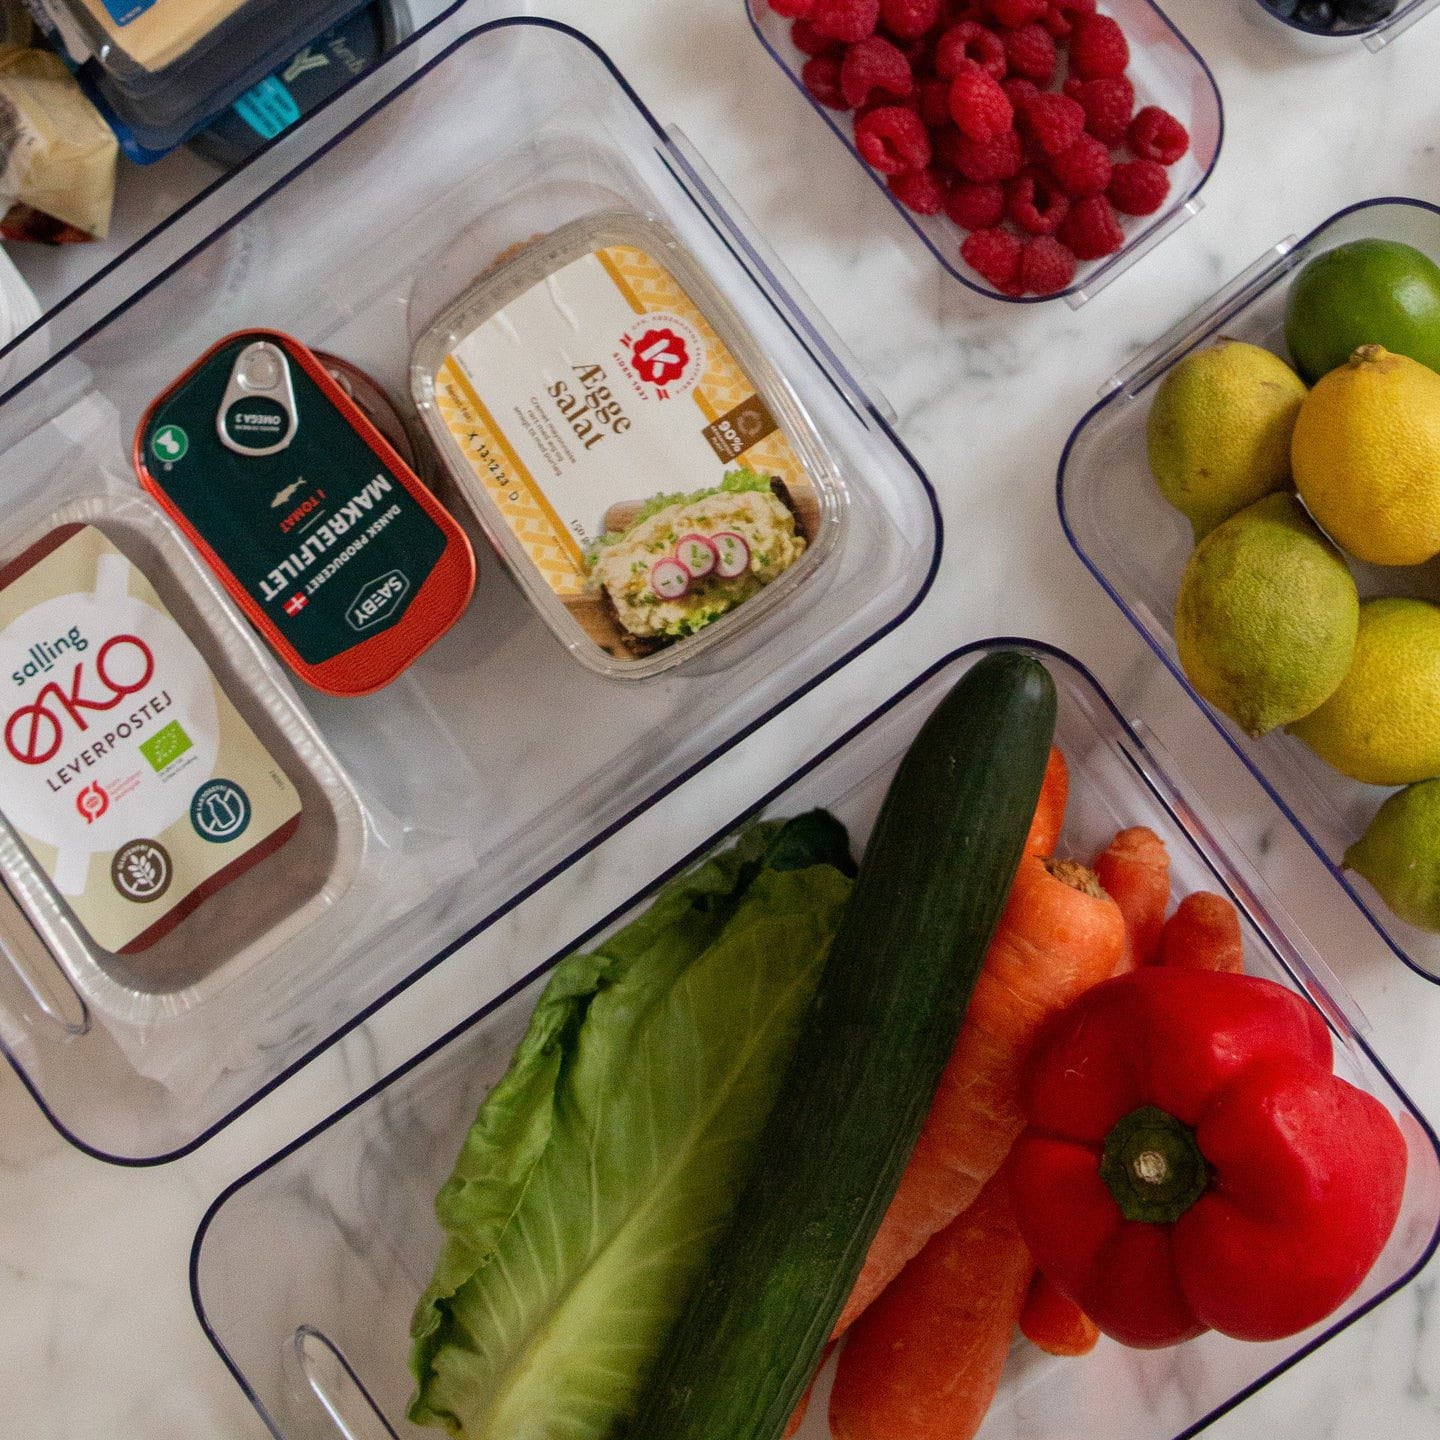
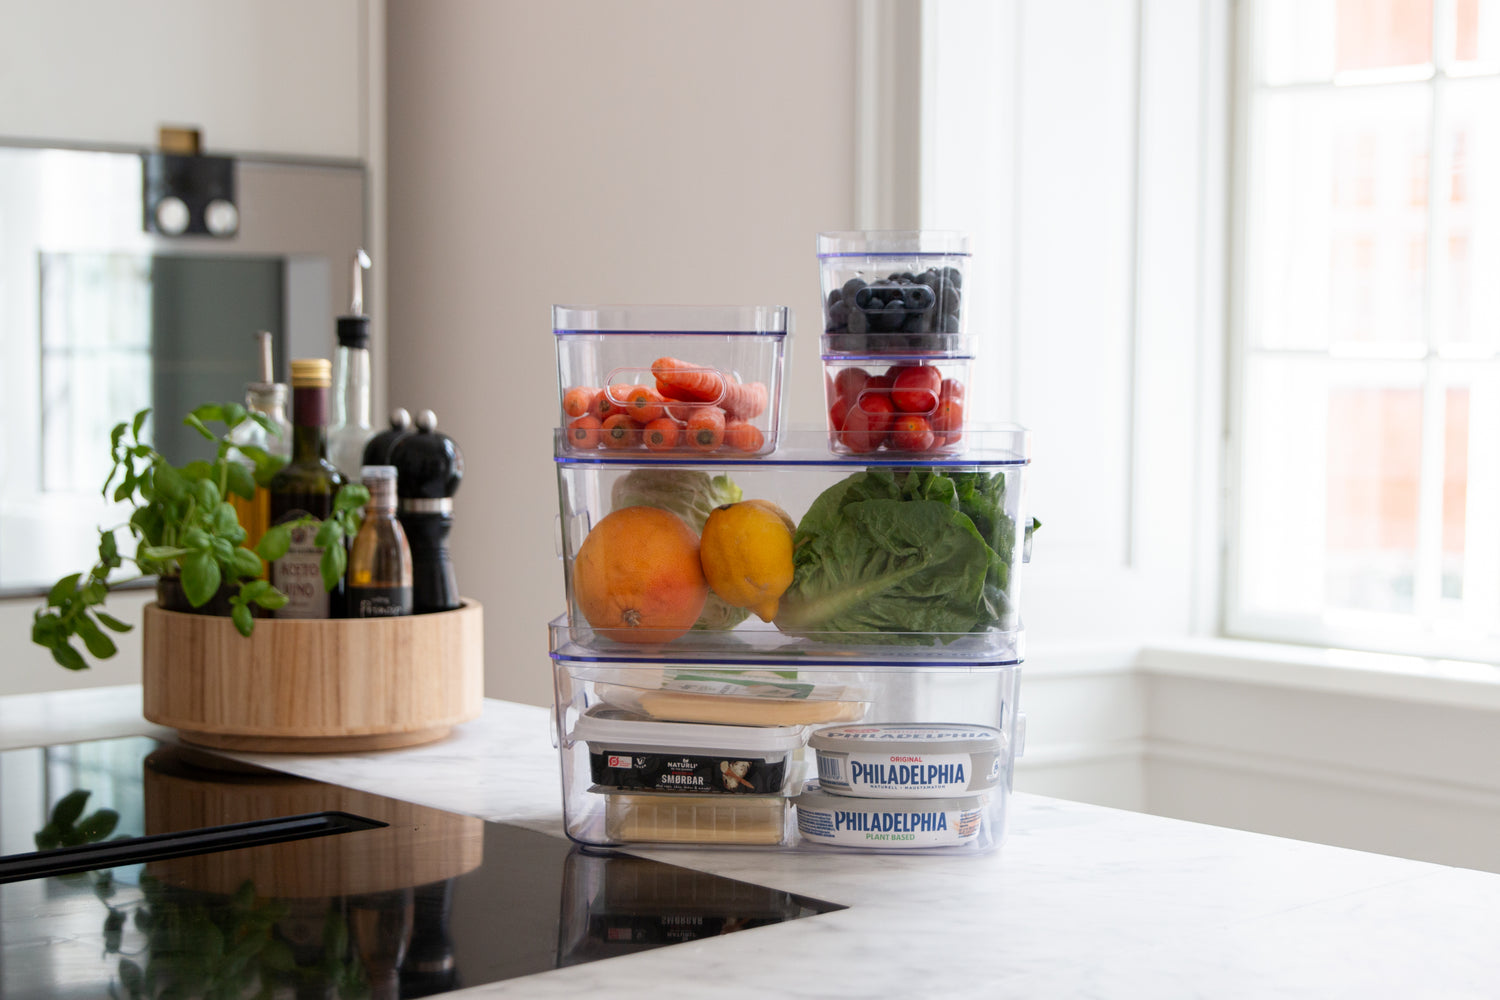
Refrigerator bins provide an overview for meal prep
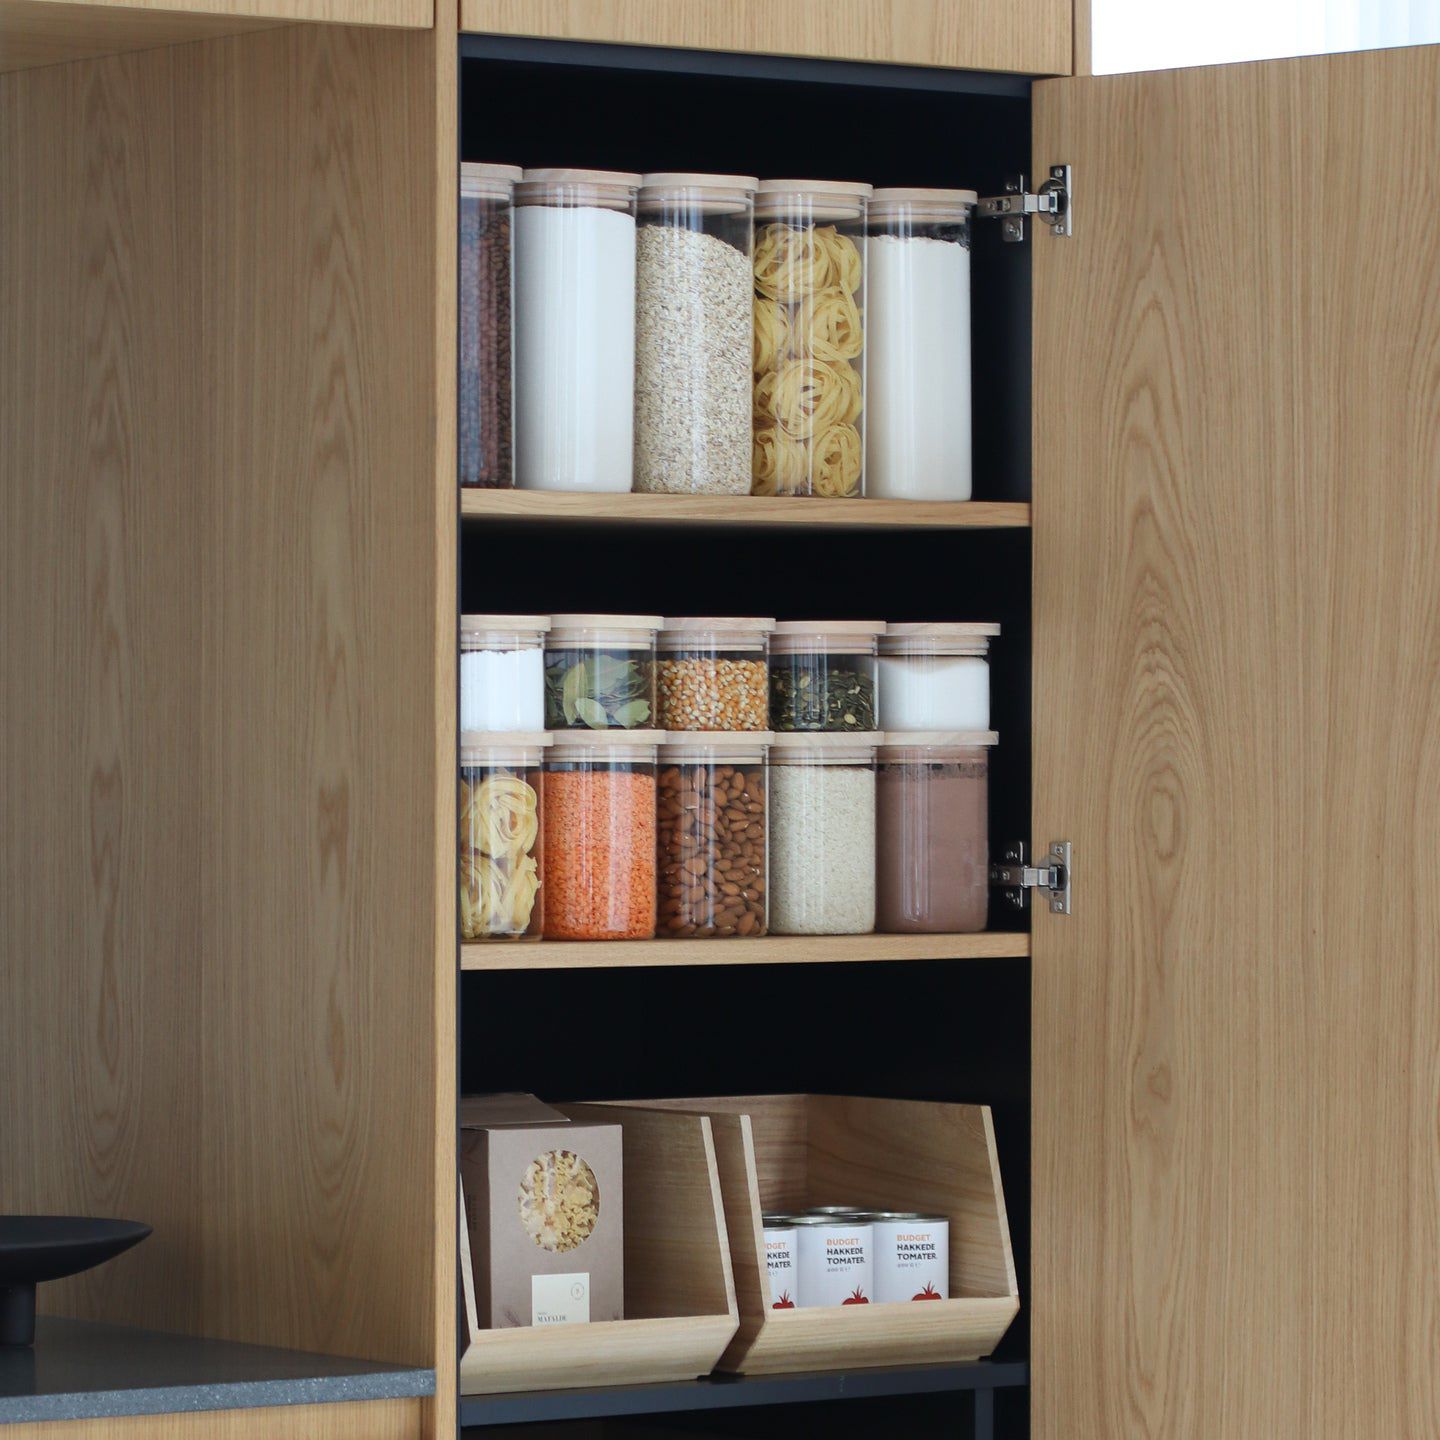
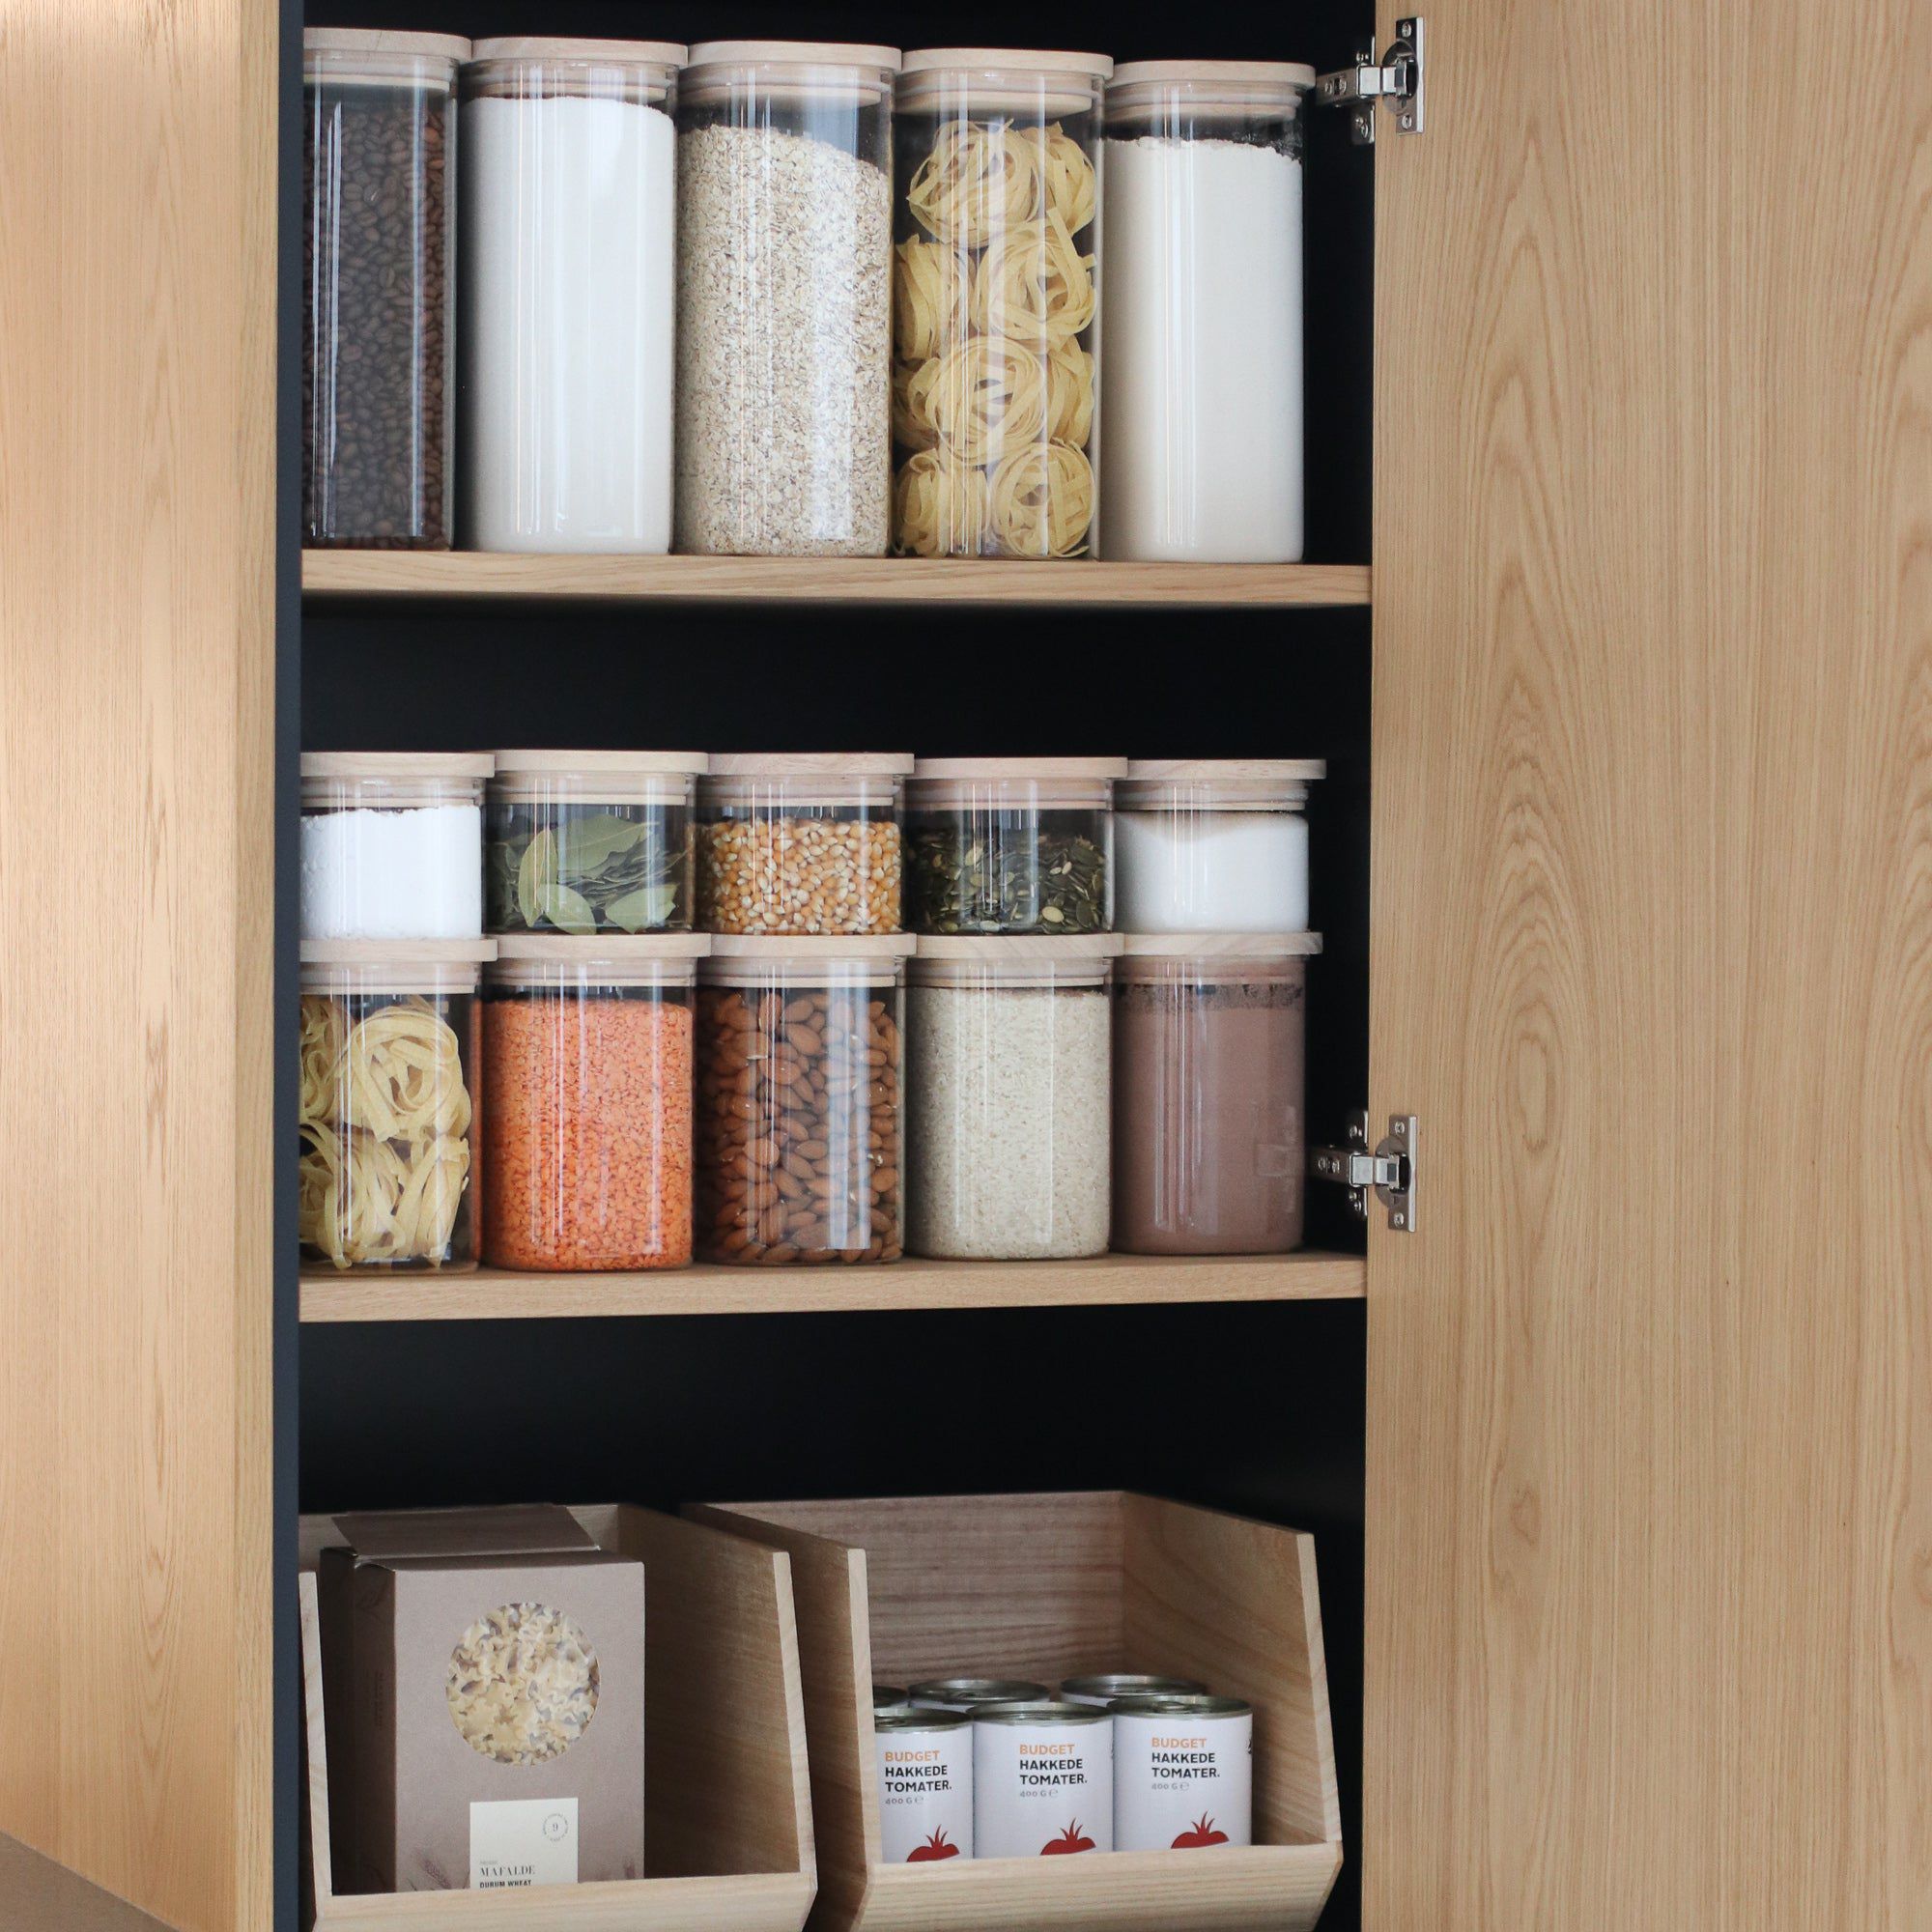
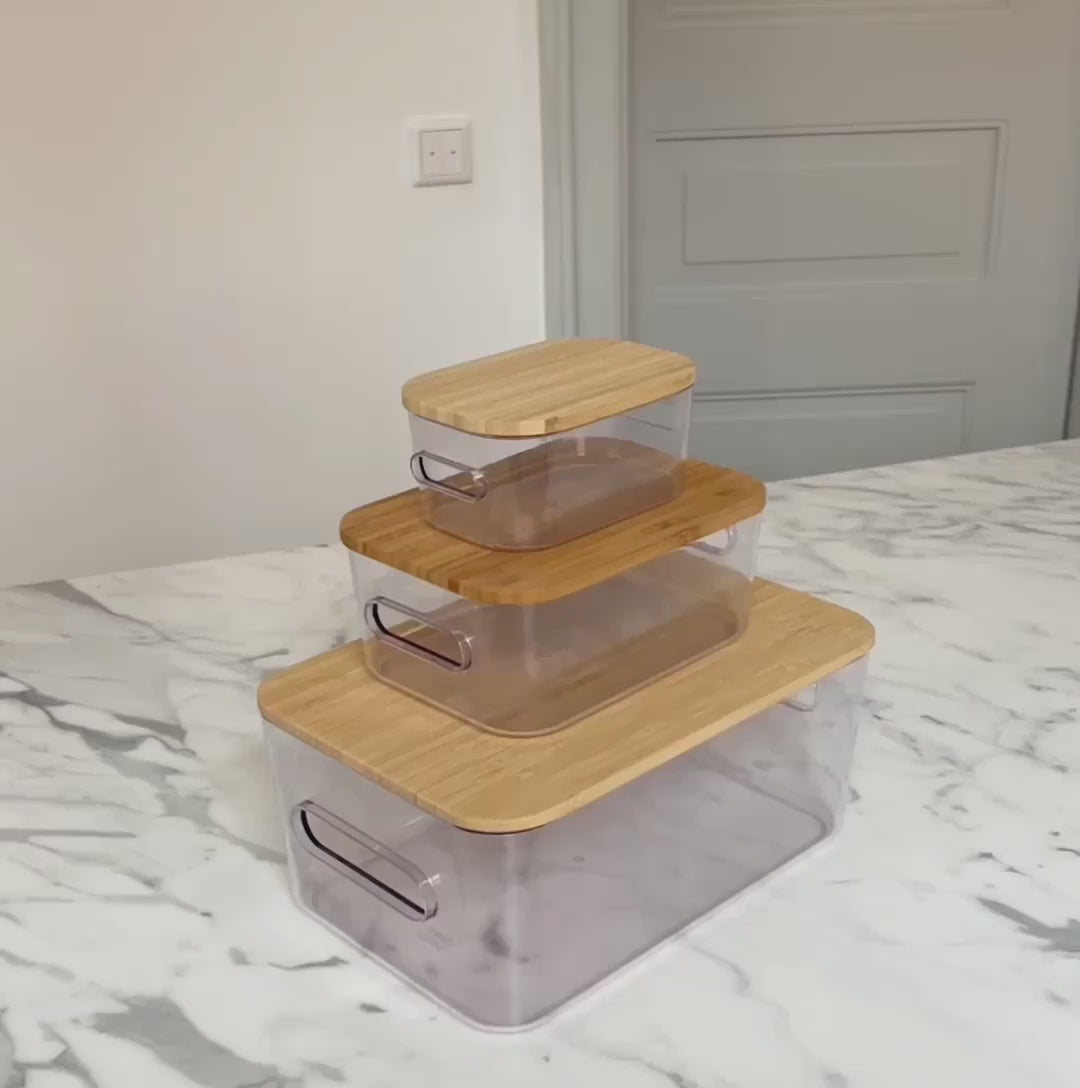
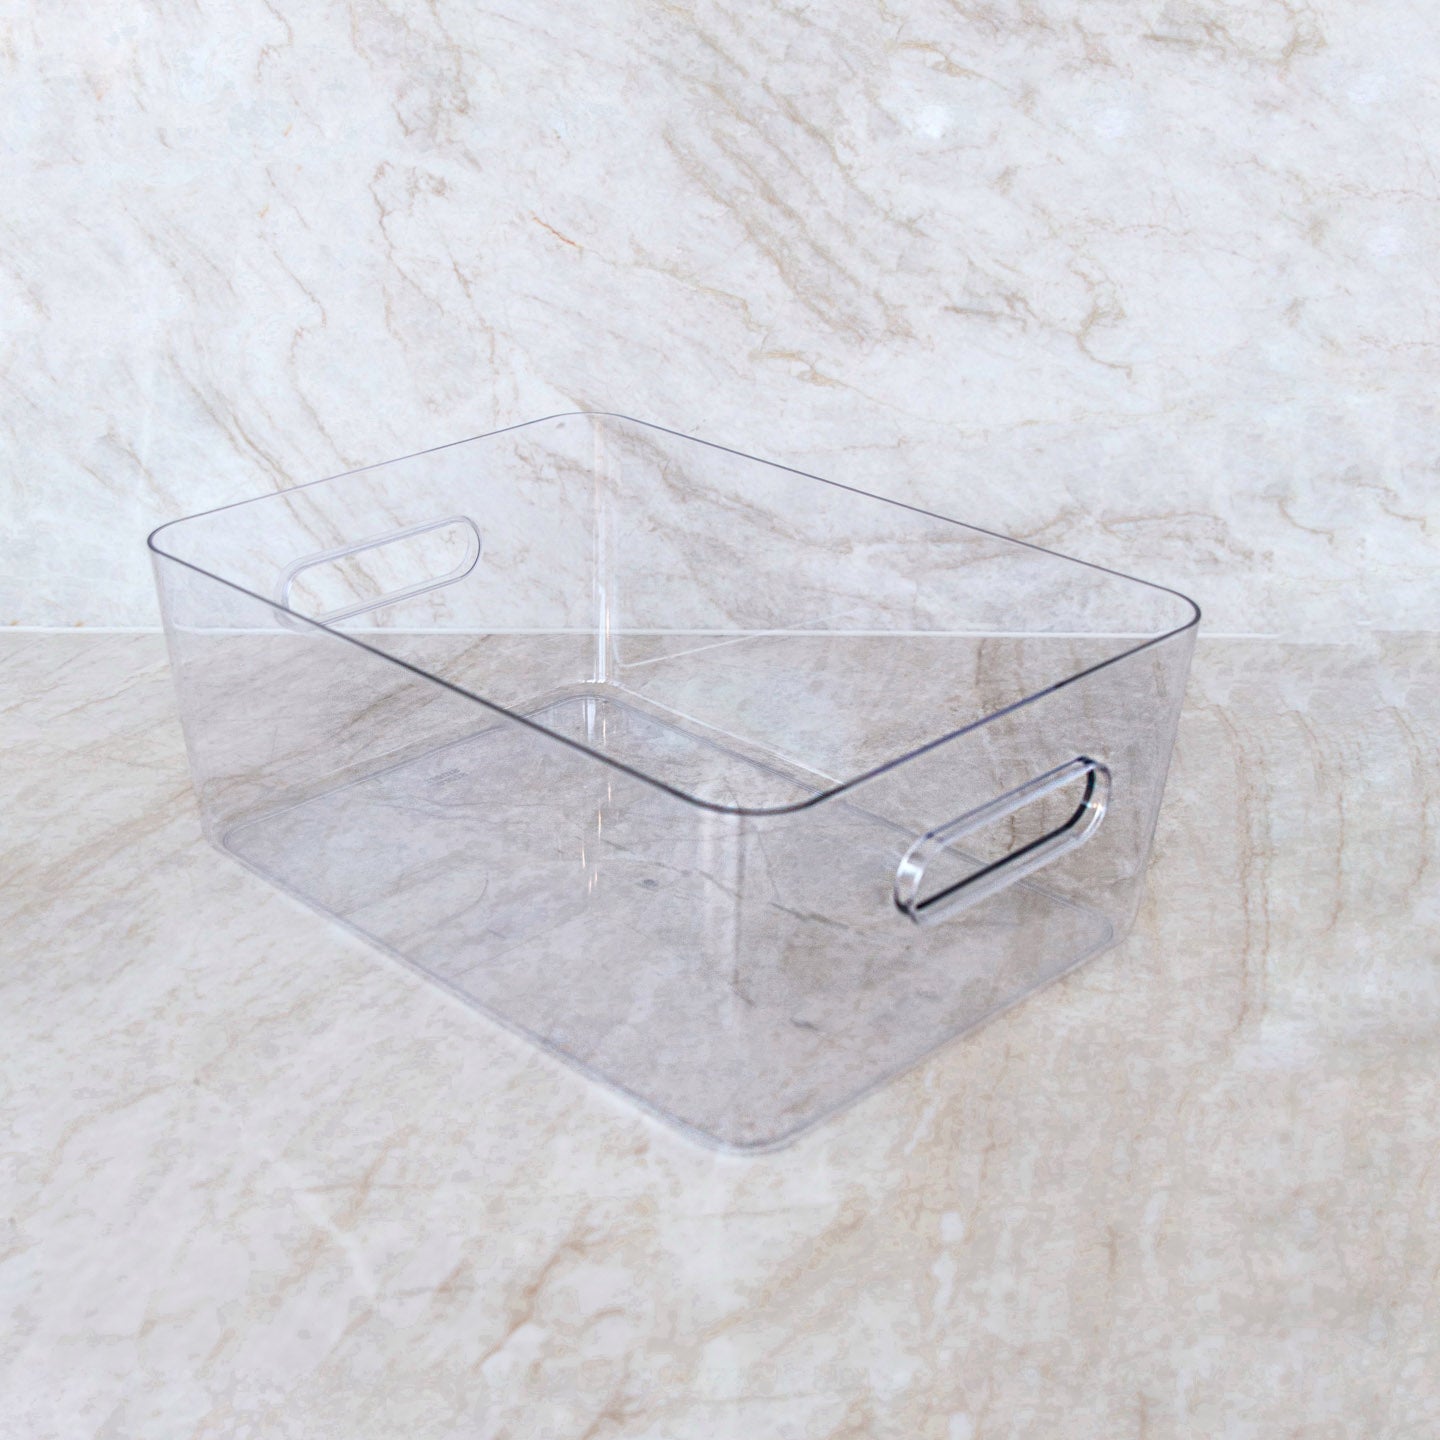
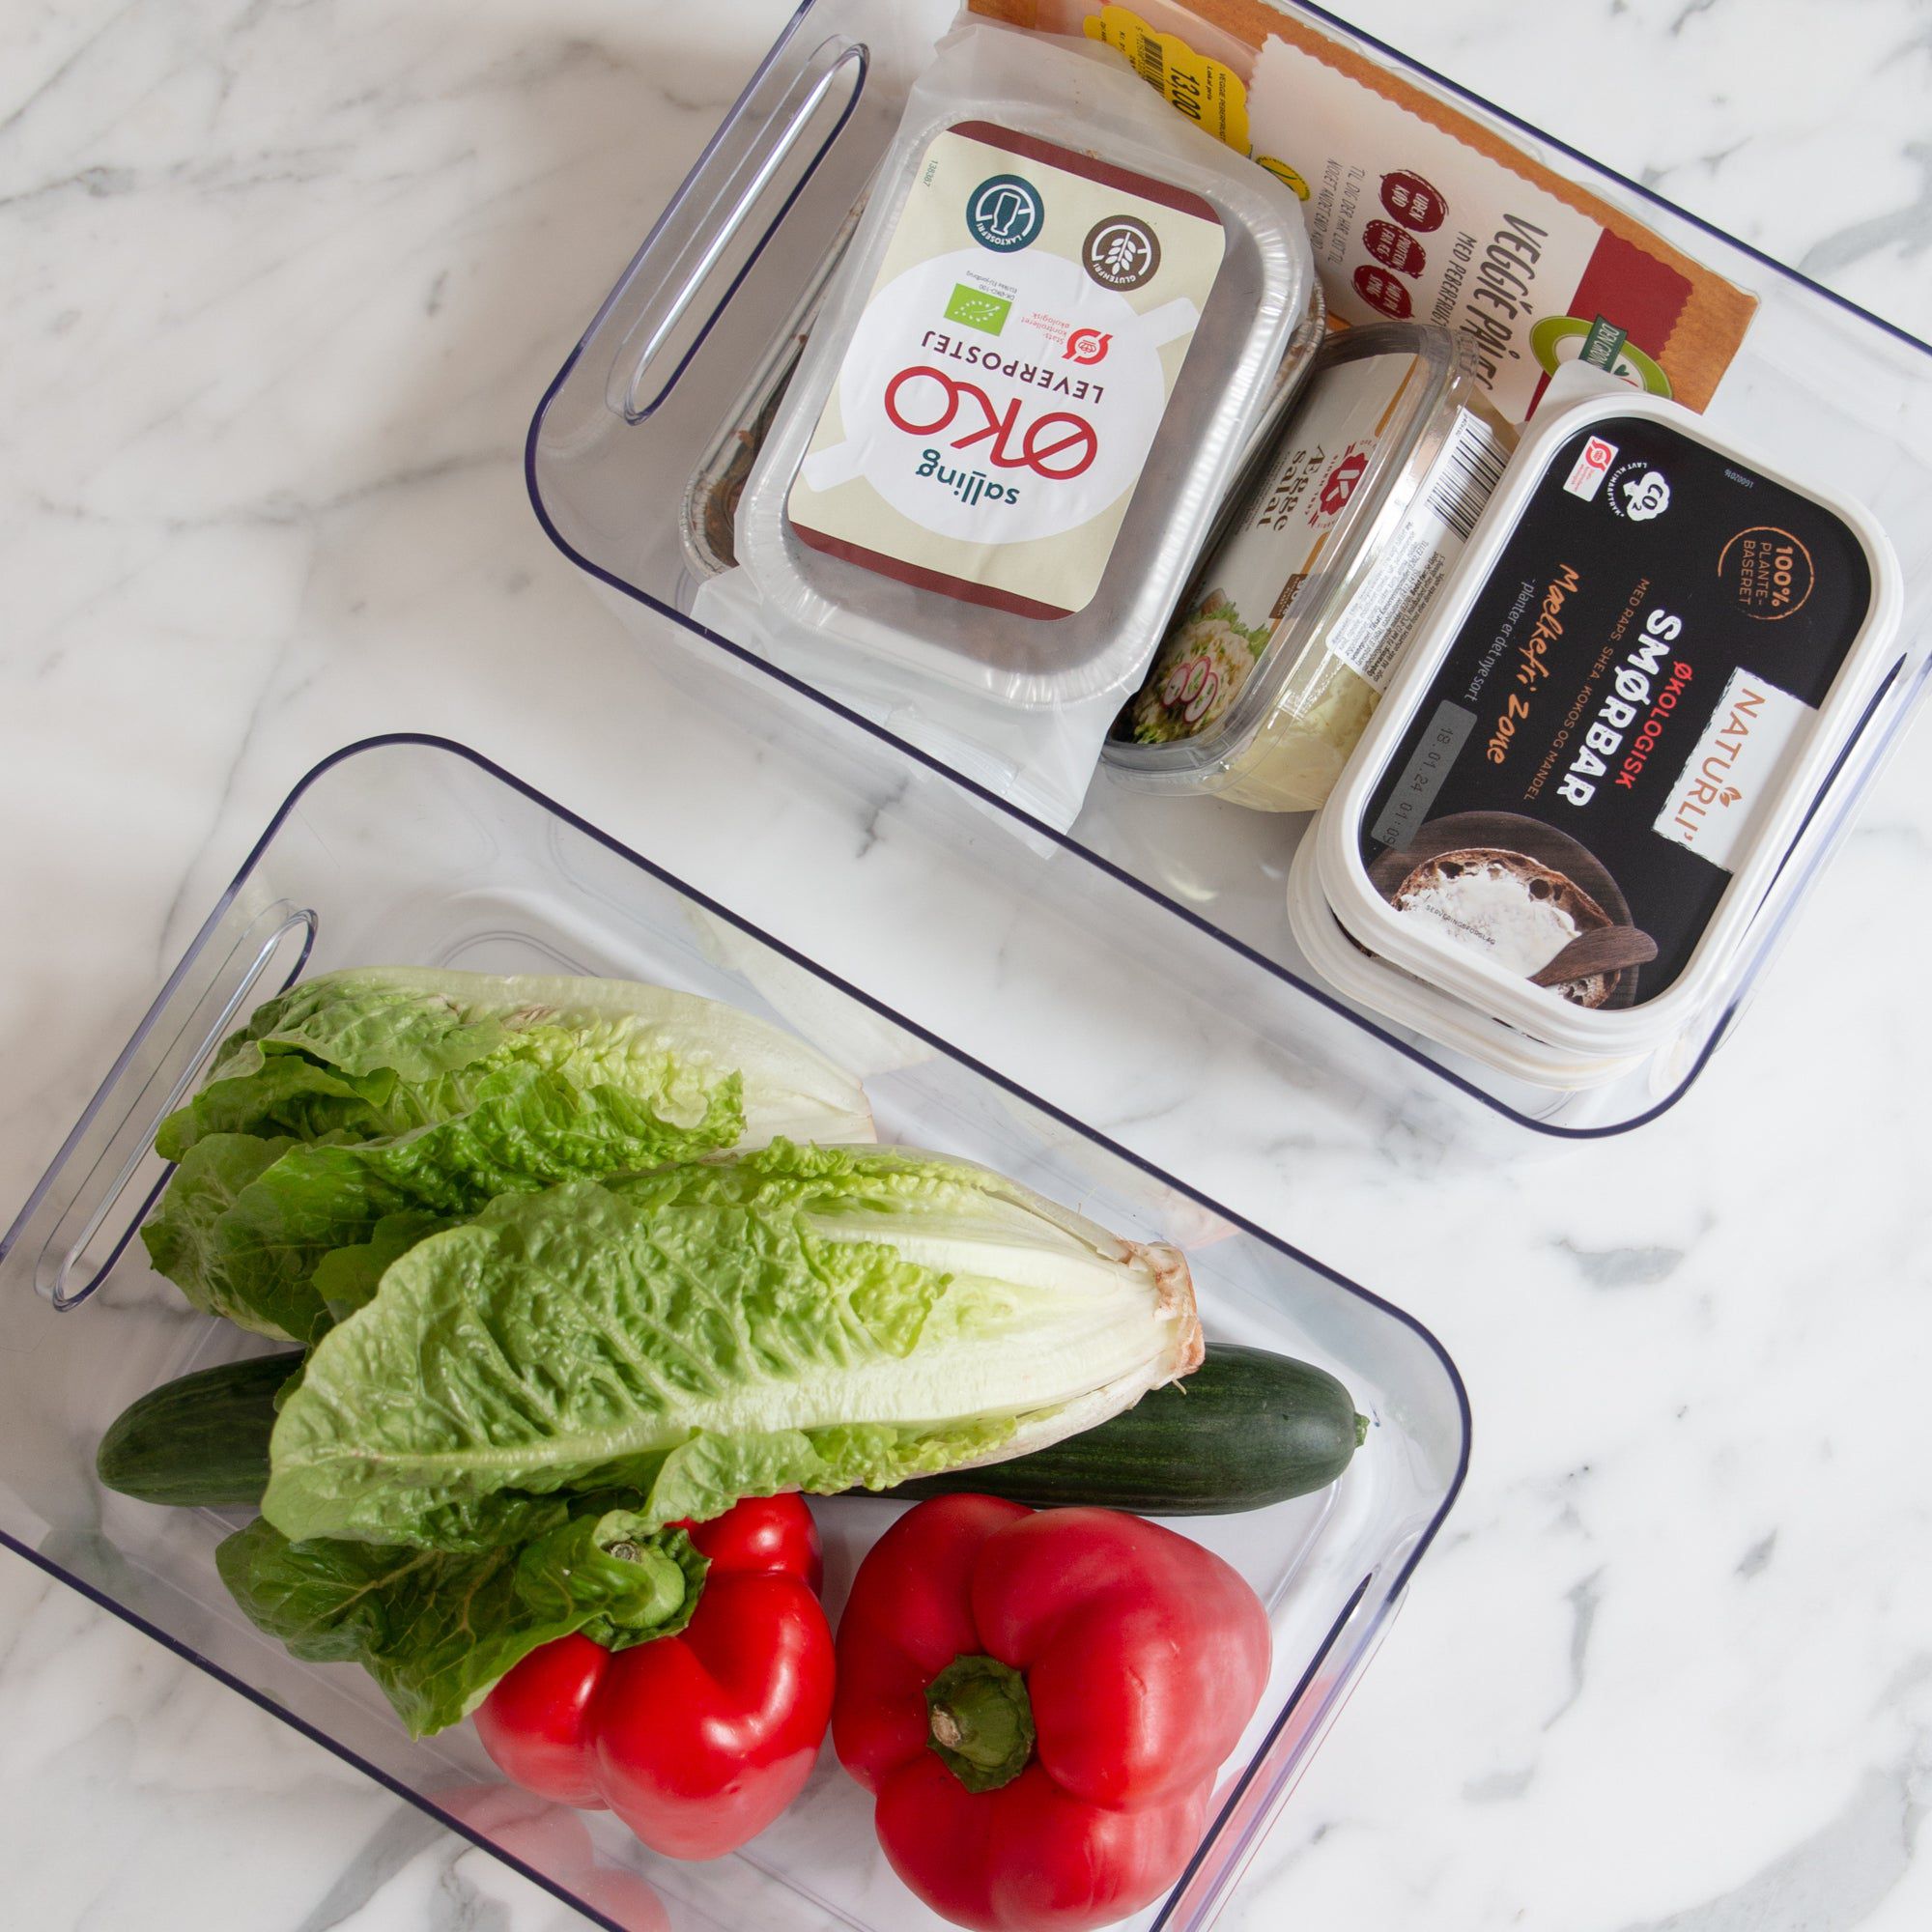
Use refrigerator bins to organize your meal prep boxes into zones in the fridge. Place the bins to suit your family's routines – e.g., one bin for lunches at the front and one bin with dinner components further back. Close the bins with their respective lids and stack them on top of each other to optimize space in the refrigerator. Small bins are particularly good for loose food items like snacks and cold cuts. A practical example is the refrigerator bin xs, which collects small items that would otherwise create clutter. Use medium bins for dairy products and larger fruits and vegetables. When you pull out a bin, you quickly get an overview of its contents and can put it back in place.
Keep track of dates and meal plan
A simple habit is to date your prepared food so you always eat the oldest first. Place a discreet label on the lid or side of the box and write the date. For this, Labels Best Before is a simple solution that helps you maintain the routine without extra hassle. Combine the date with a short note about the dish so you can quickly differentiate between, for example, grains, greens, and protein.
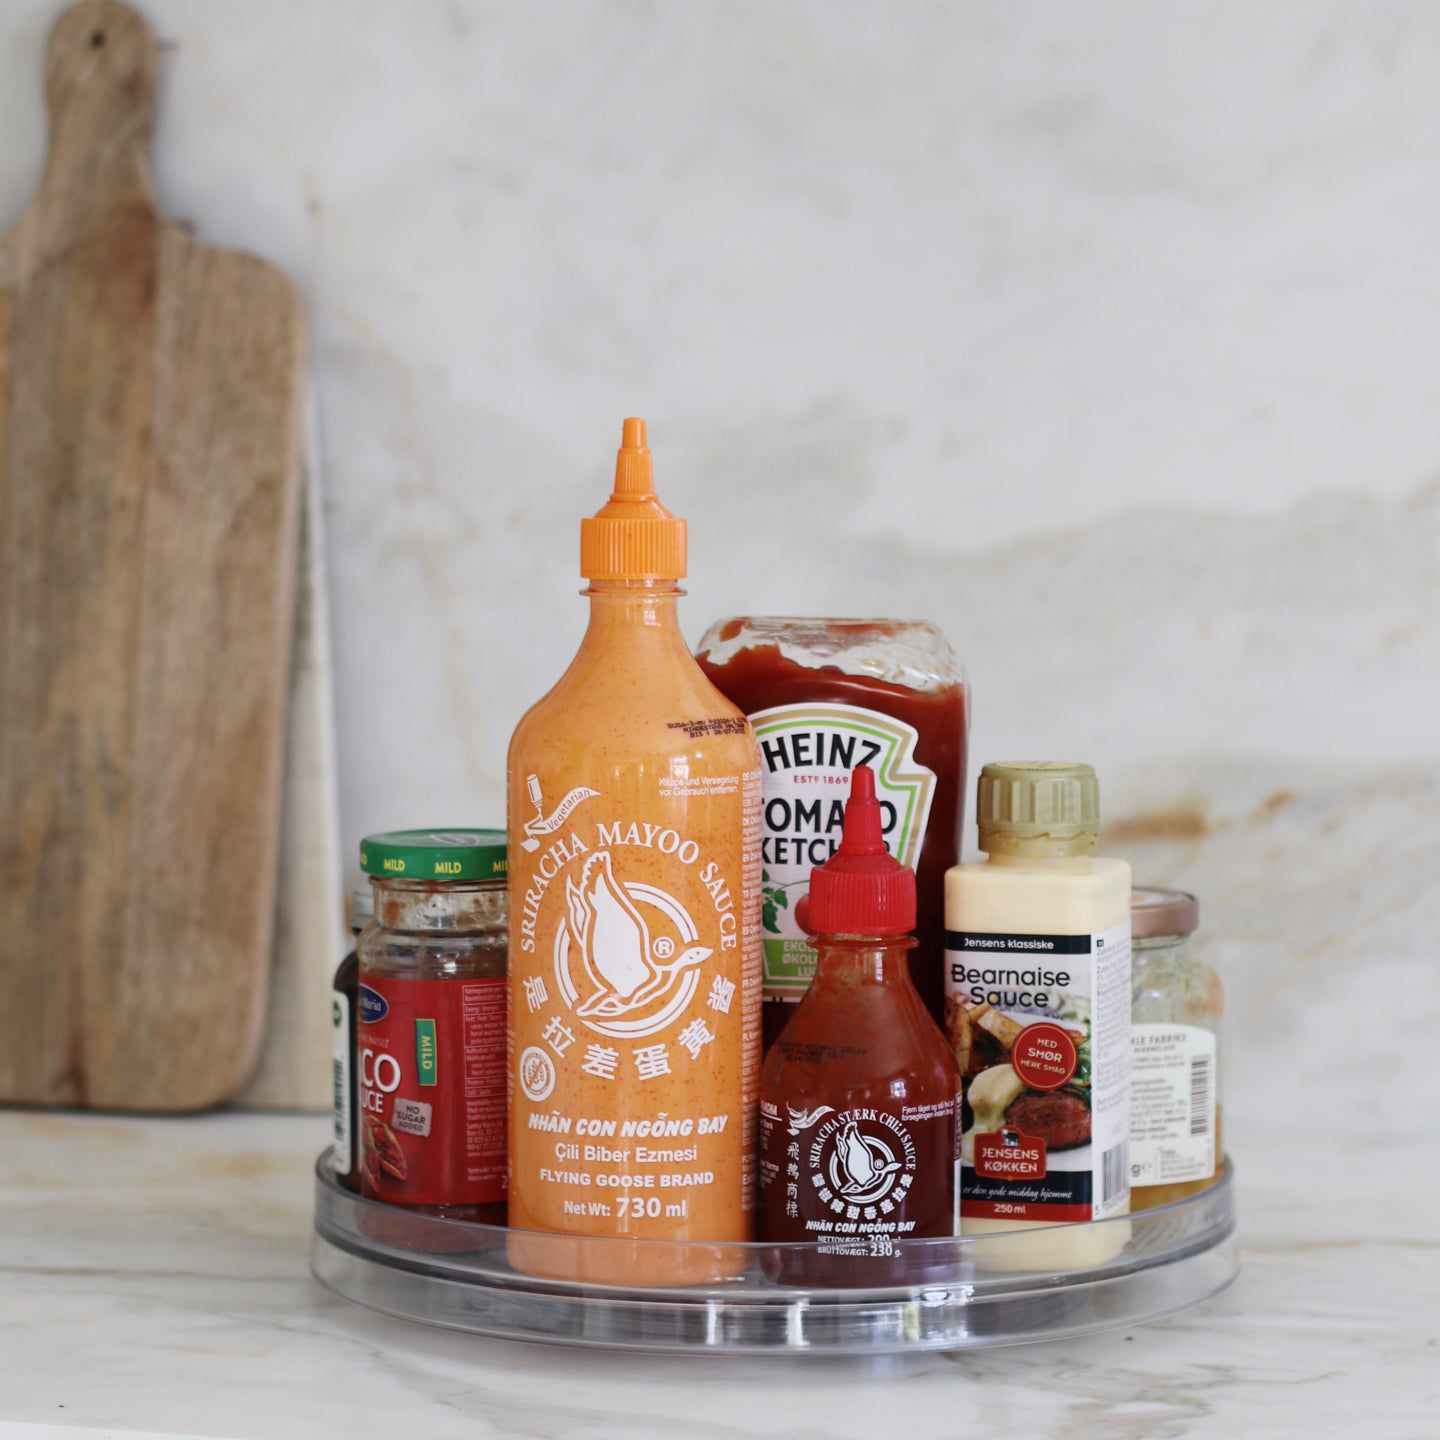
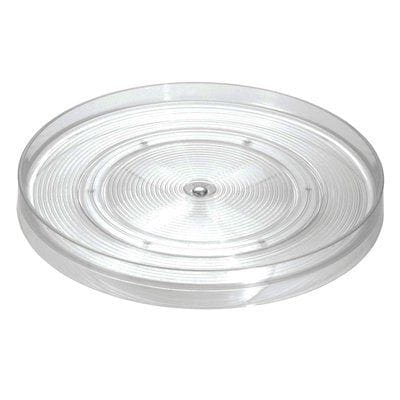
Turntable in the refrigerator for accessories
A turntable with a high edge makes it easy to gather accessories you often use with your meal prep meals. With a simple turn, you get access without moving other bins. Try a plastic turntable with a high edge on a shelf where you want to reach it quickly.
Choose what lives on the turntable
- Bottles: Oil, vinegar, and dressings for quick flavoring.
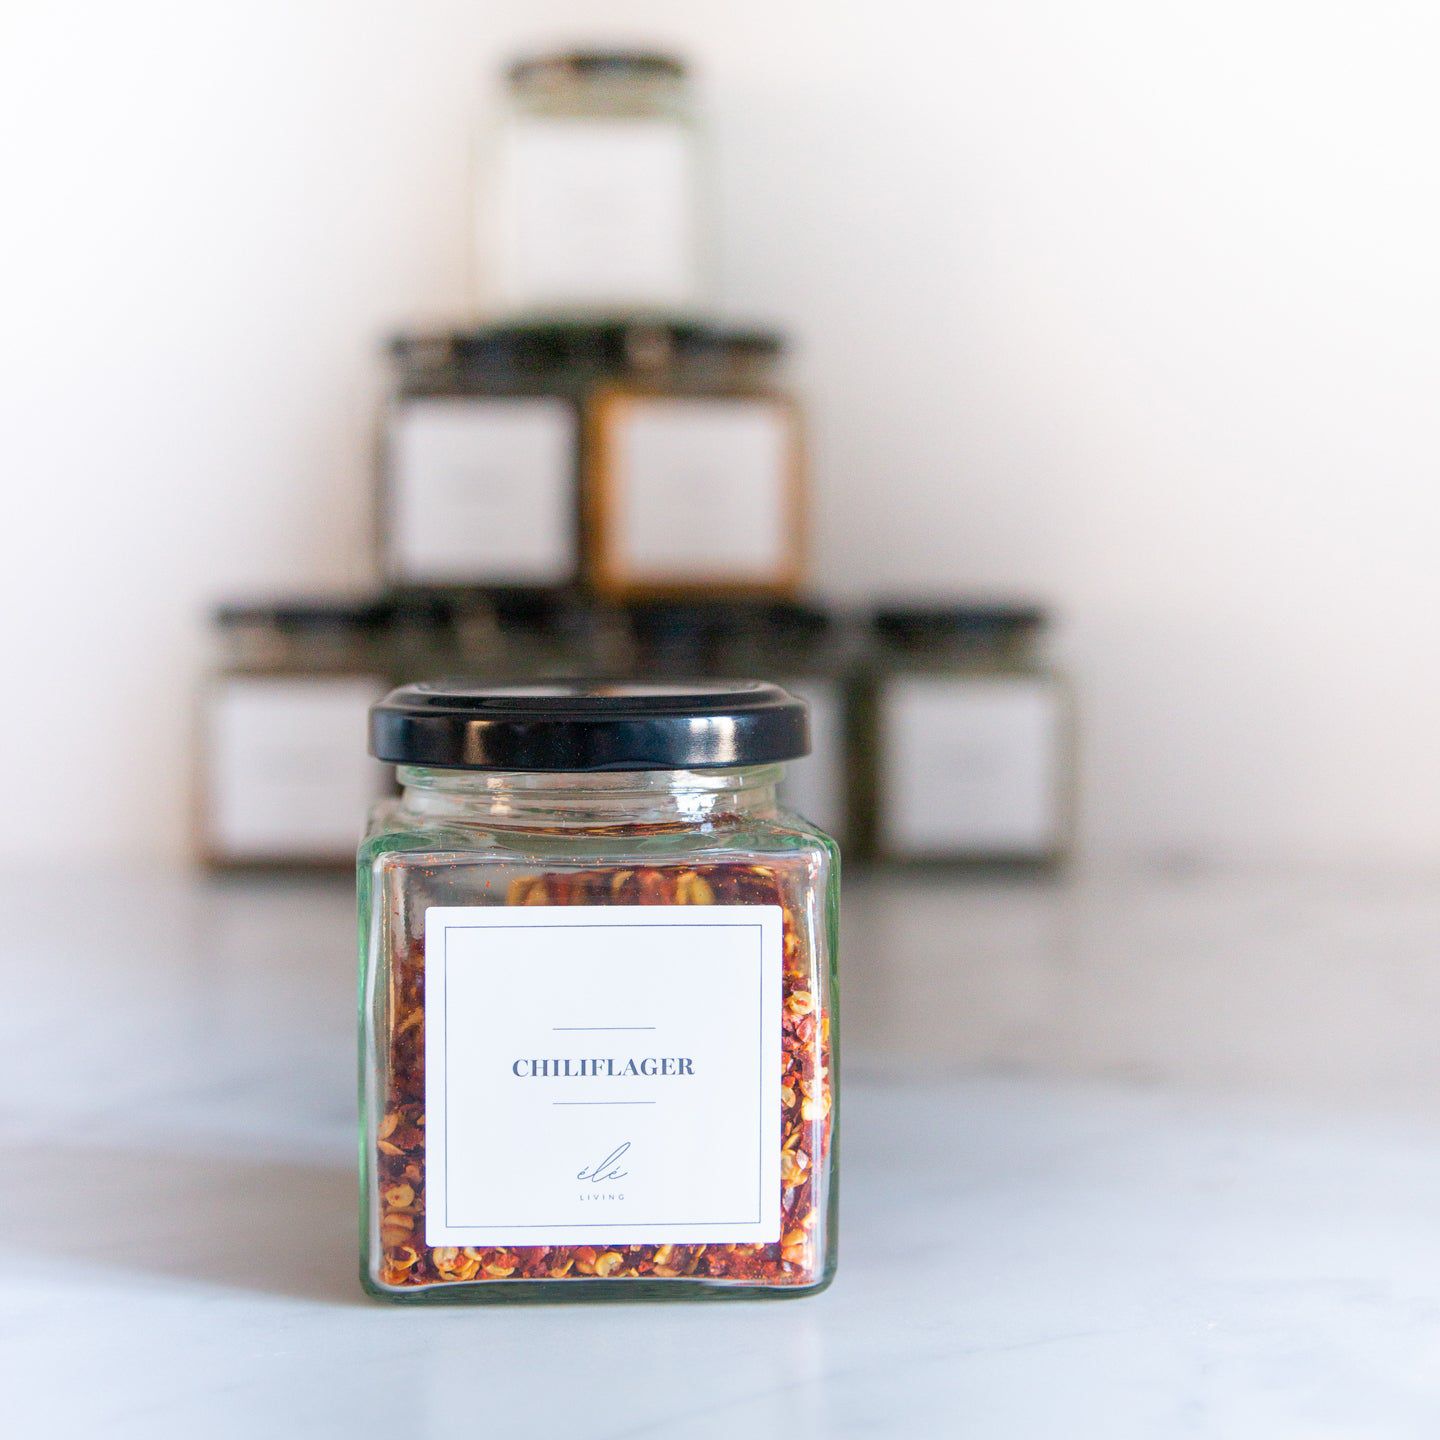
- Spices: Dry spice mixes you often use for finished dishes.
- Serving: Small jars with nuts, seeds, or crispy toppings for salads.
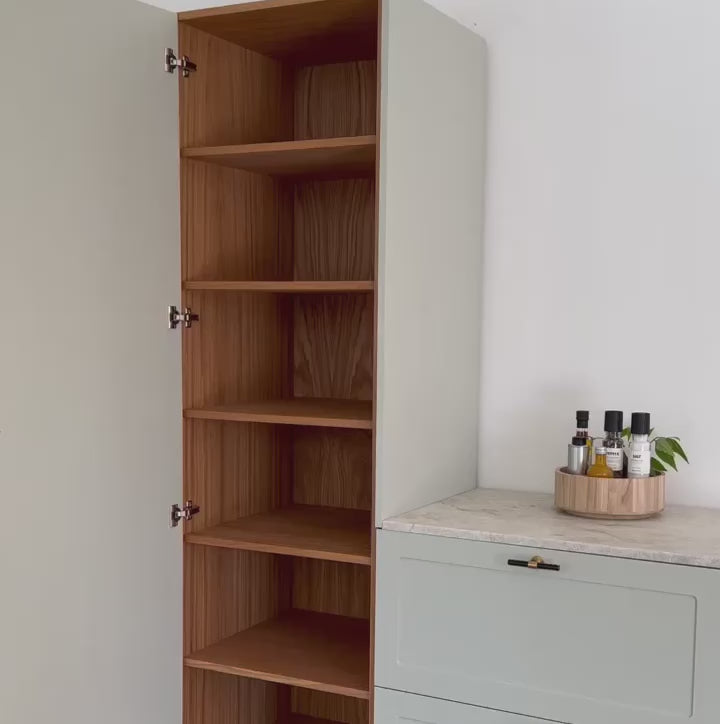
Create a simple system that lasts
Stick to a few recurring sizes and put lids on for a calm look. Place zones according to your daily flow: what's used daily goes at the front, what's used less often goes at the back. Ensure fixed places - lunch, dinner, accessories - so everyone knows where boxes should be returned. When restocking, place the newest boxes at the back of the zone so you automatically take the oldest ones first.
Step by step
Start simply with 1-2 recipes per week, distribute them into identical boxes, and place them in the same refrigerator bin. Use dated labels for an overview. Supplement with a turntable for toppings so meals can be varied without extra time. Adjust quantities and placement week by week until the system fits your everyday life.