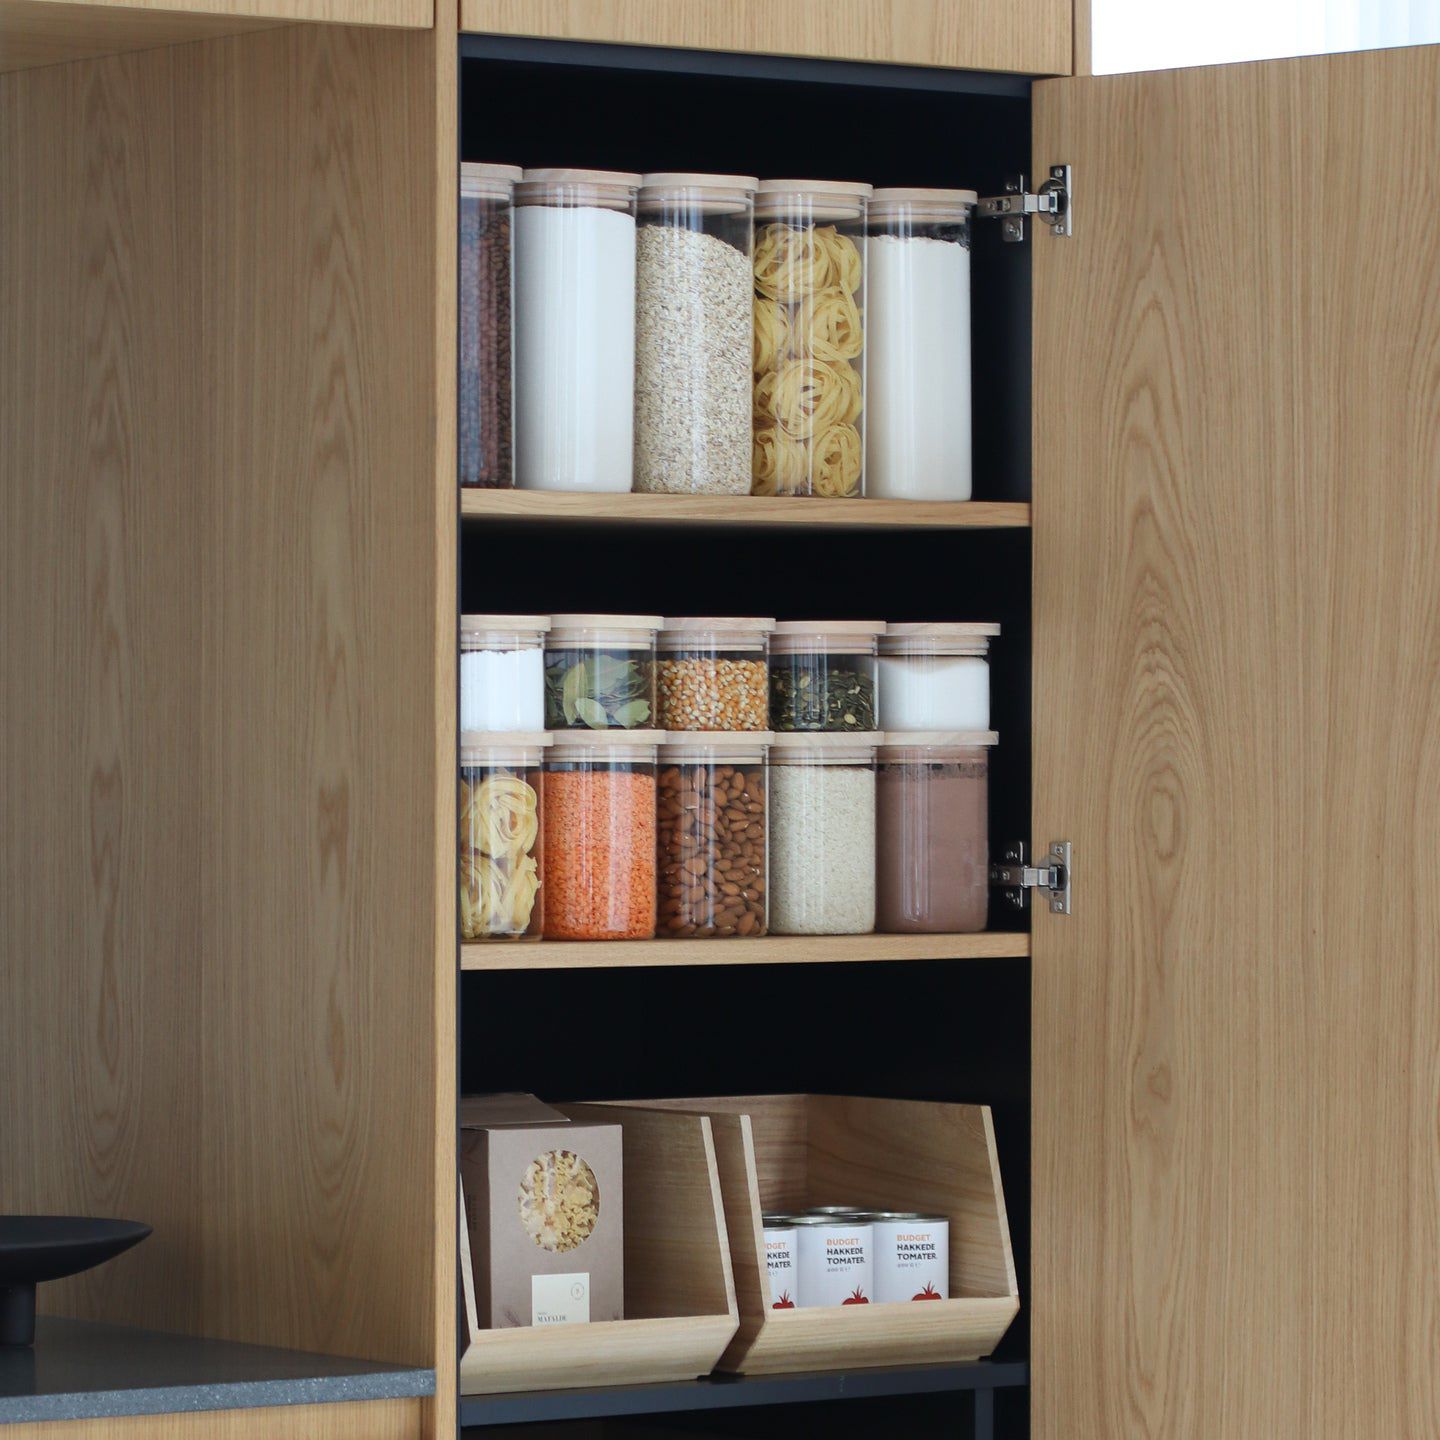
Well-organised dry goods storage brings peace of mind to the kitchen and makes it easy to shop, refill, and cook without waste. When flour, rice, pasta, and snacks are gathered in uniform containers, you quickly gain an overview and a clean, harmonious look. Stick to a few sizes, transparent materials, and clear labels so everyone in the household can see what's where.
Storage jars for dry goods
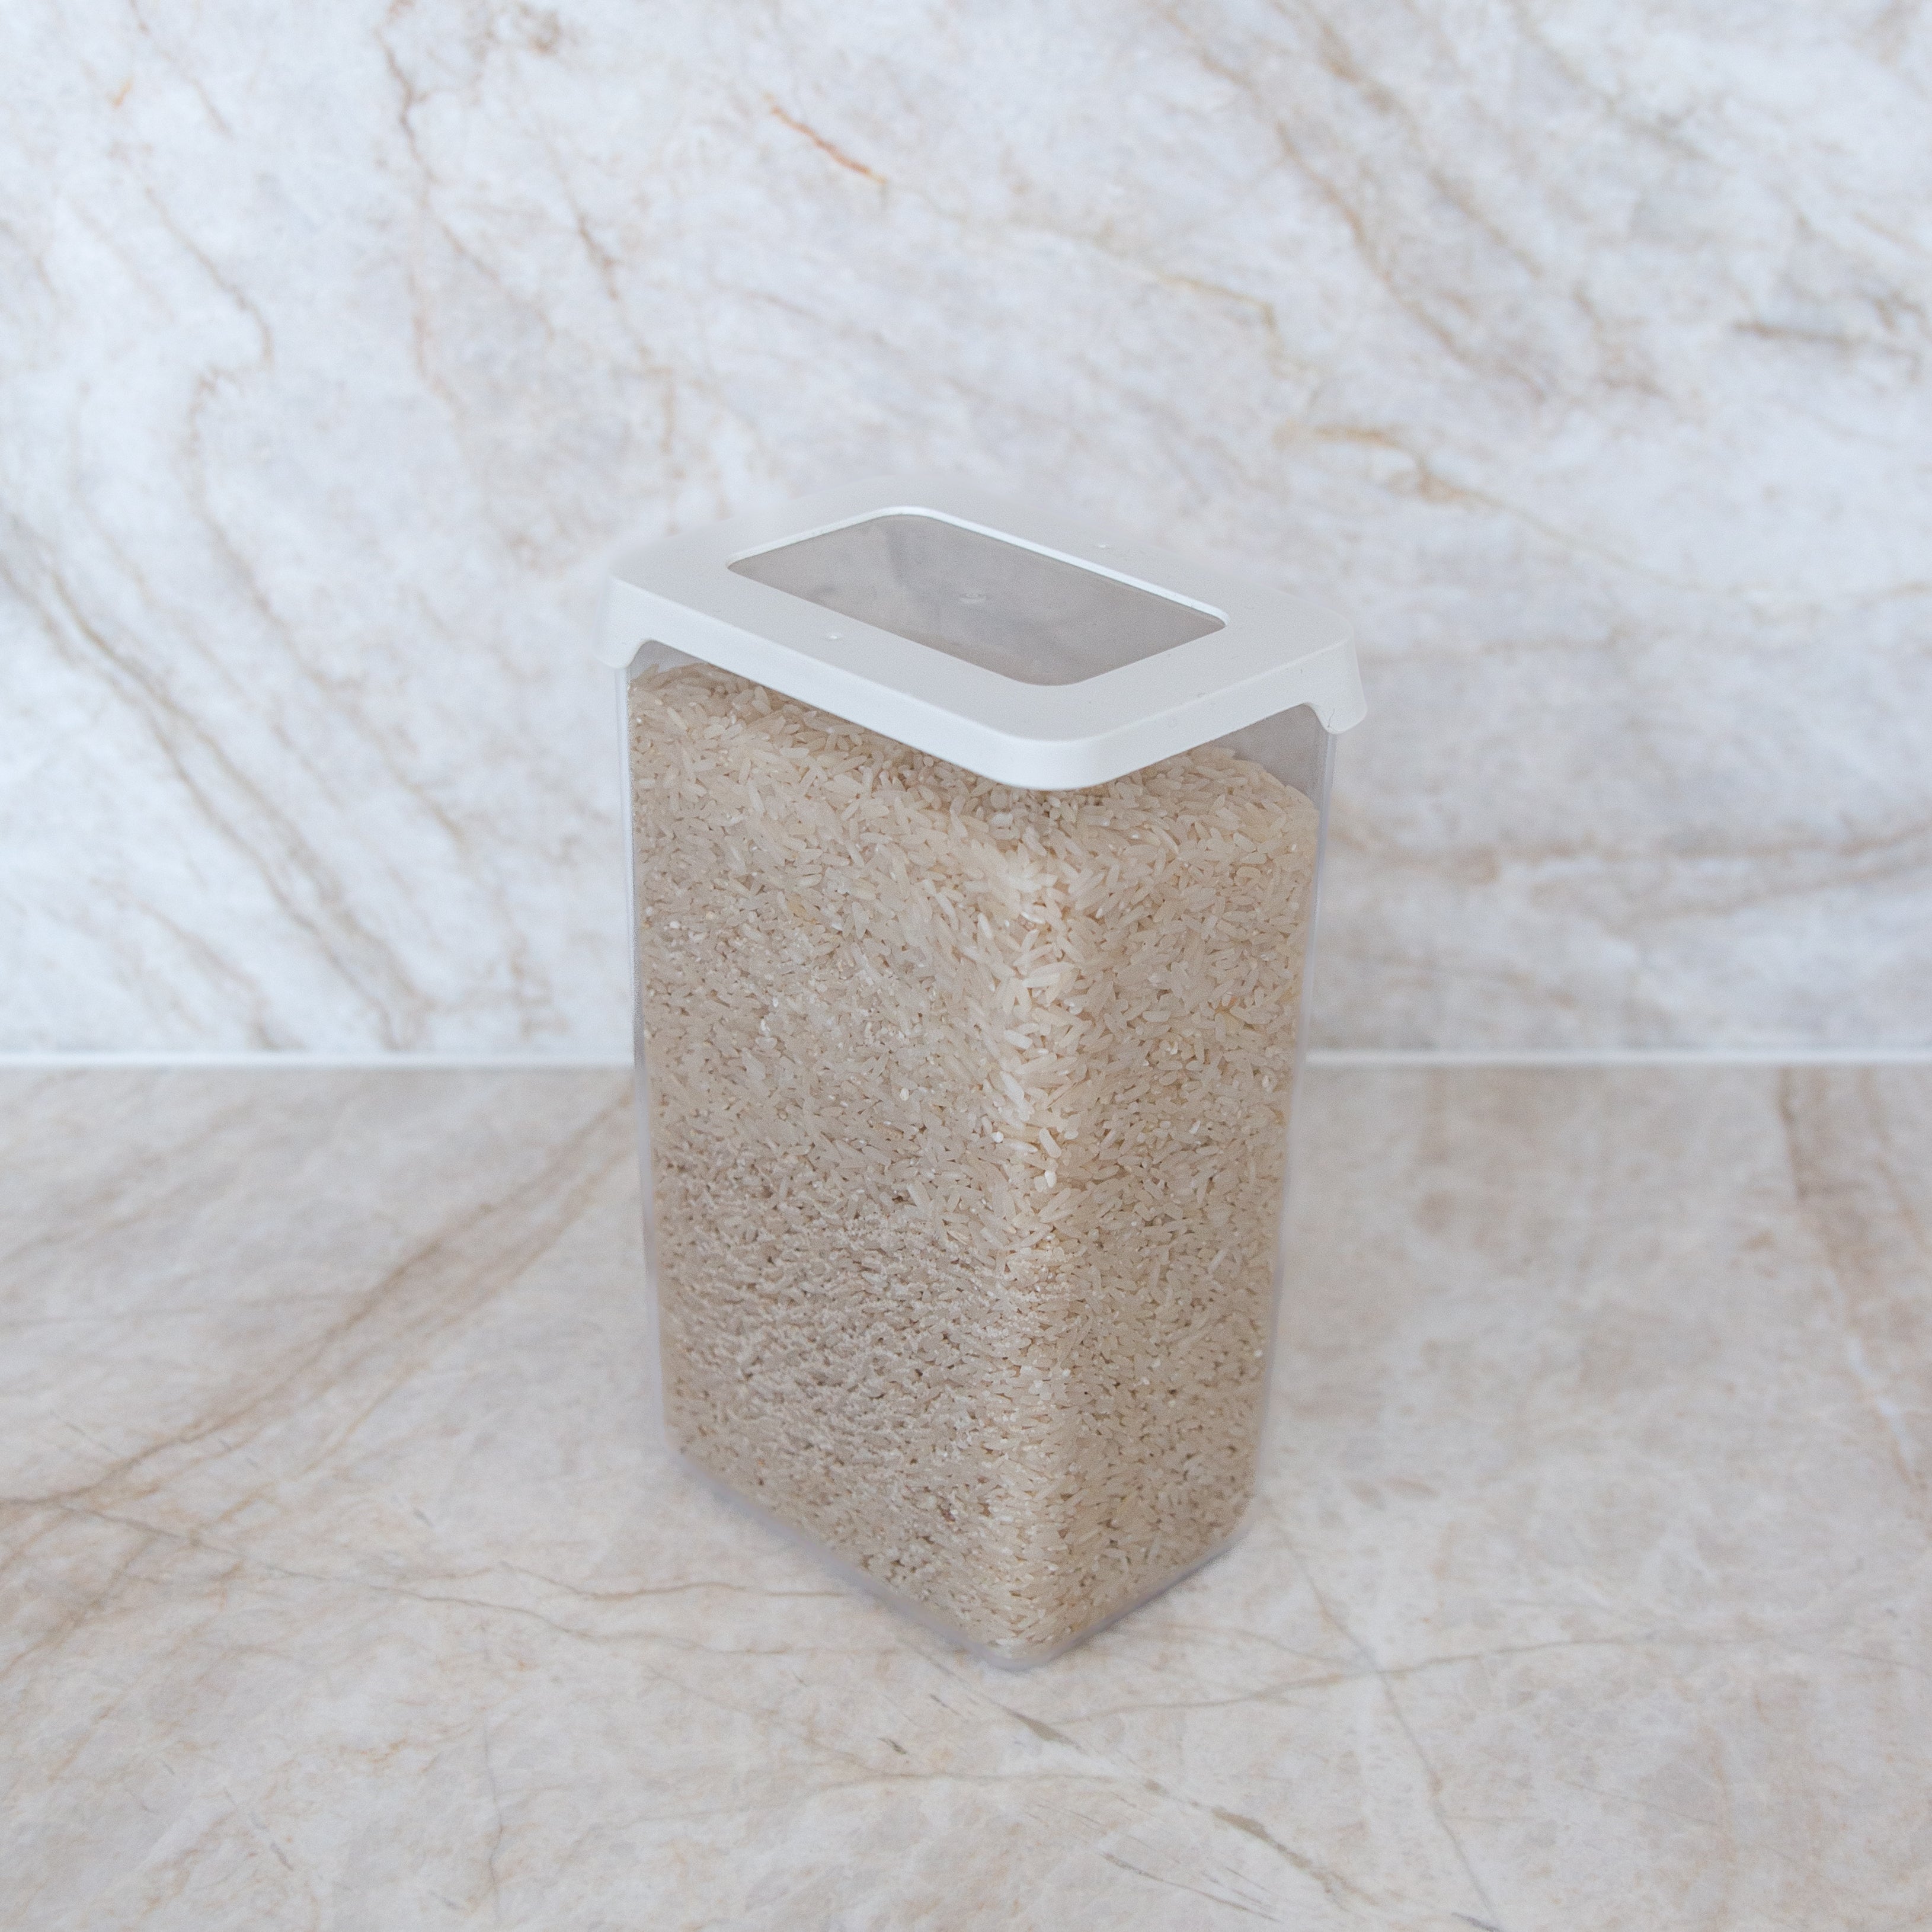
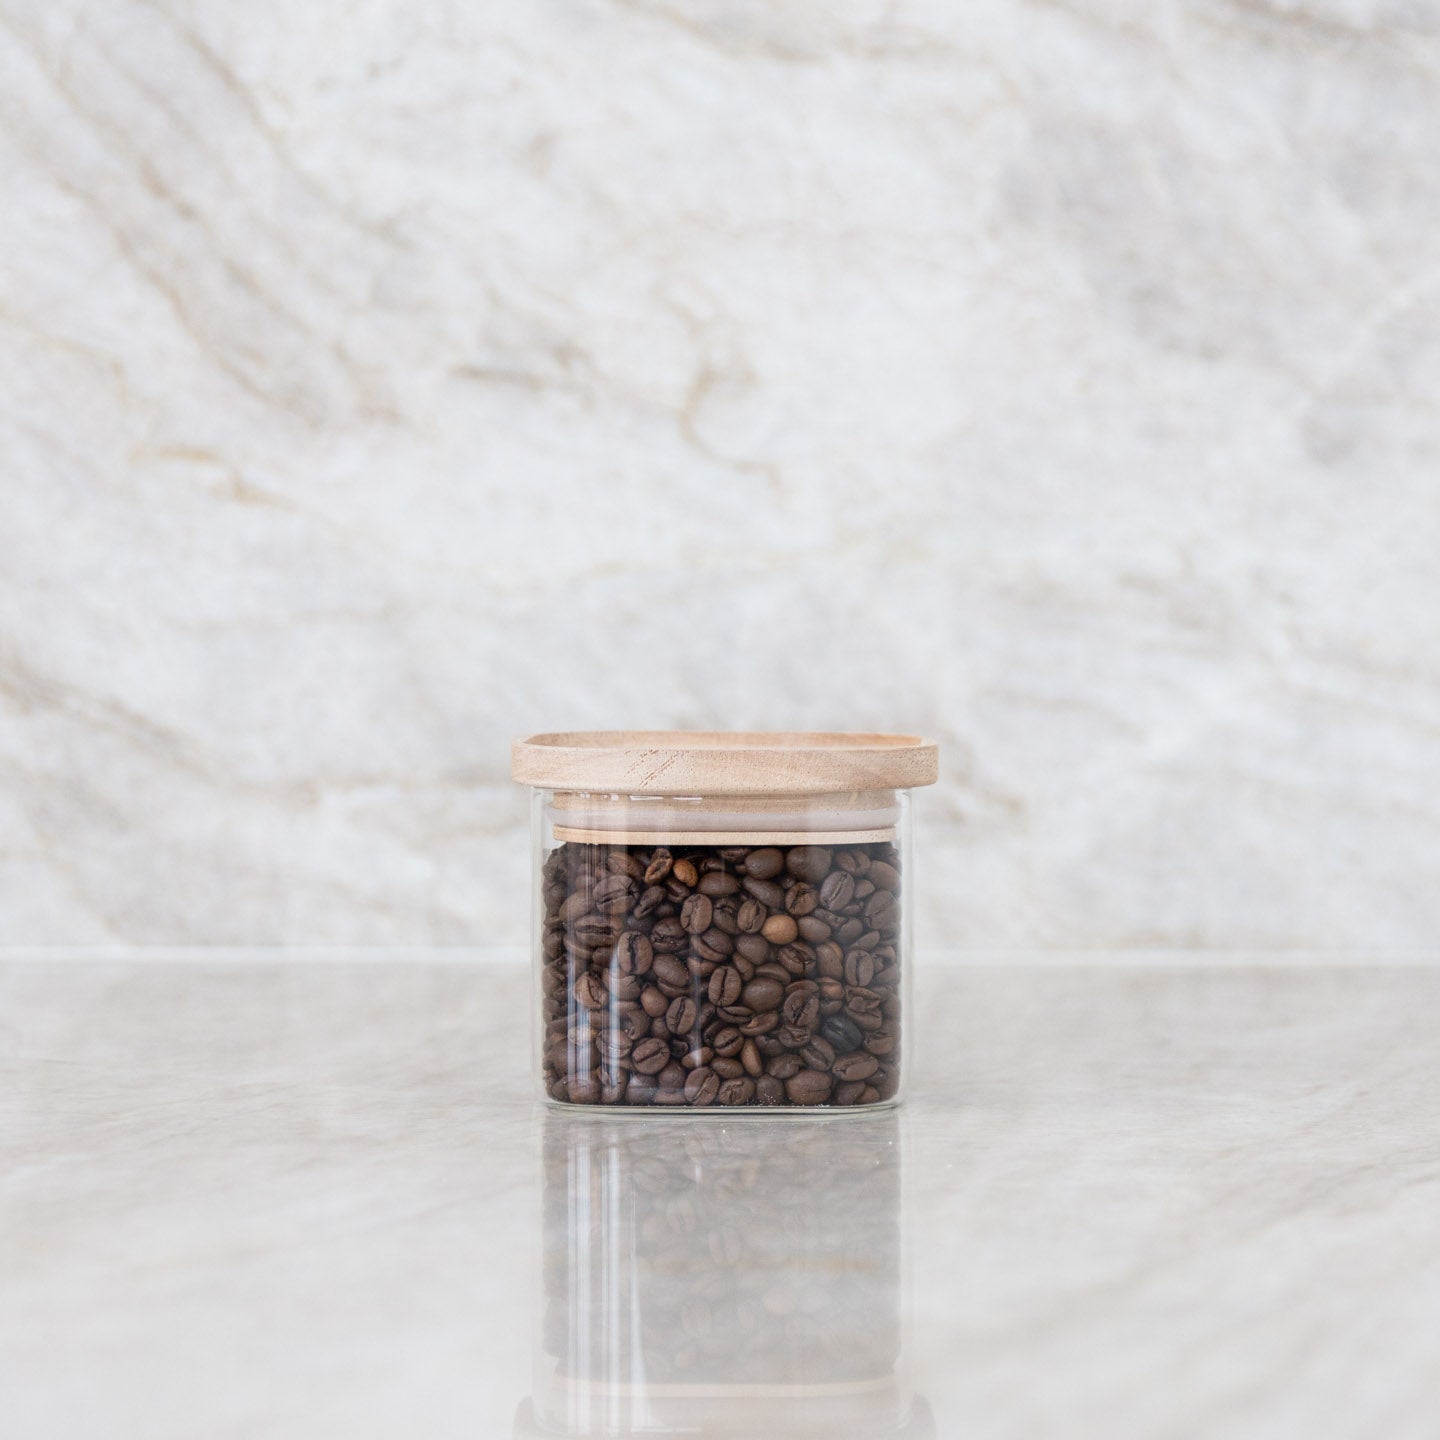
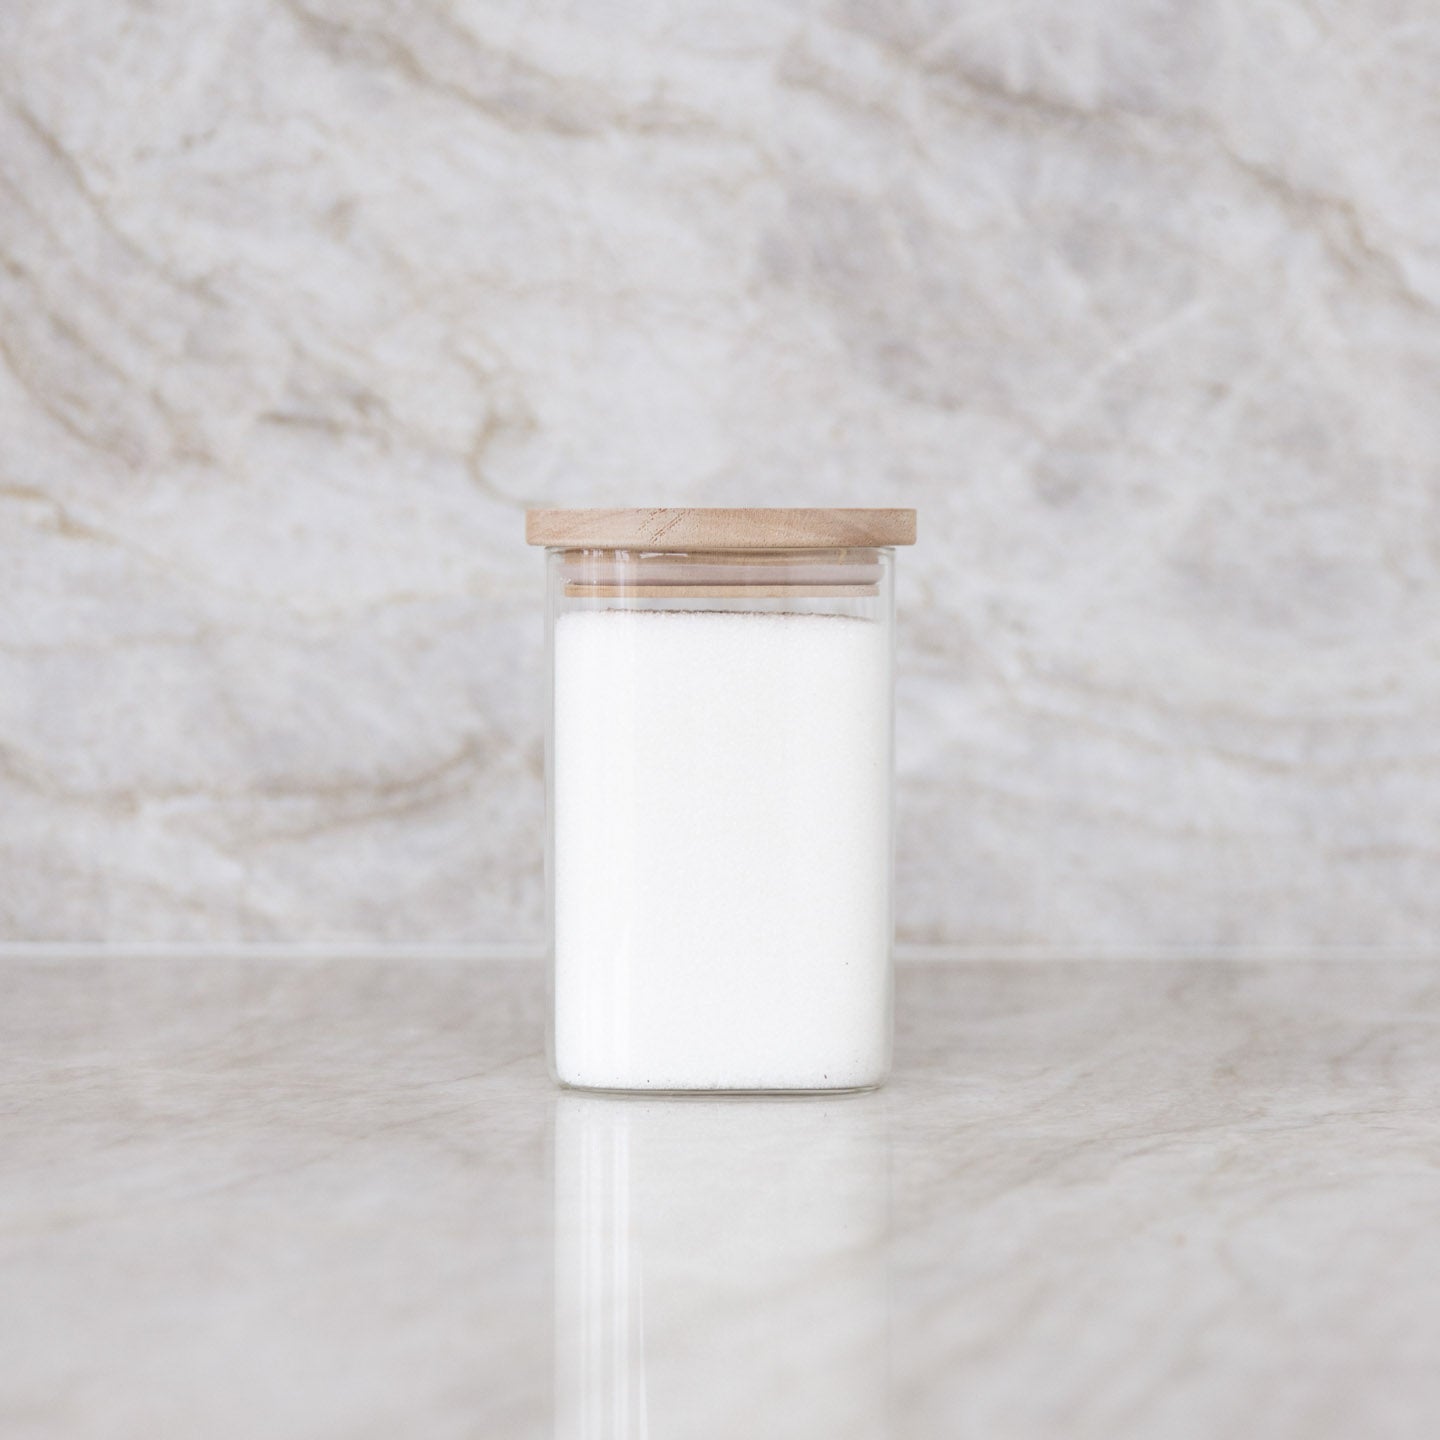
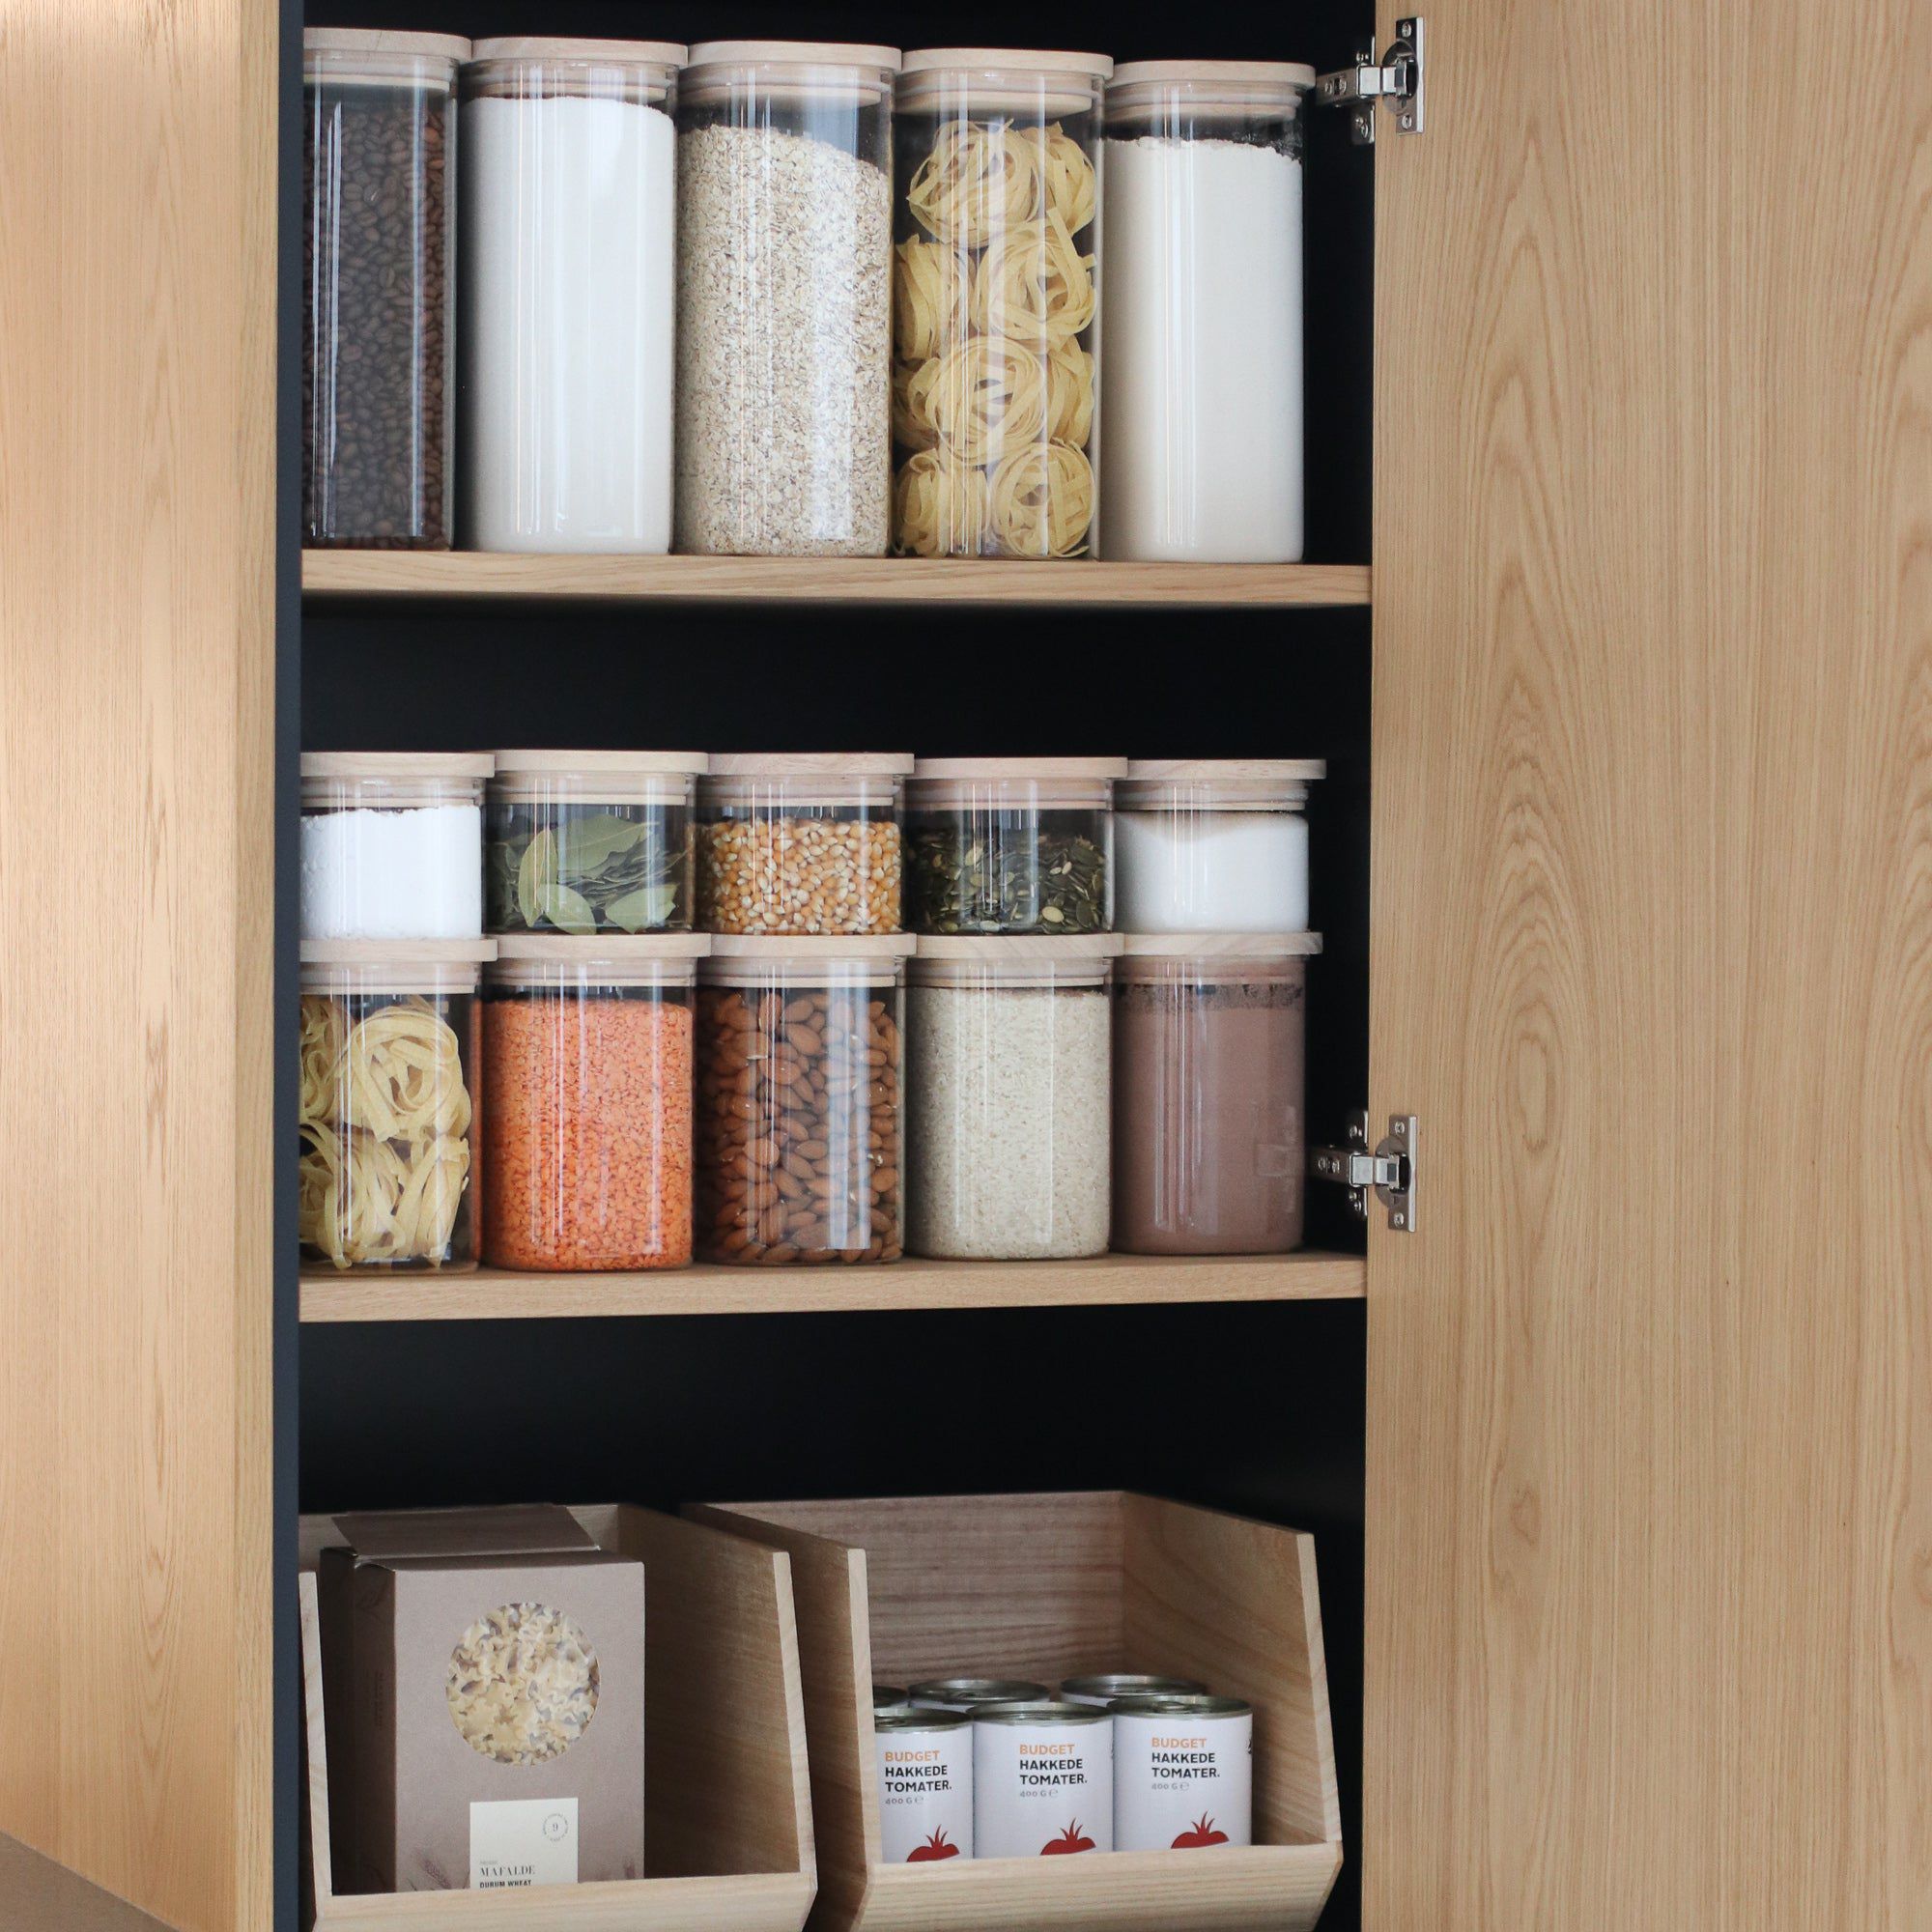
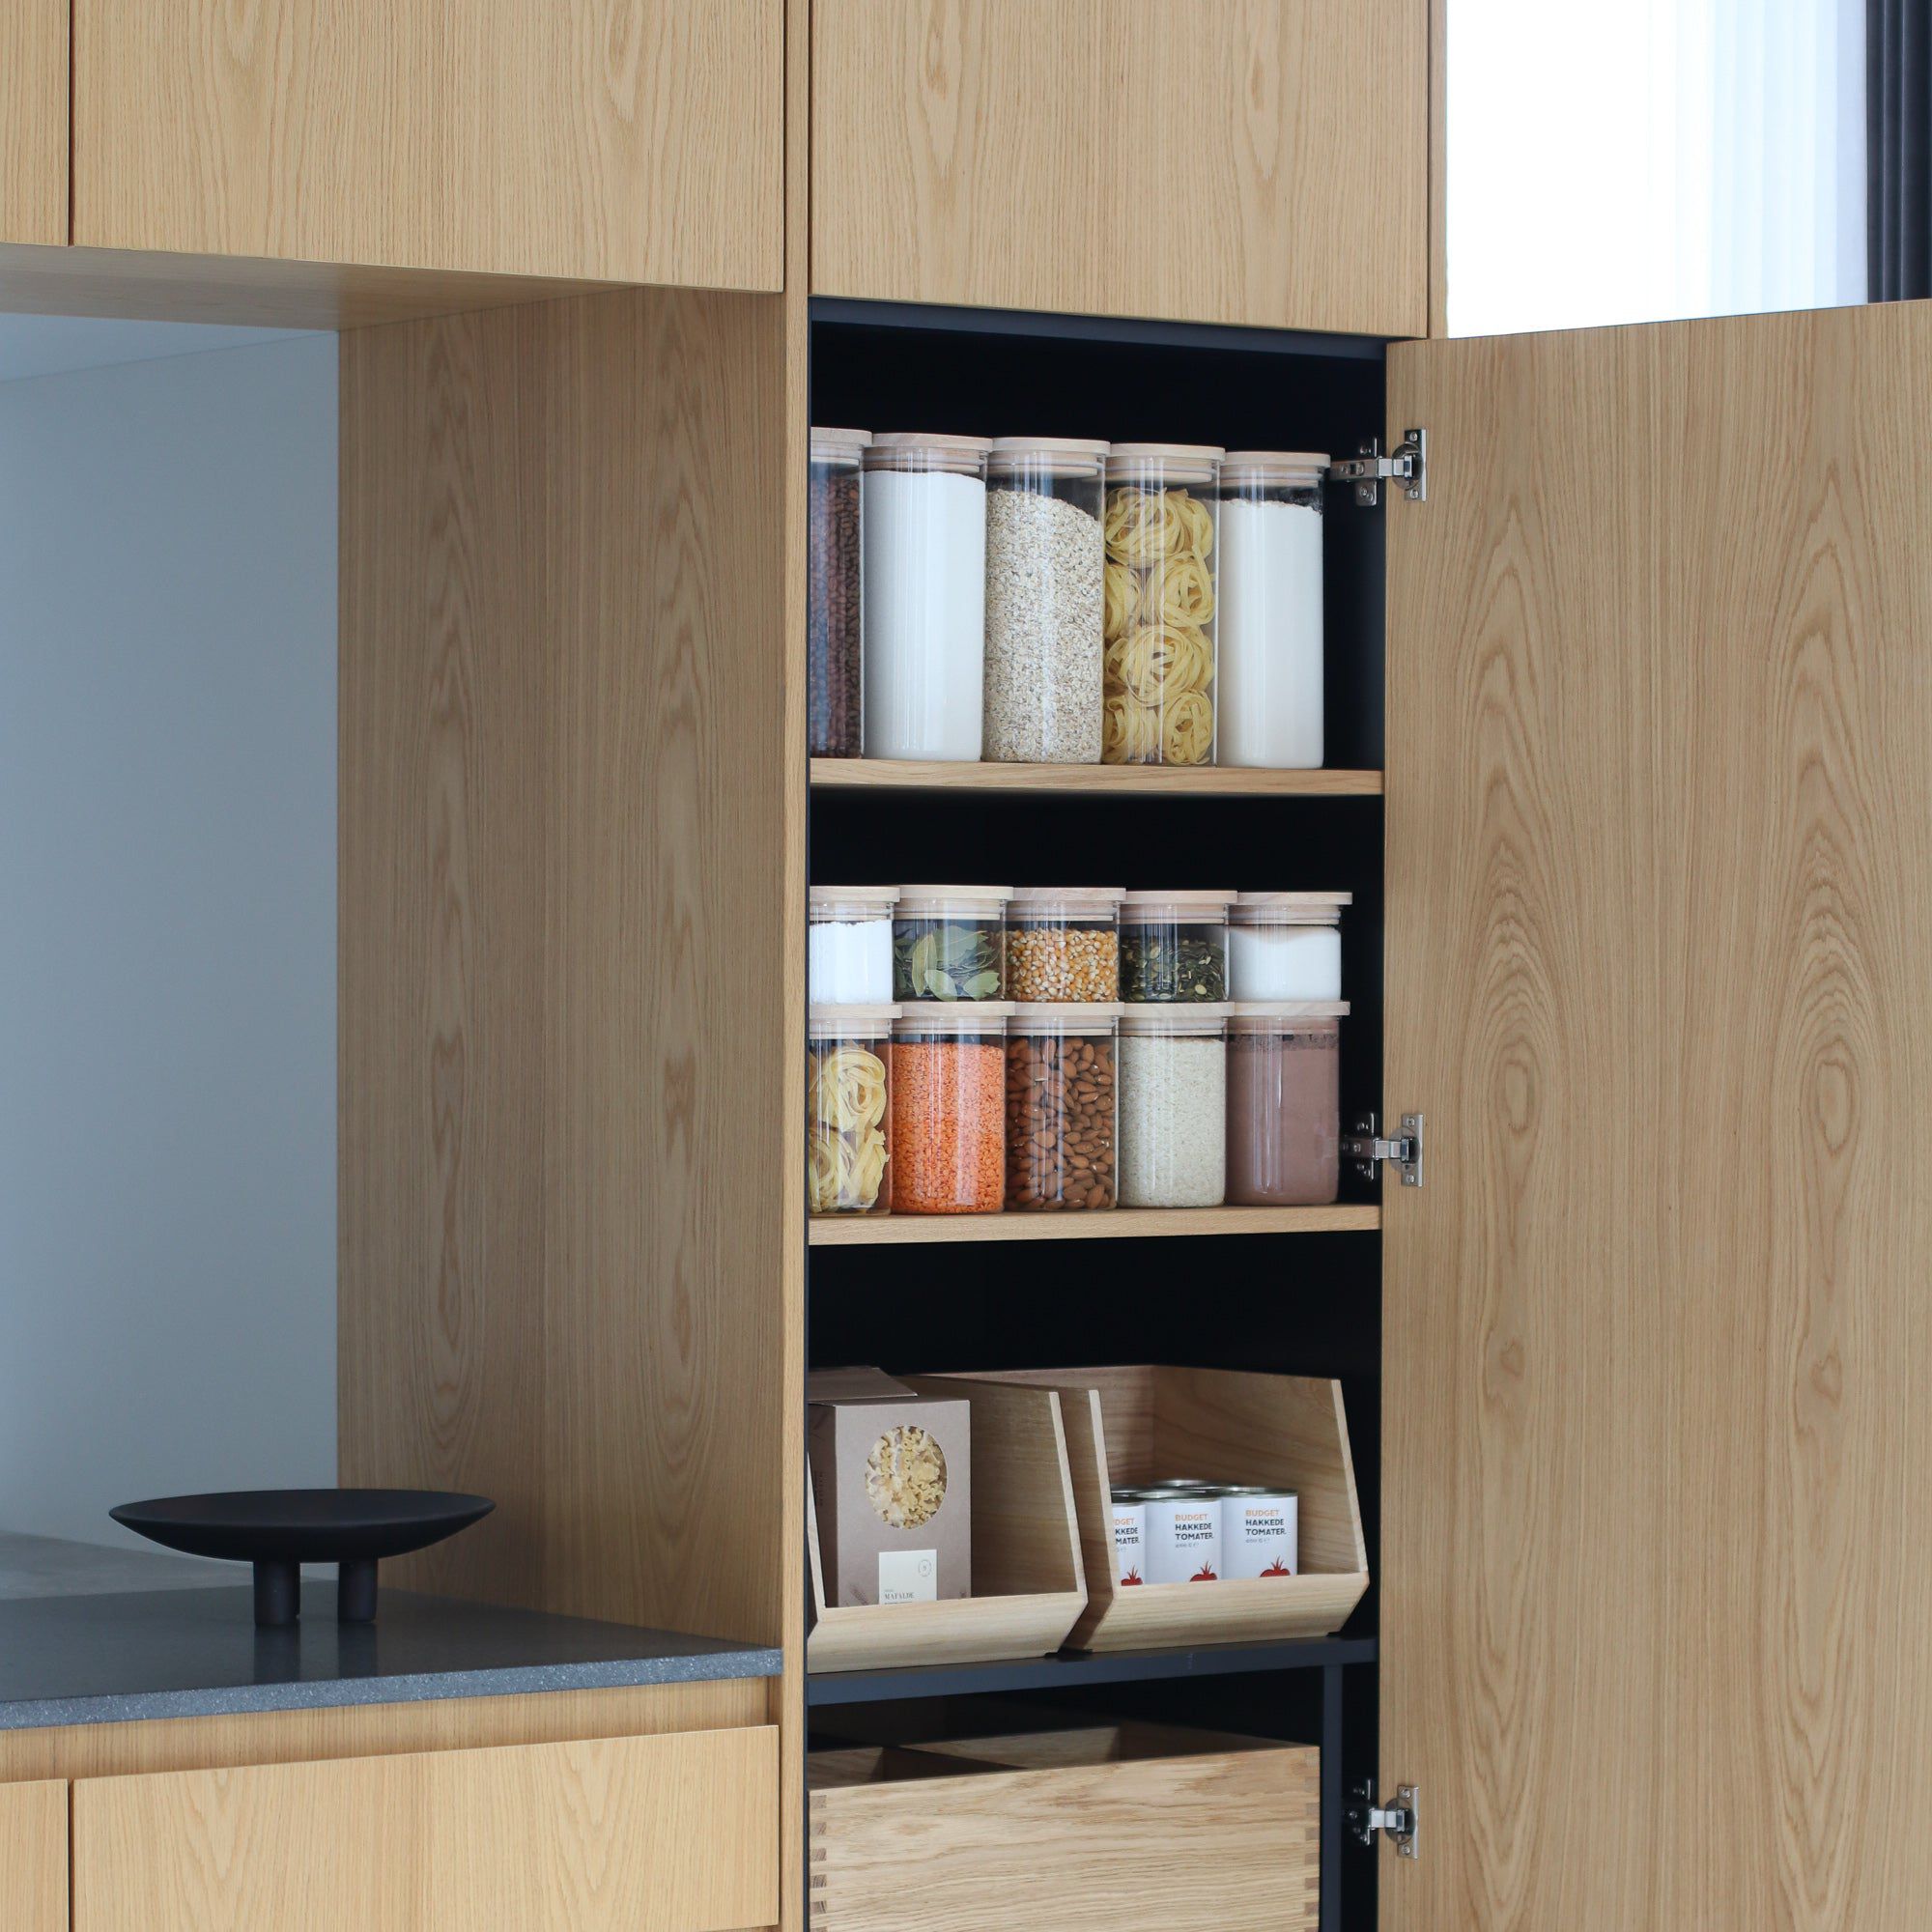
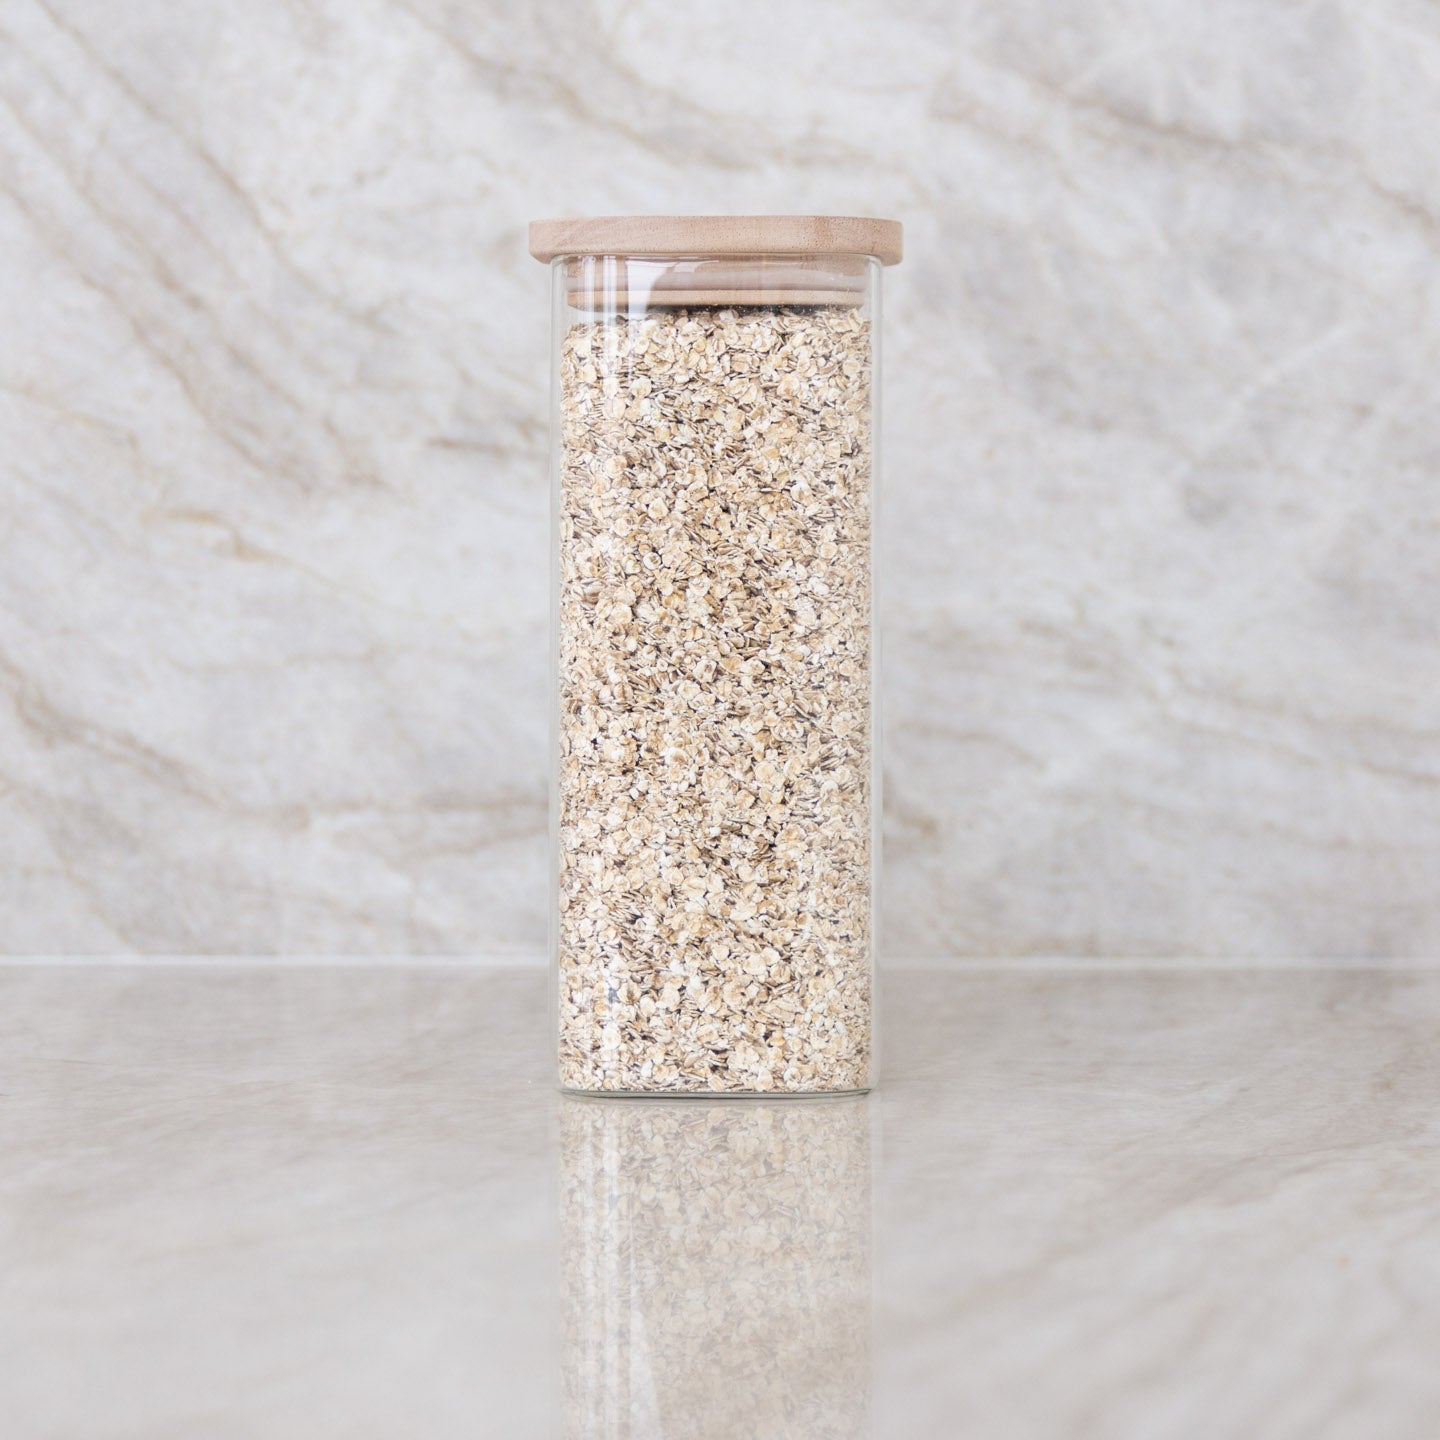
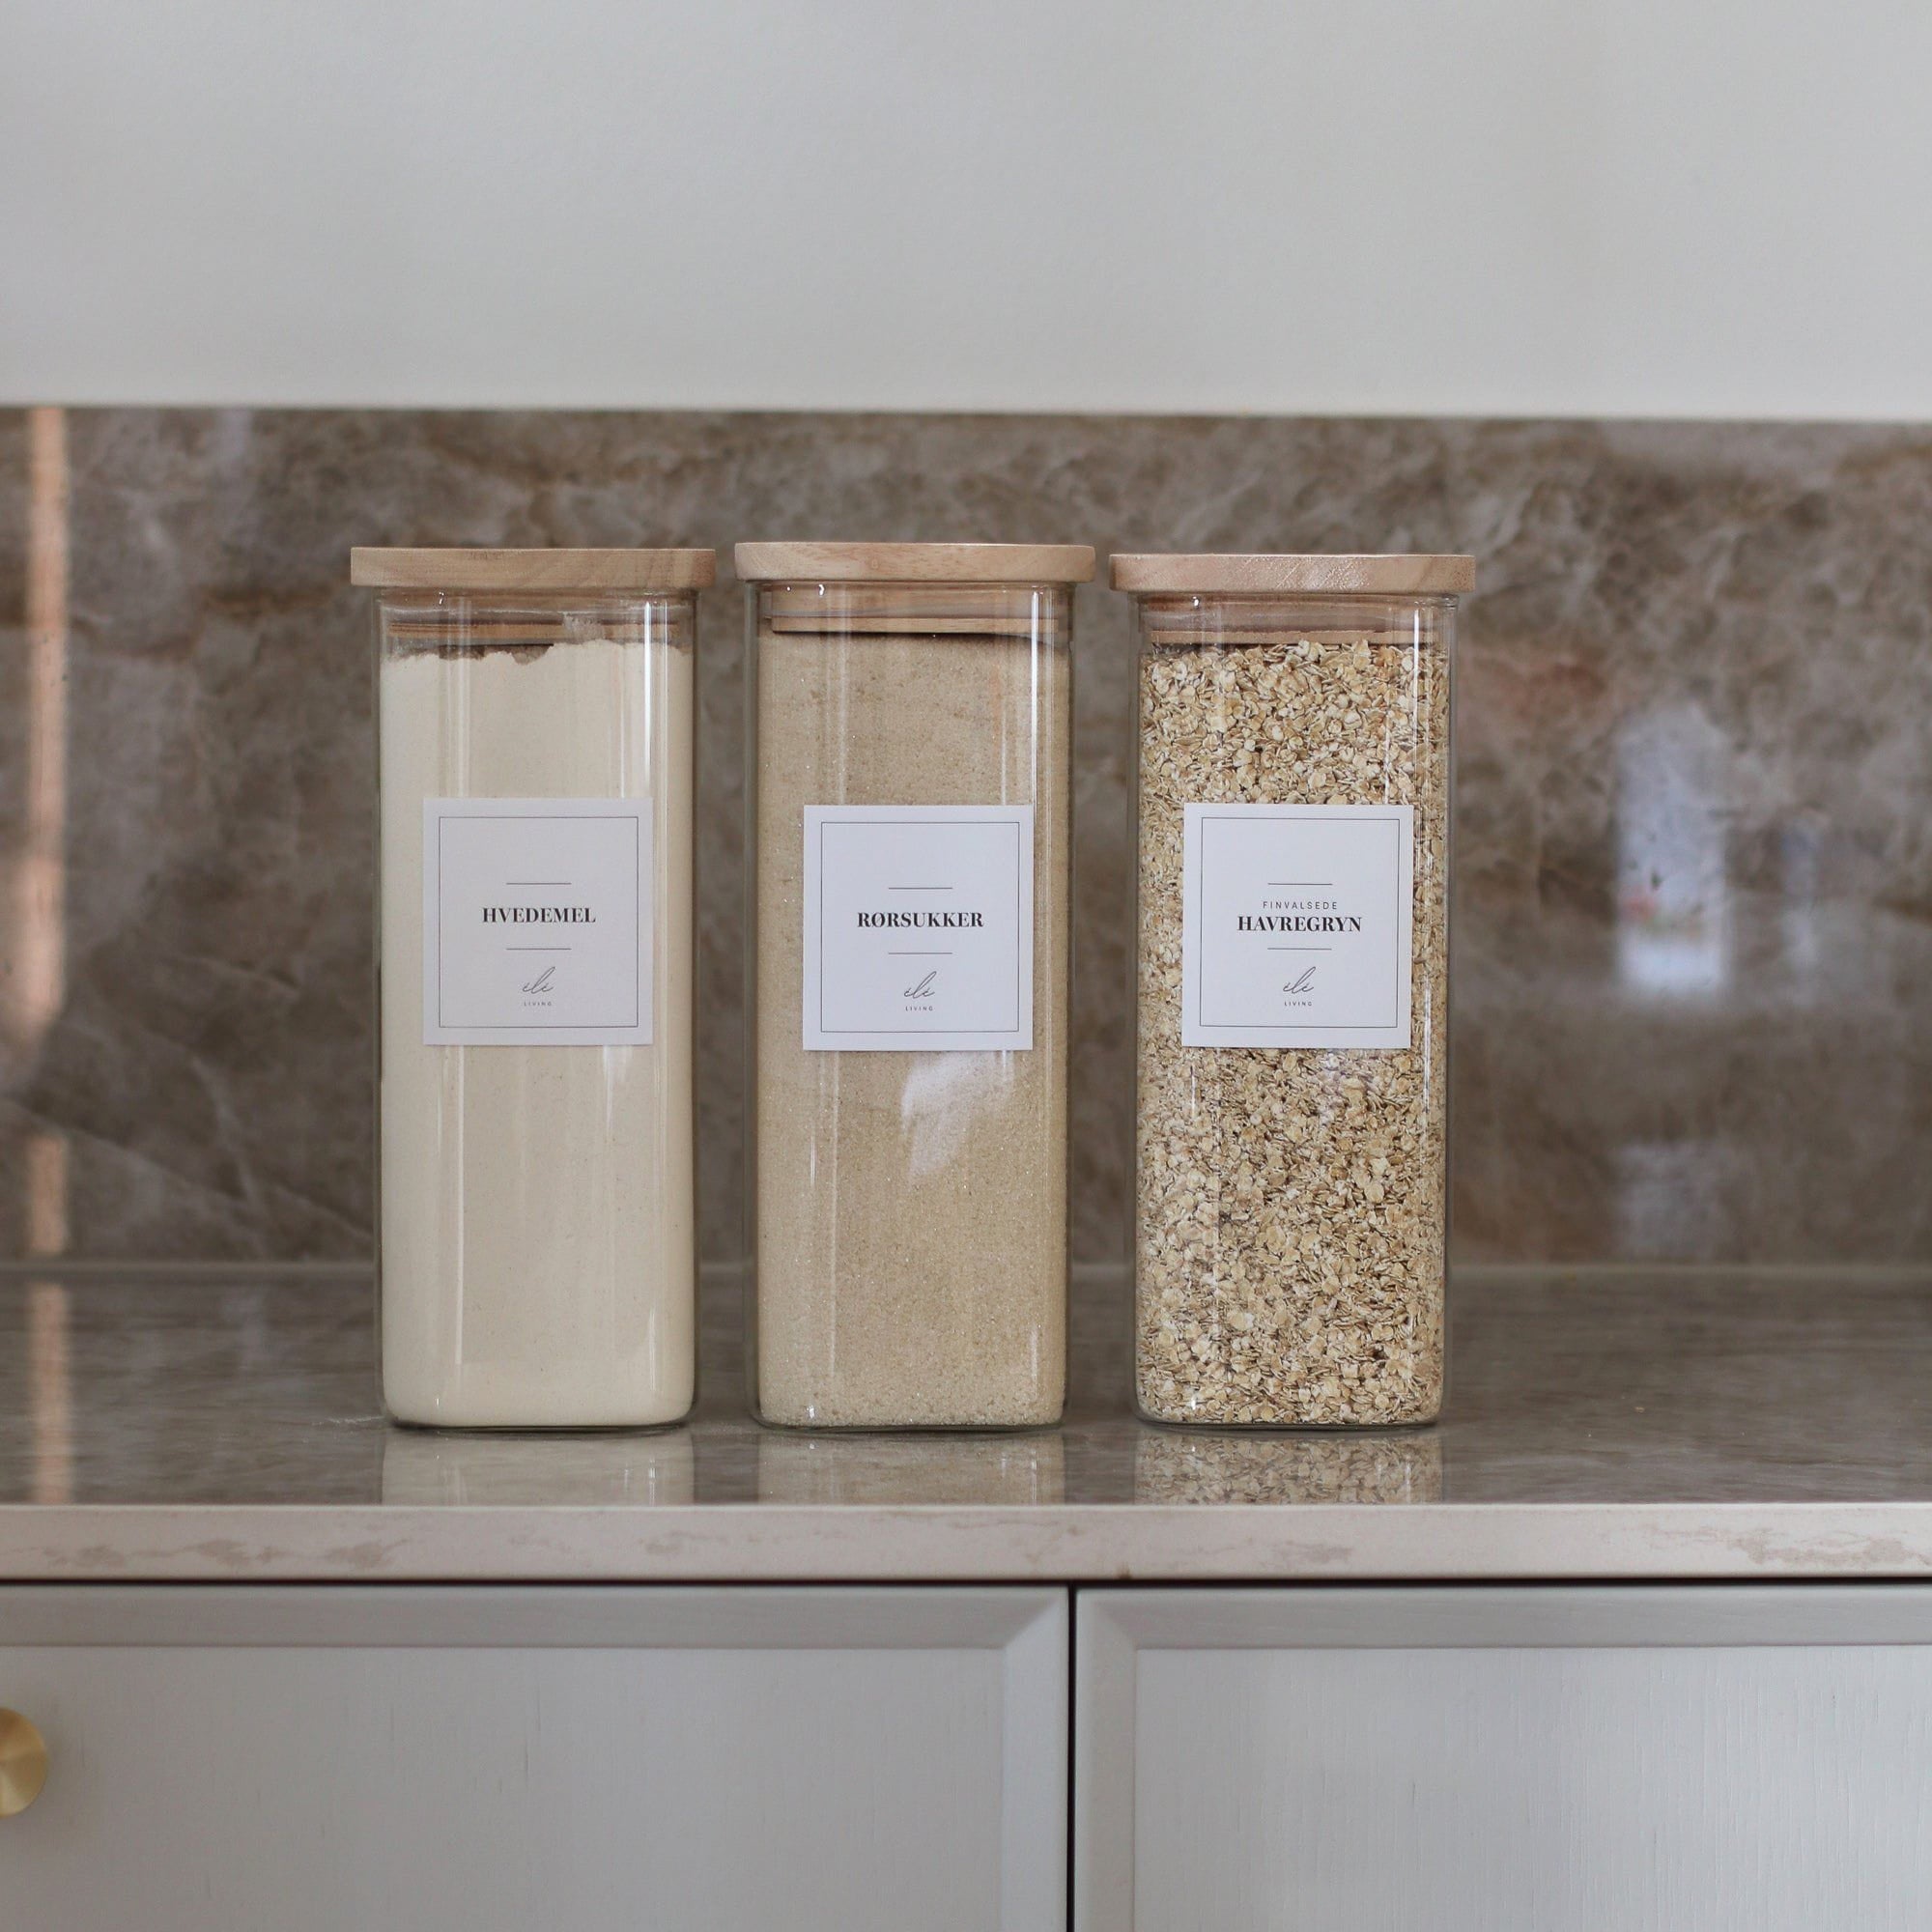
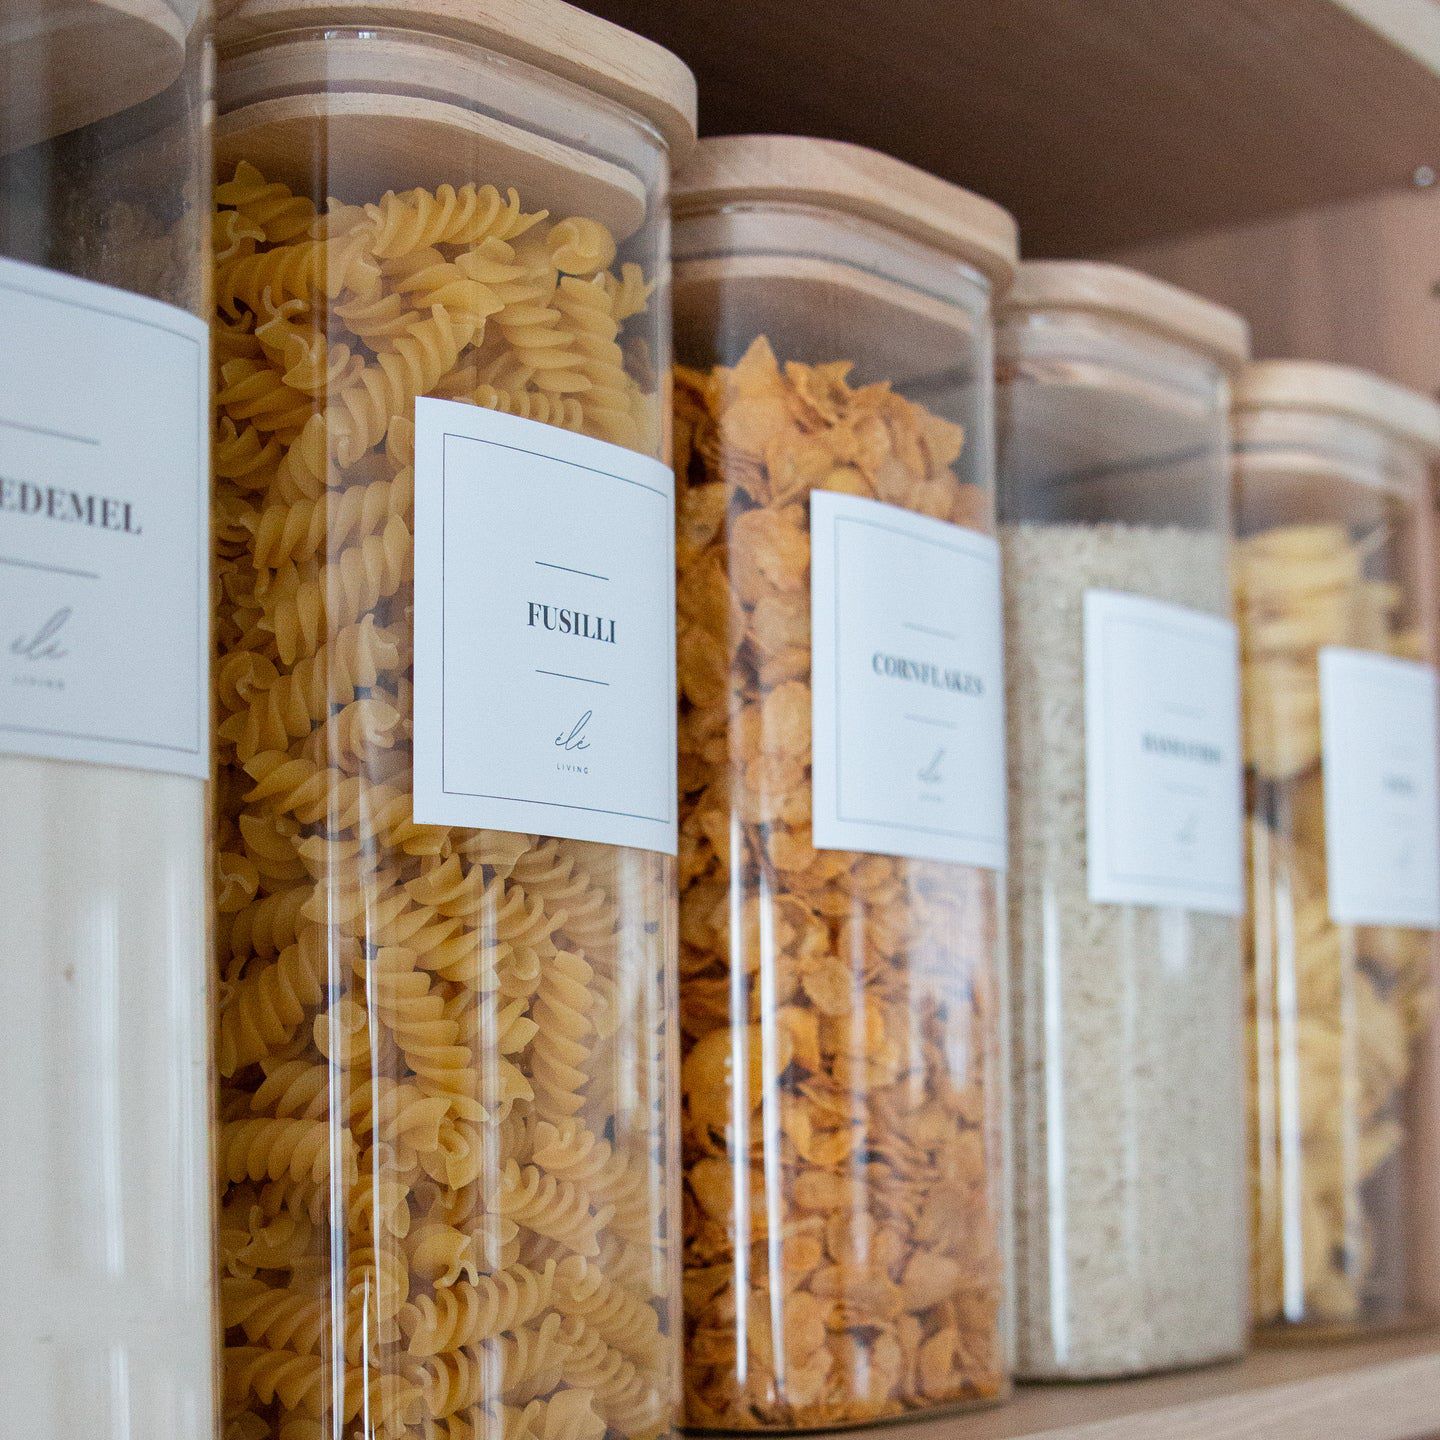
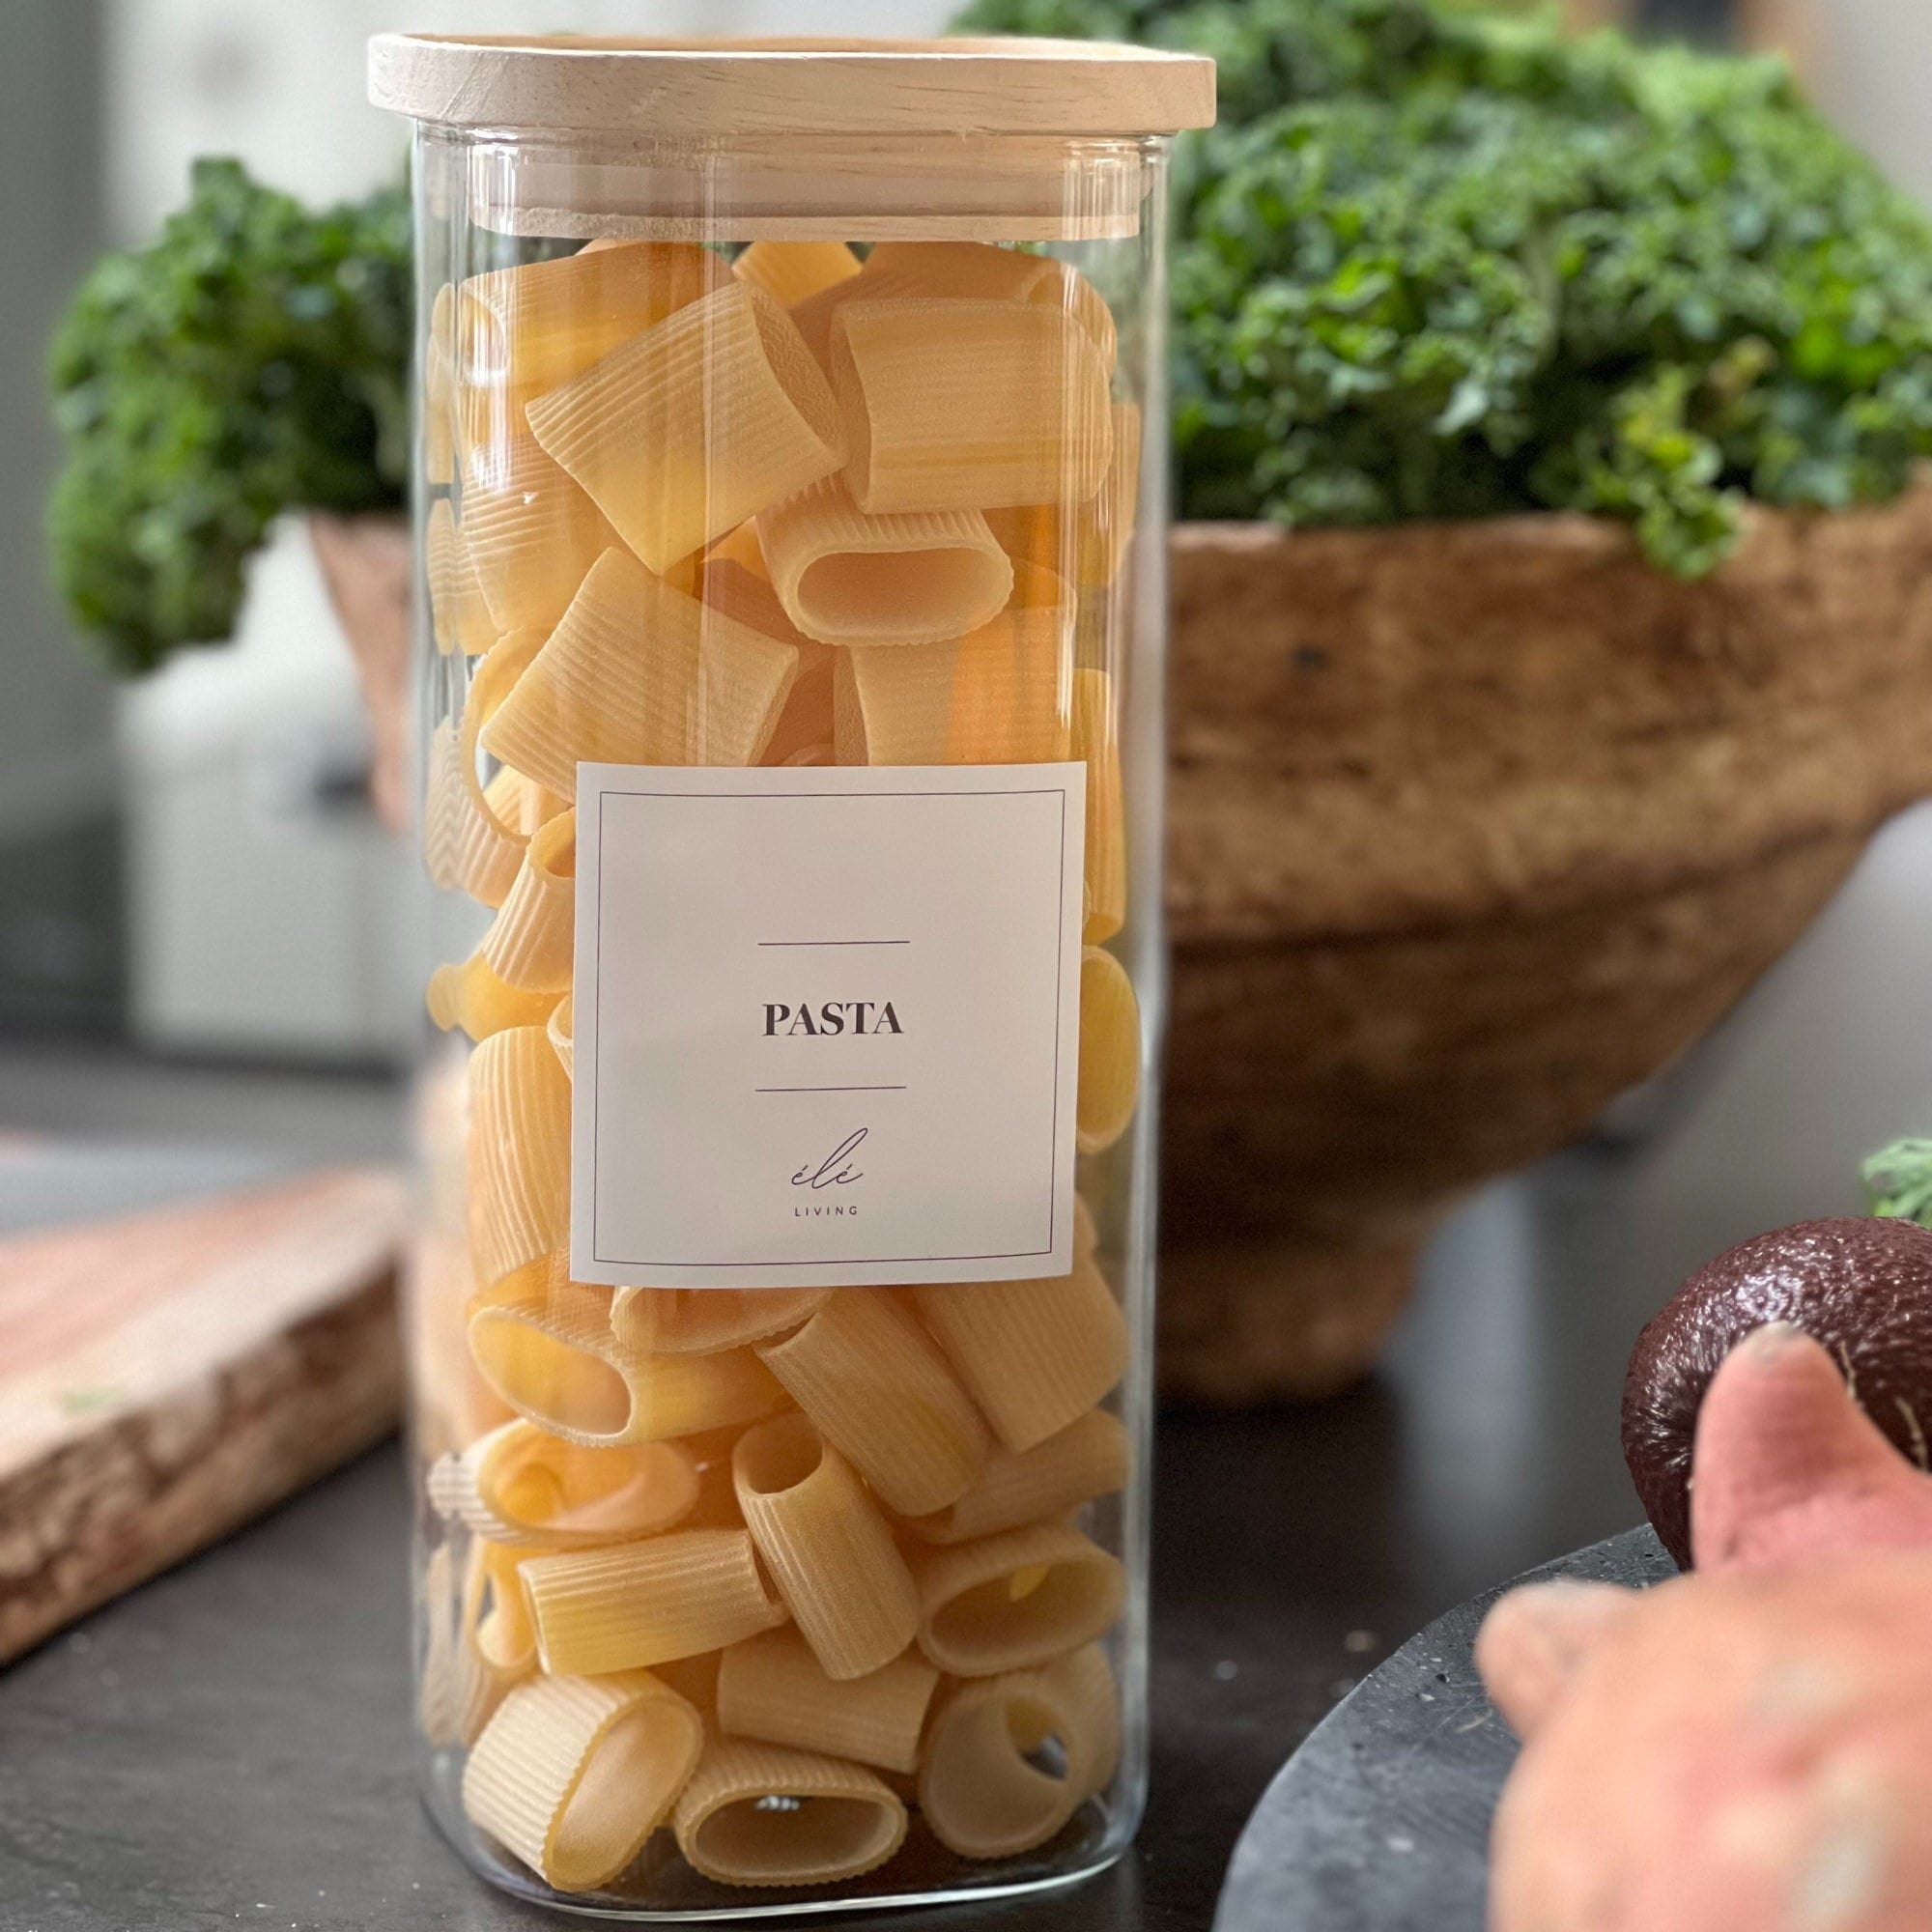
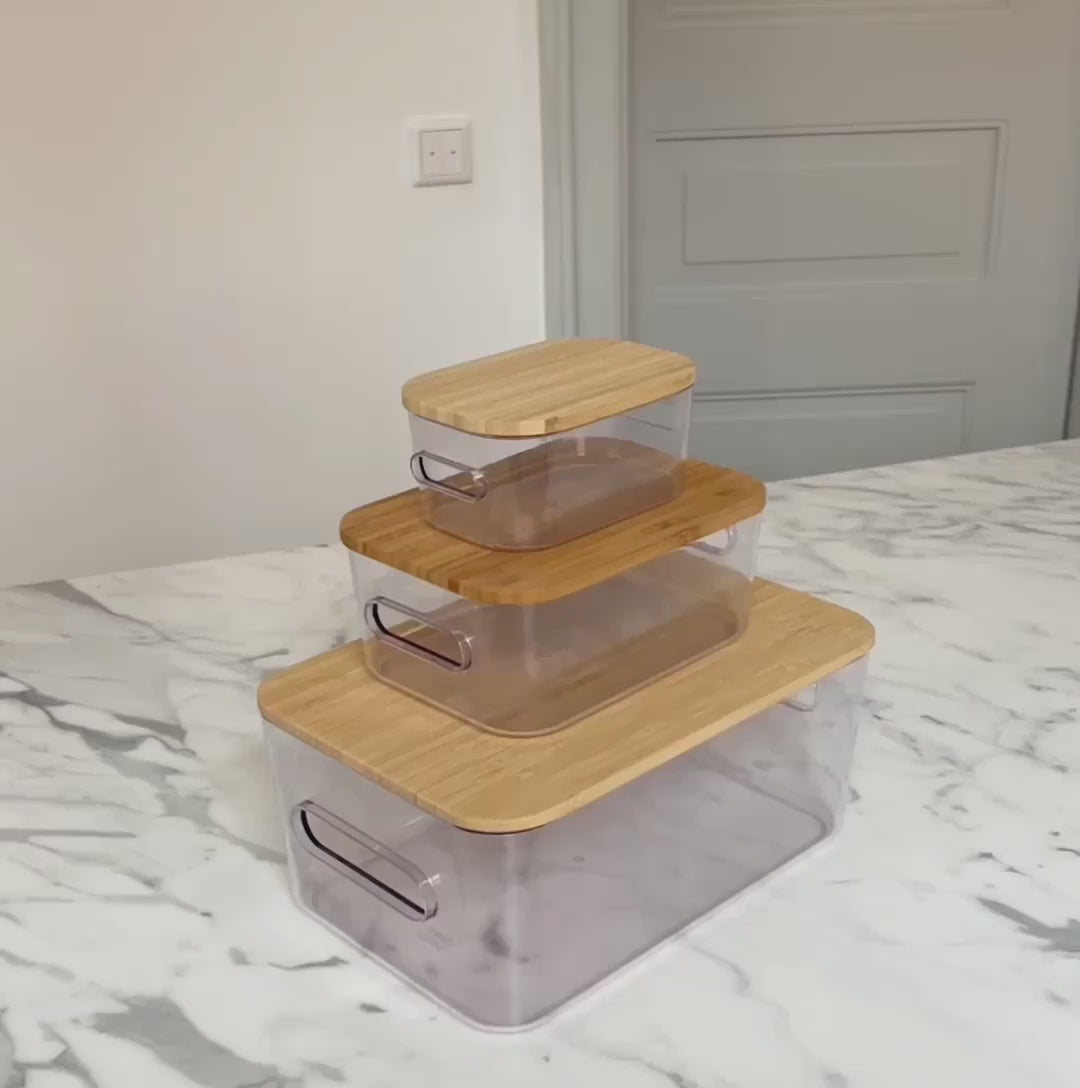
Storage jars make a clear difference in drawers and cabinets. Square jars utilise shelf depth and stand steadily side by side. Choose larger jars for staples and smaller jars for accessories. A practical example is the Square storage jar 1800 ml dark for flour, oats, or rice, and the Square storage jar 500 ml dark for nuts, seeds, or small pasta twists. The solid lids provide a calm aesthetic and help keep pests out while maintaining an overview of the contents.
How to get started
- Wash and dry jars, pour in dry goods, and keep a small piece of the packaging's cooking instructions at the bottom of the jar.
- Arrange jars in rows by category, for example, baking, grains, pasta, and snacks.
- Place the most frequently used items in the front row and at eye level to make daily life flow smoothly.
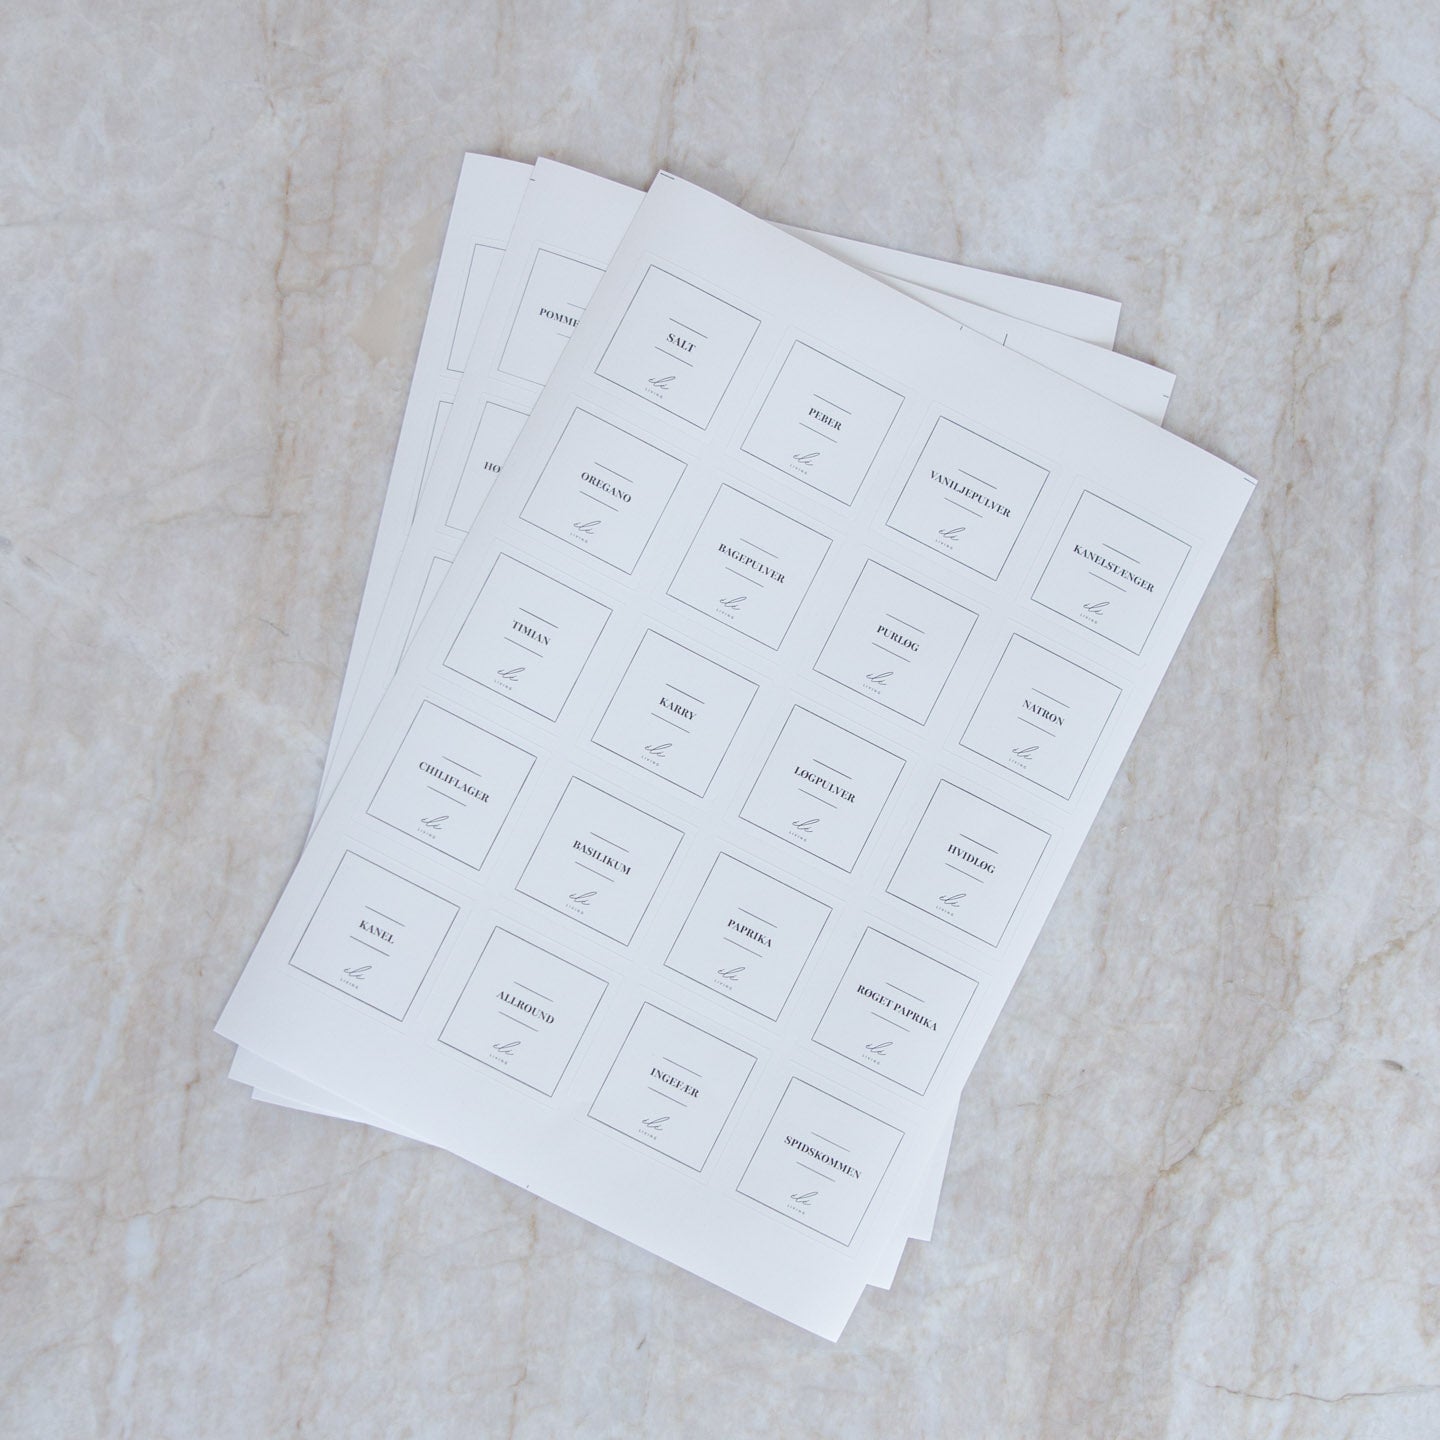
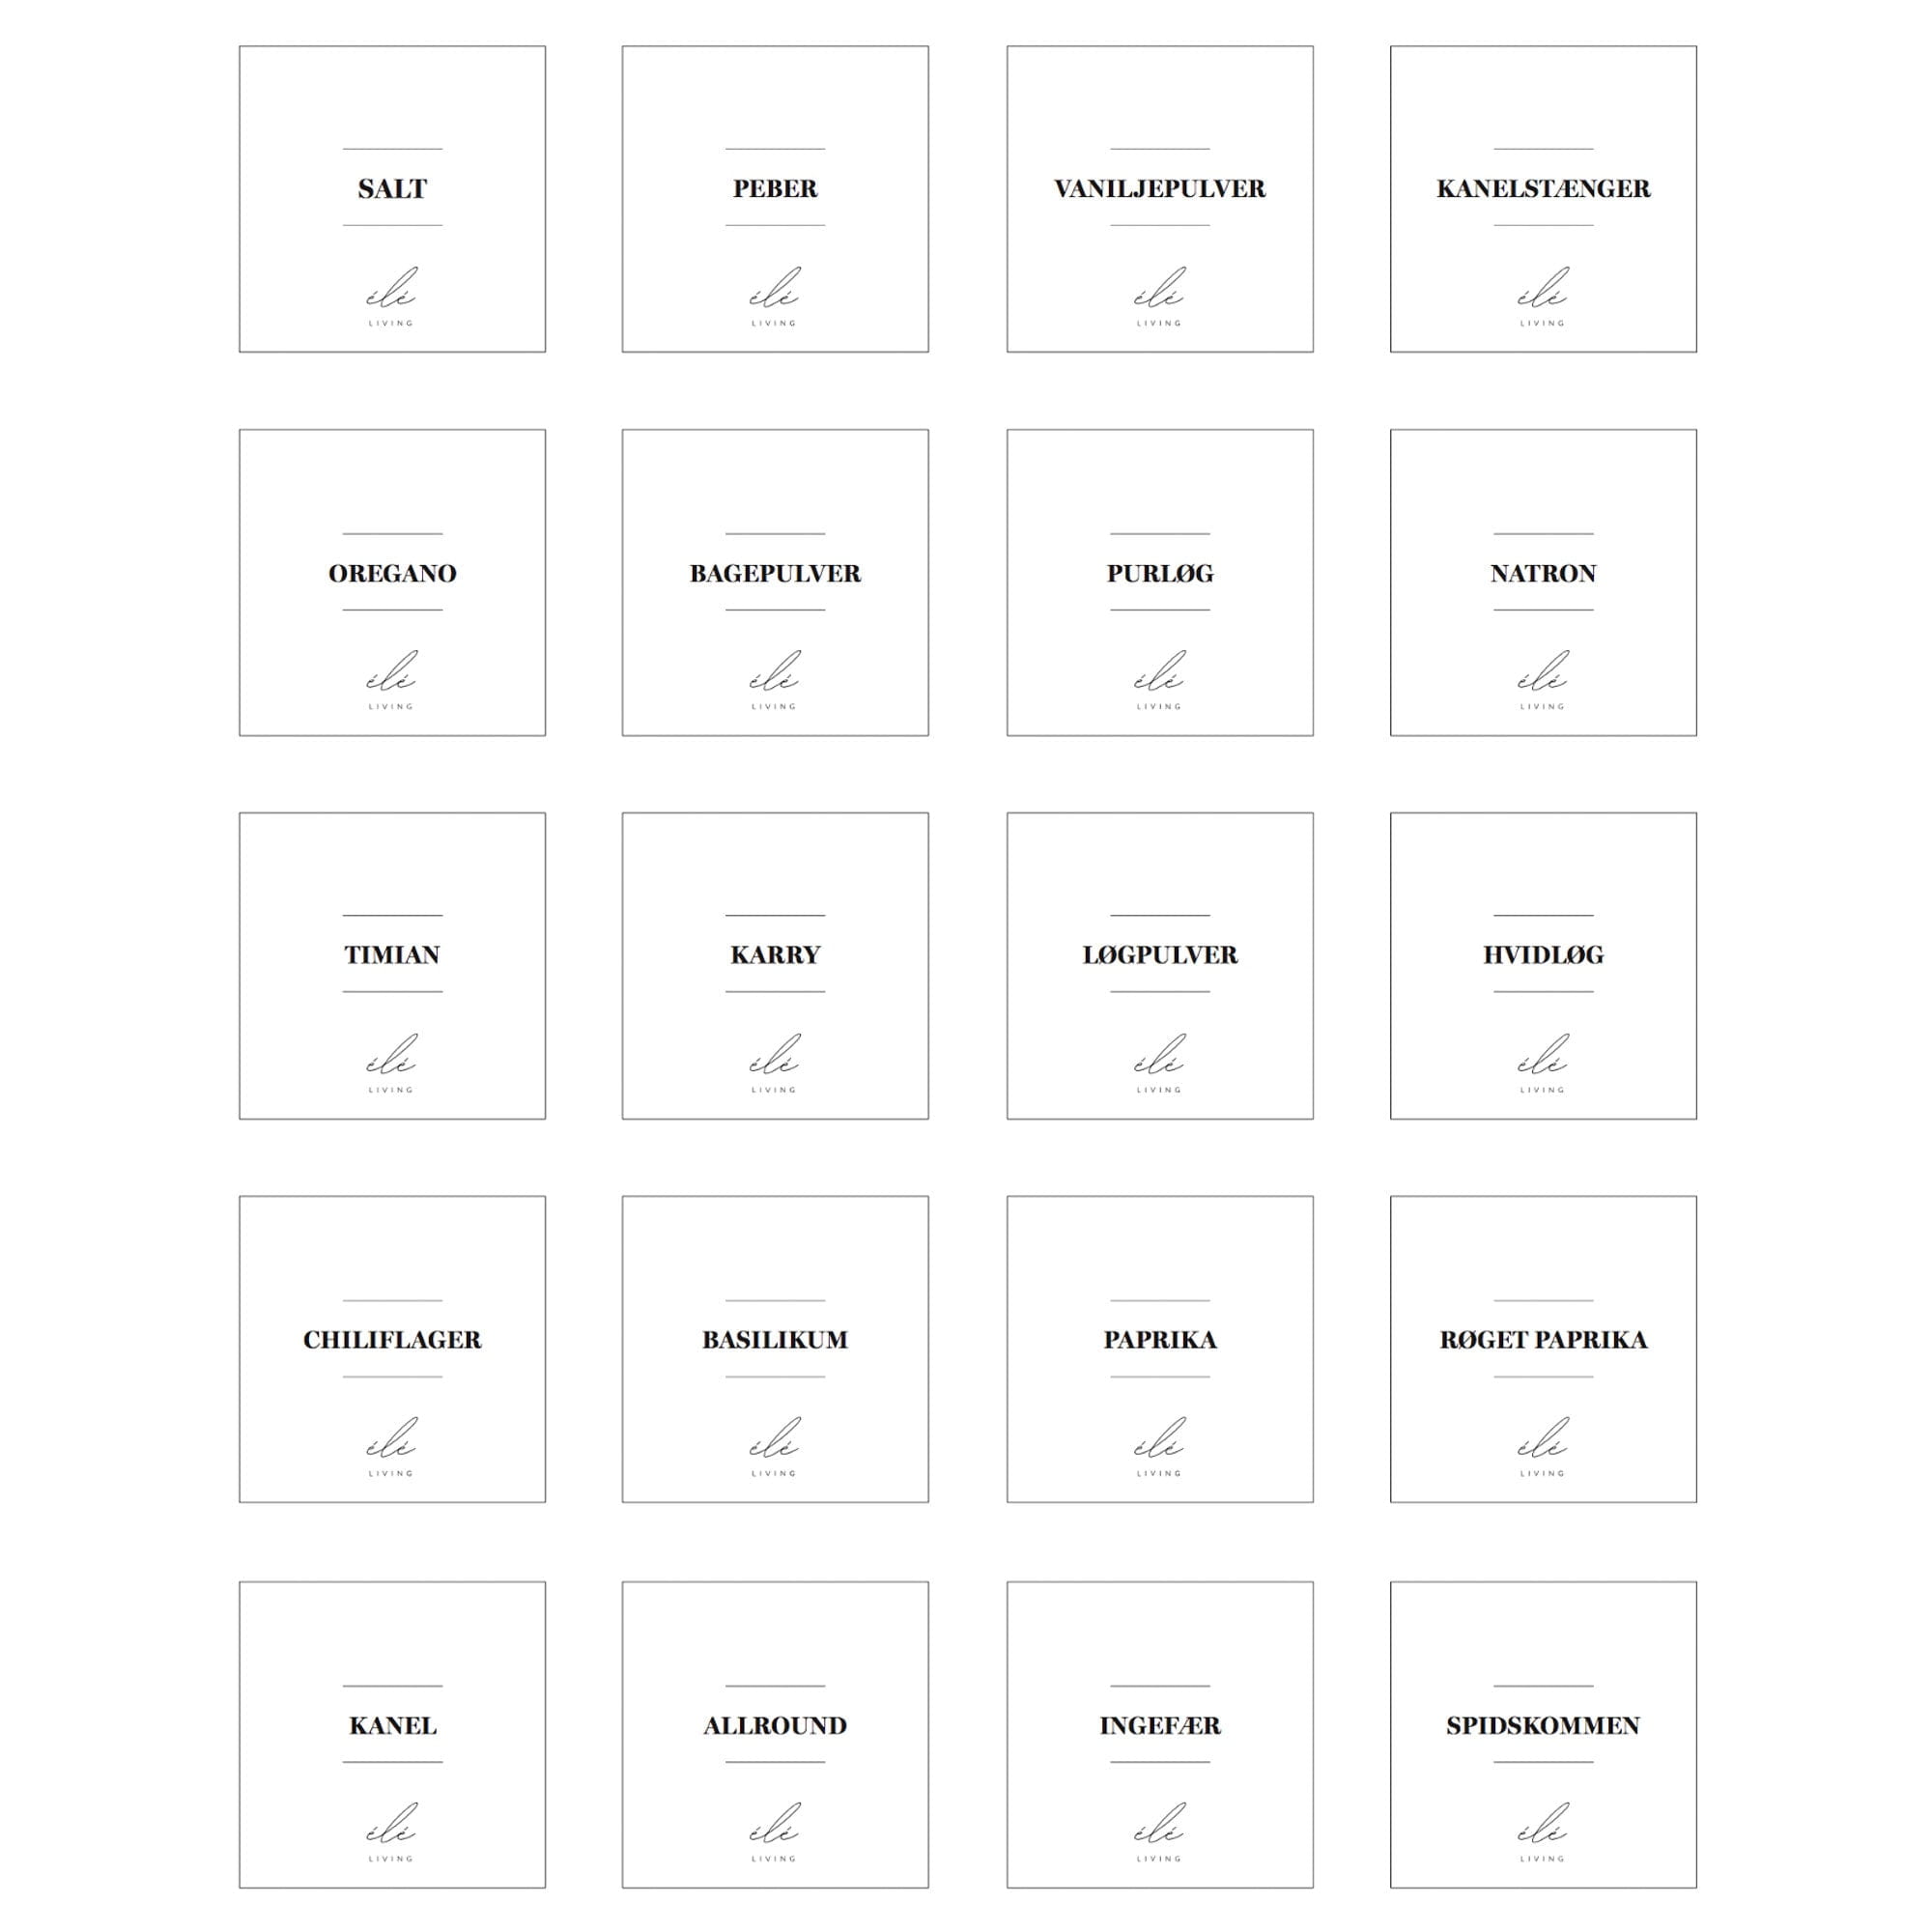
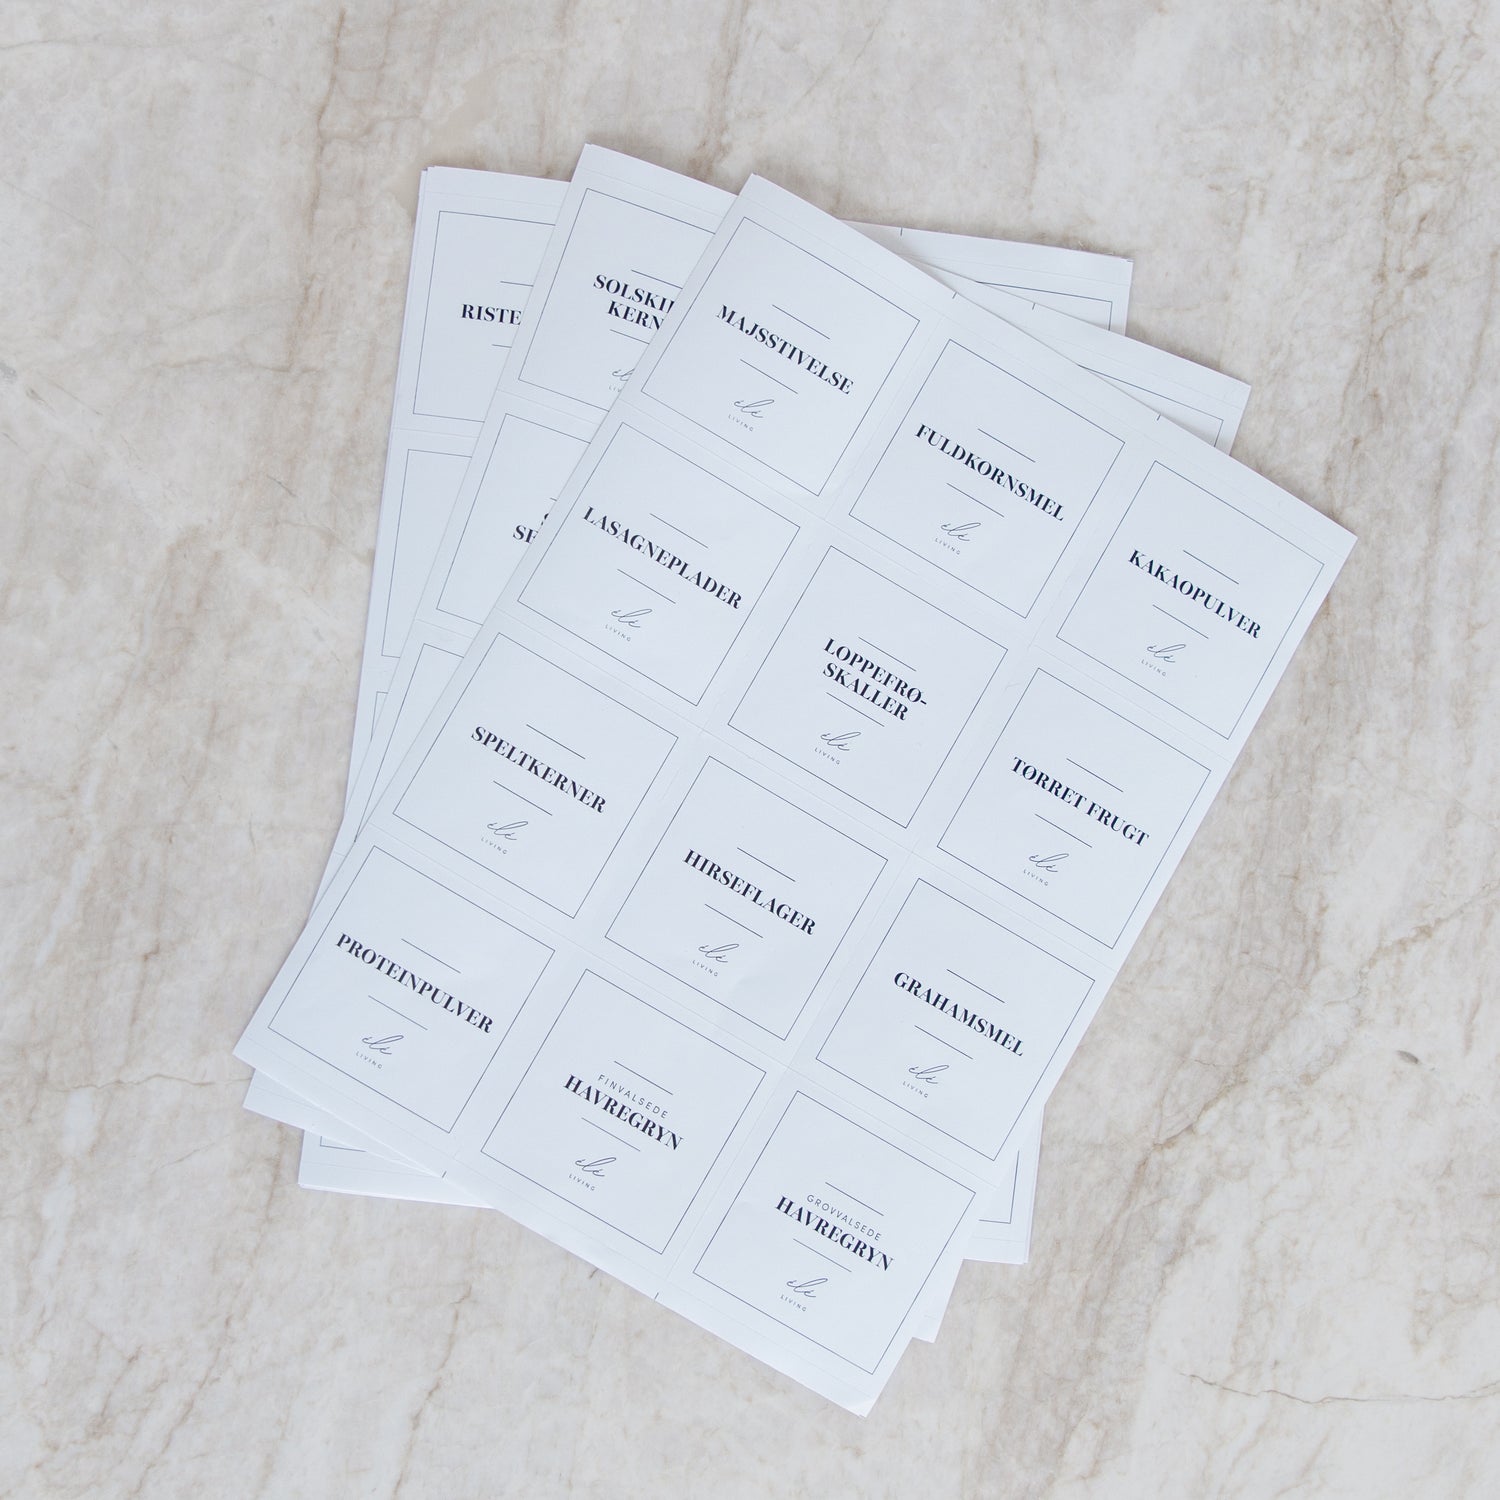
Labels for dry goods
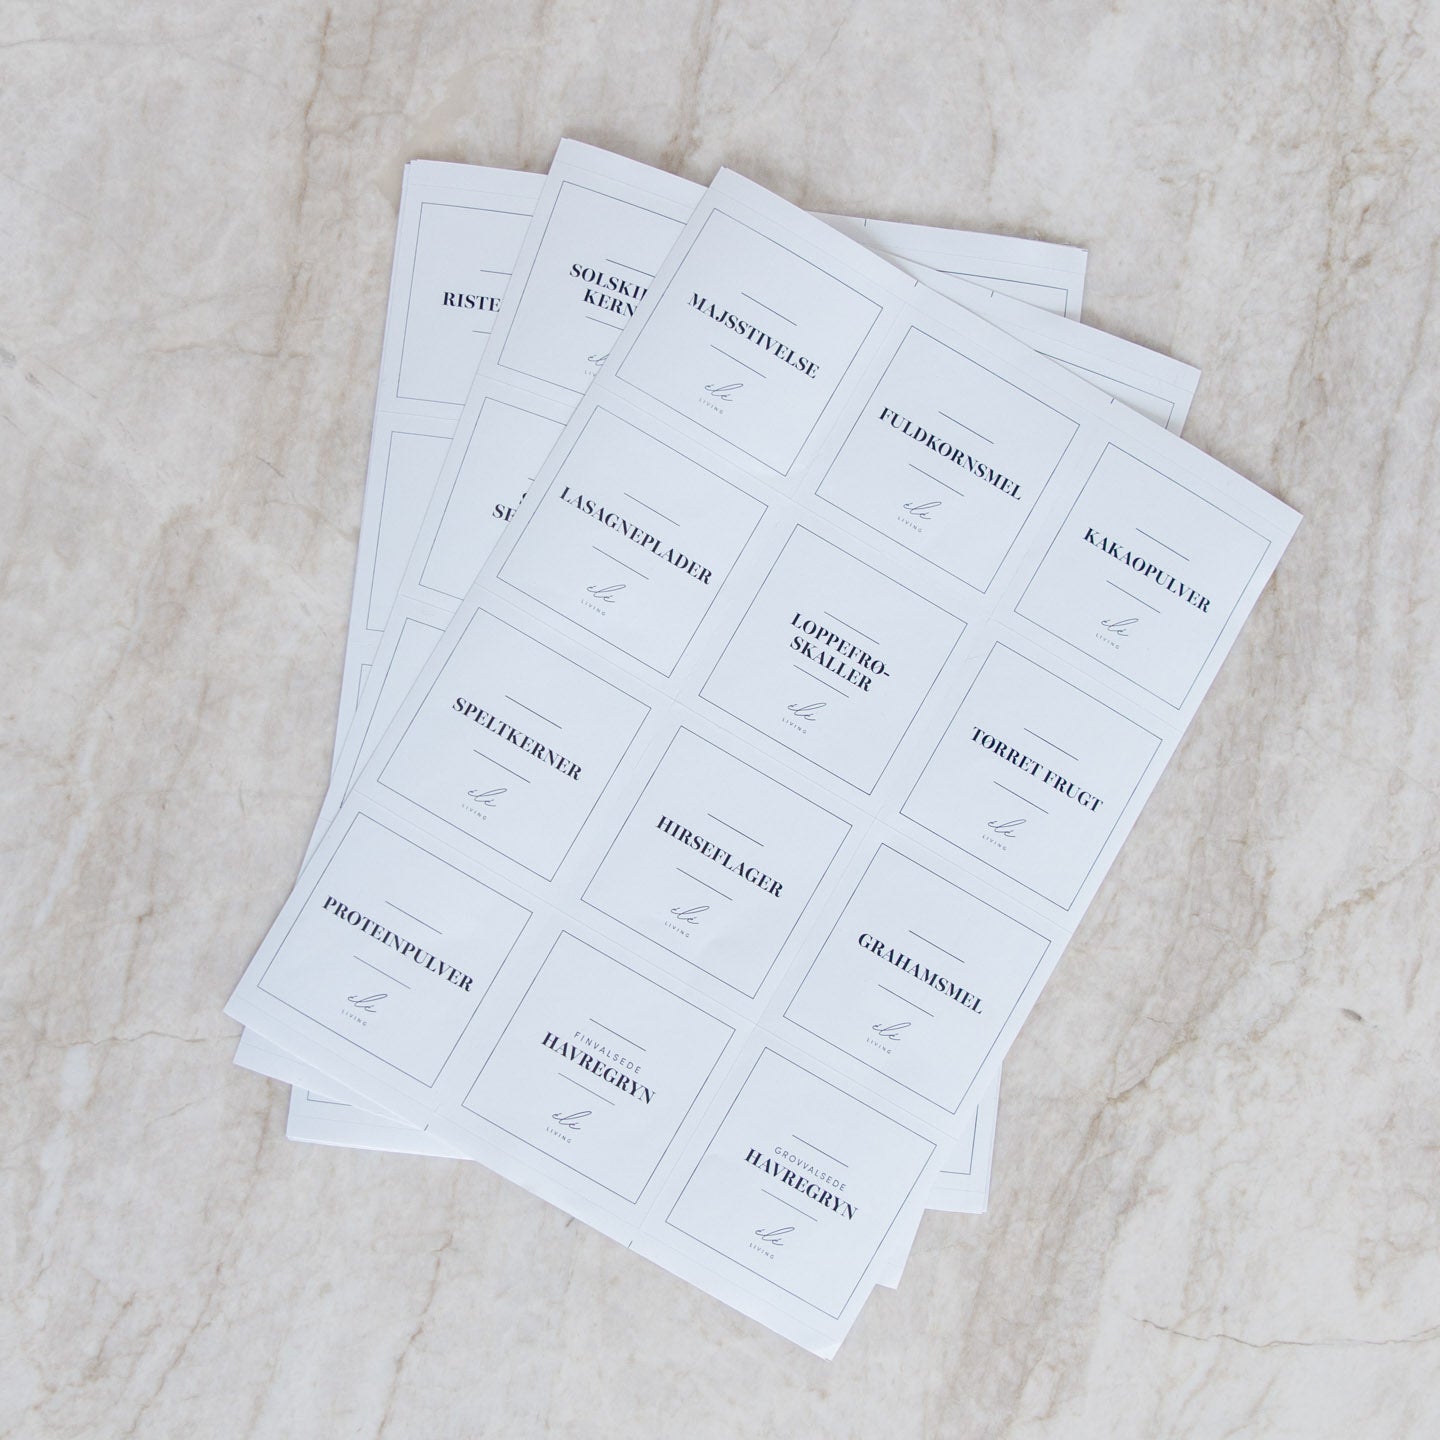
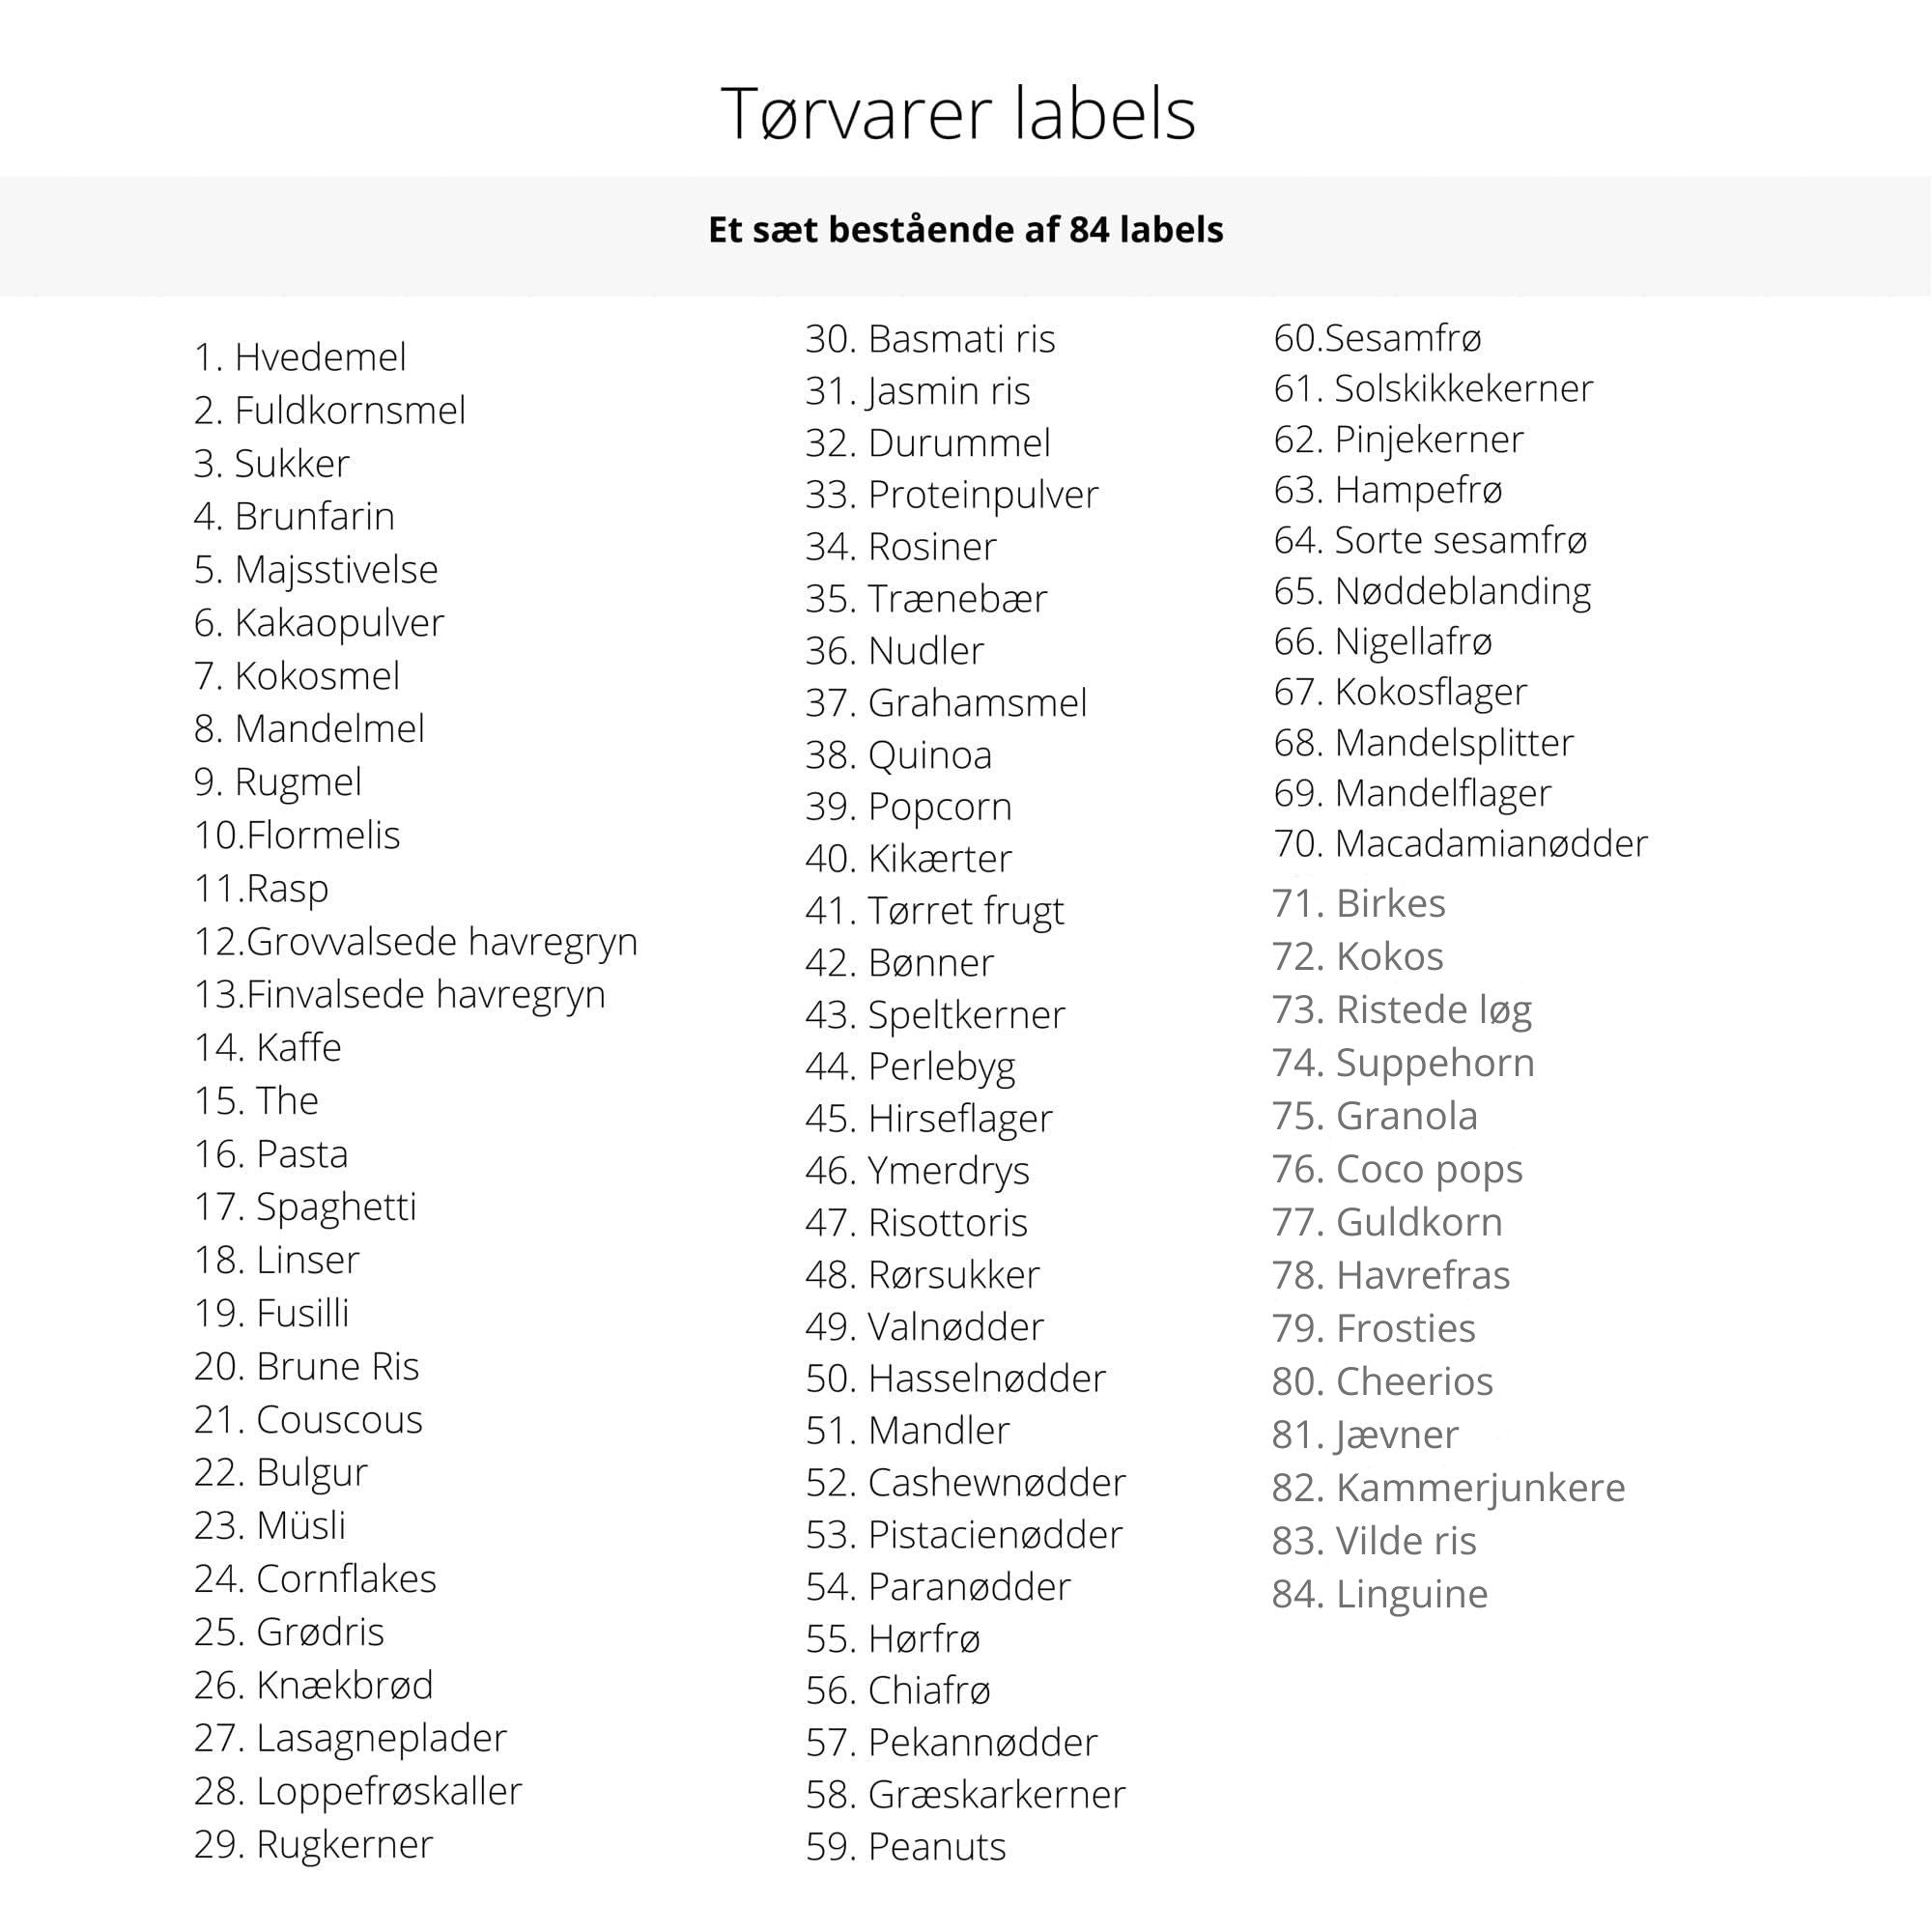
Clear labels make it easy to find the right jar and simple to write shopping lists. Use Dry Goods Labels - Design 1 to mark flour types, grains, pasta shapes, and snacks. Place labels in the same spot on all jars for a clean and uniform look. For items with an expiry date, you can add the date with a pen on the label or place a small card with the date inside the jar to maintain the system without altering the look.
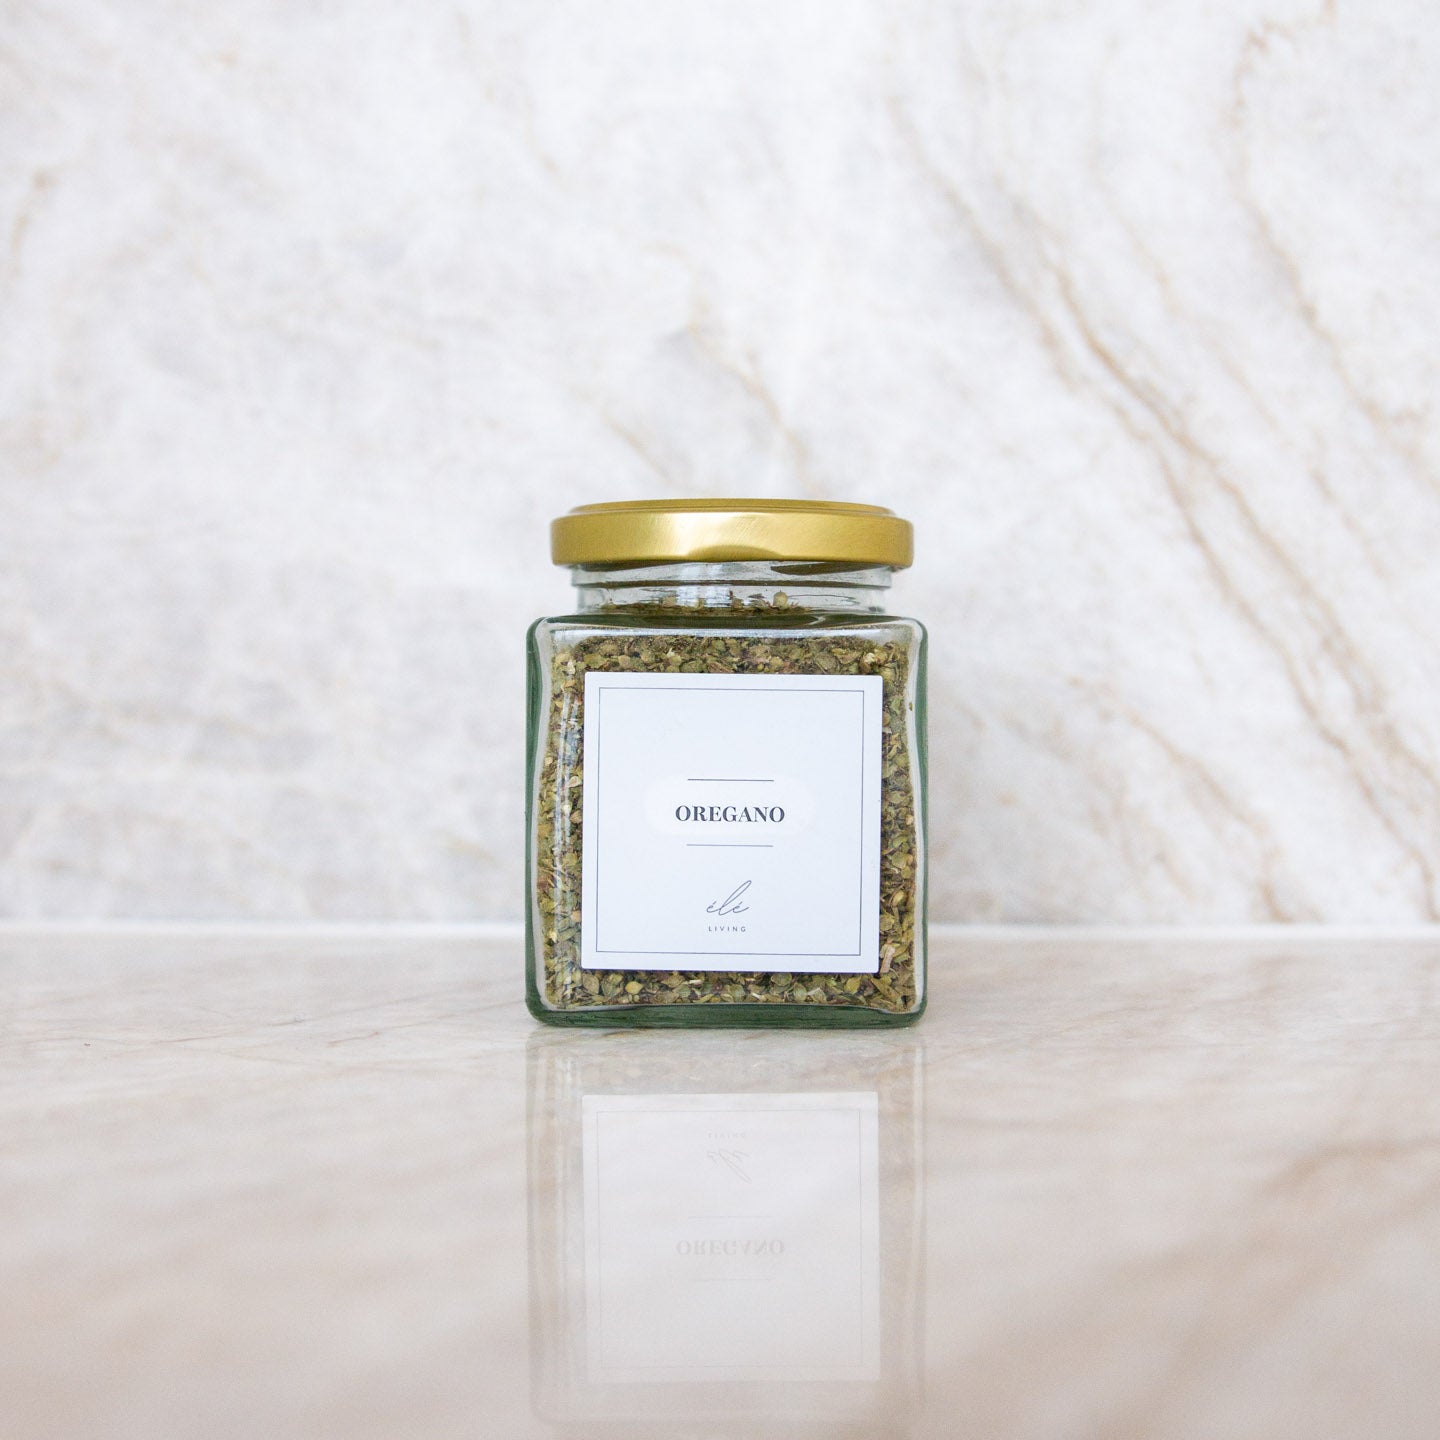
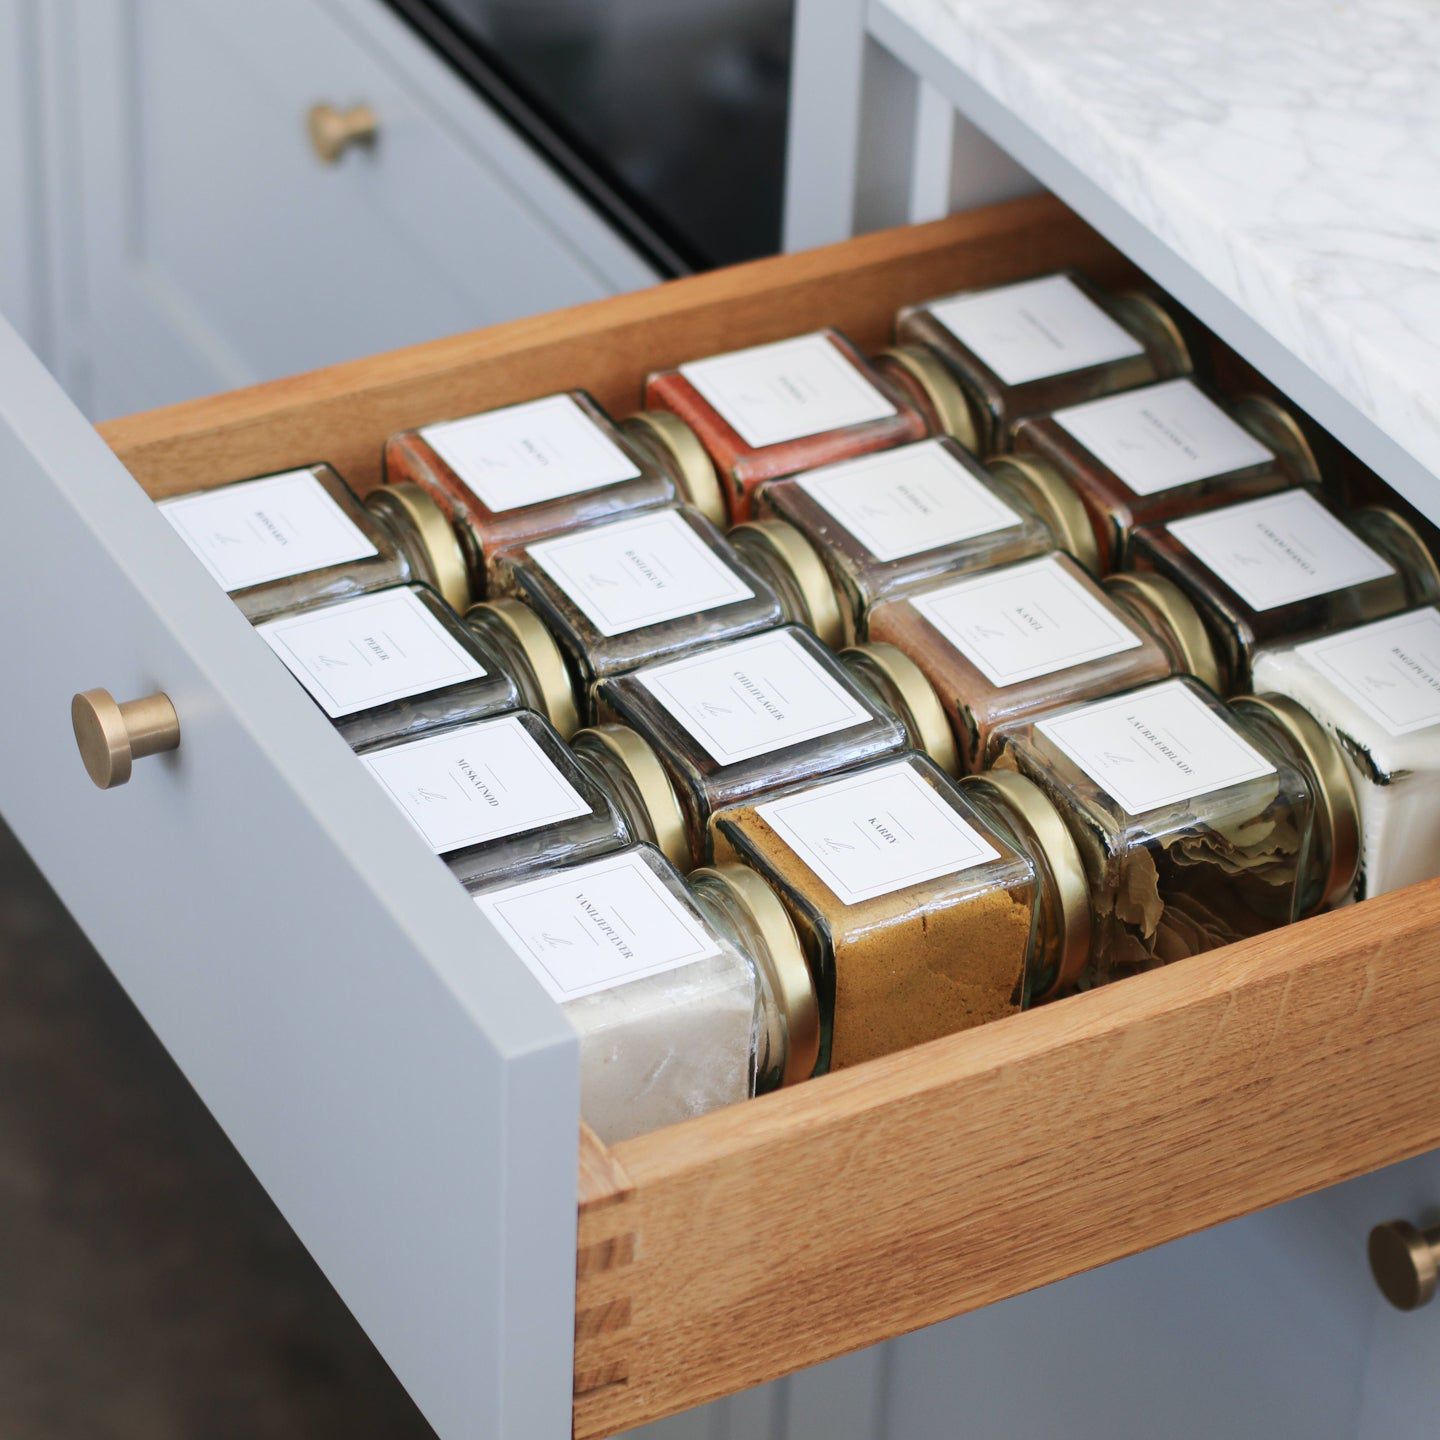
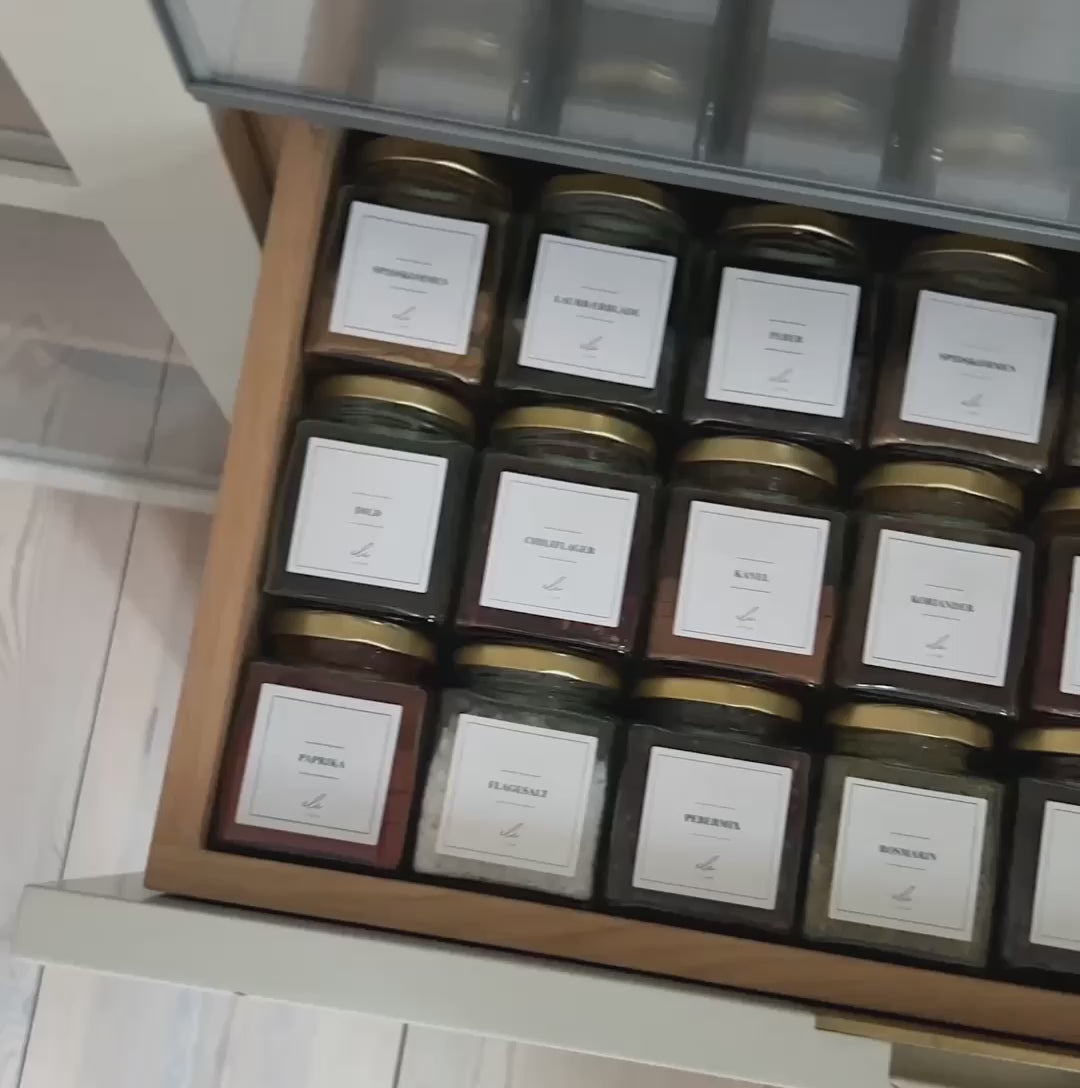
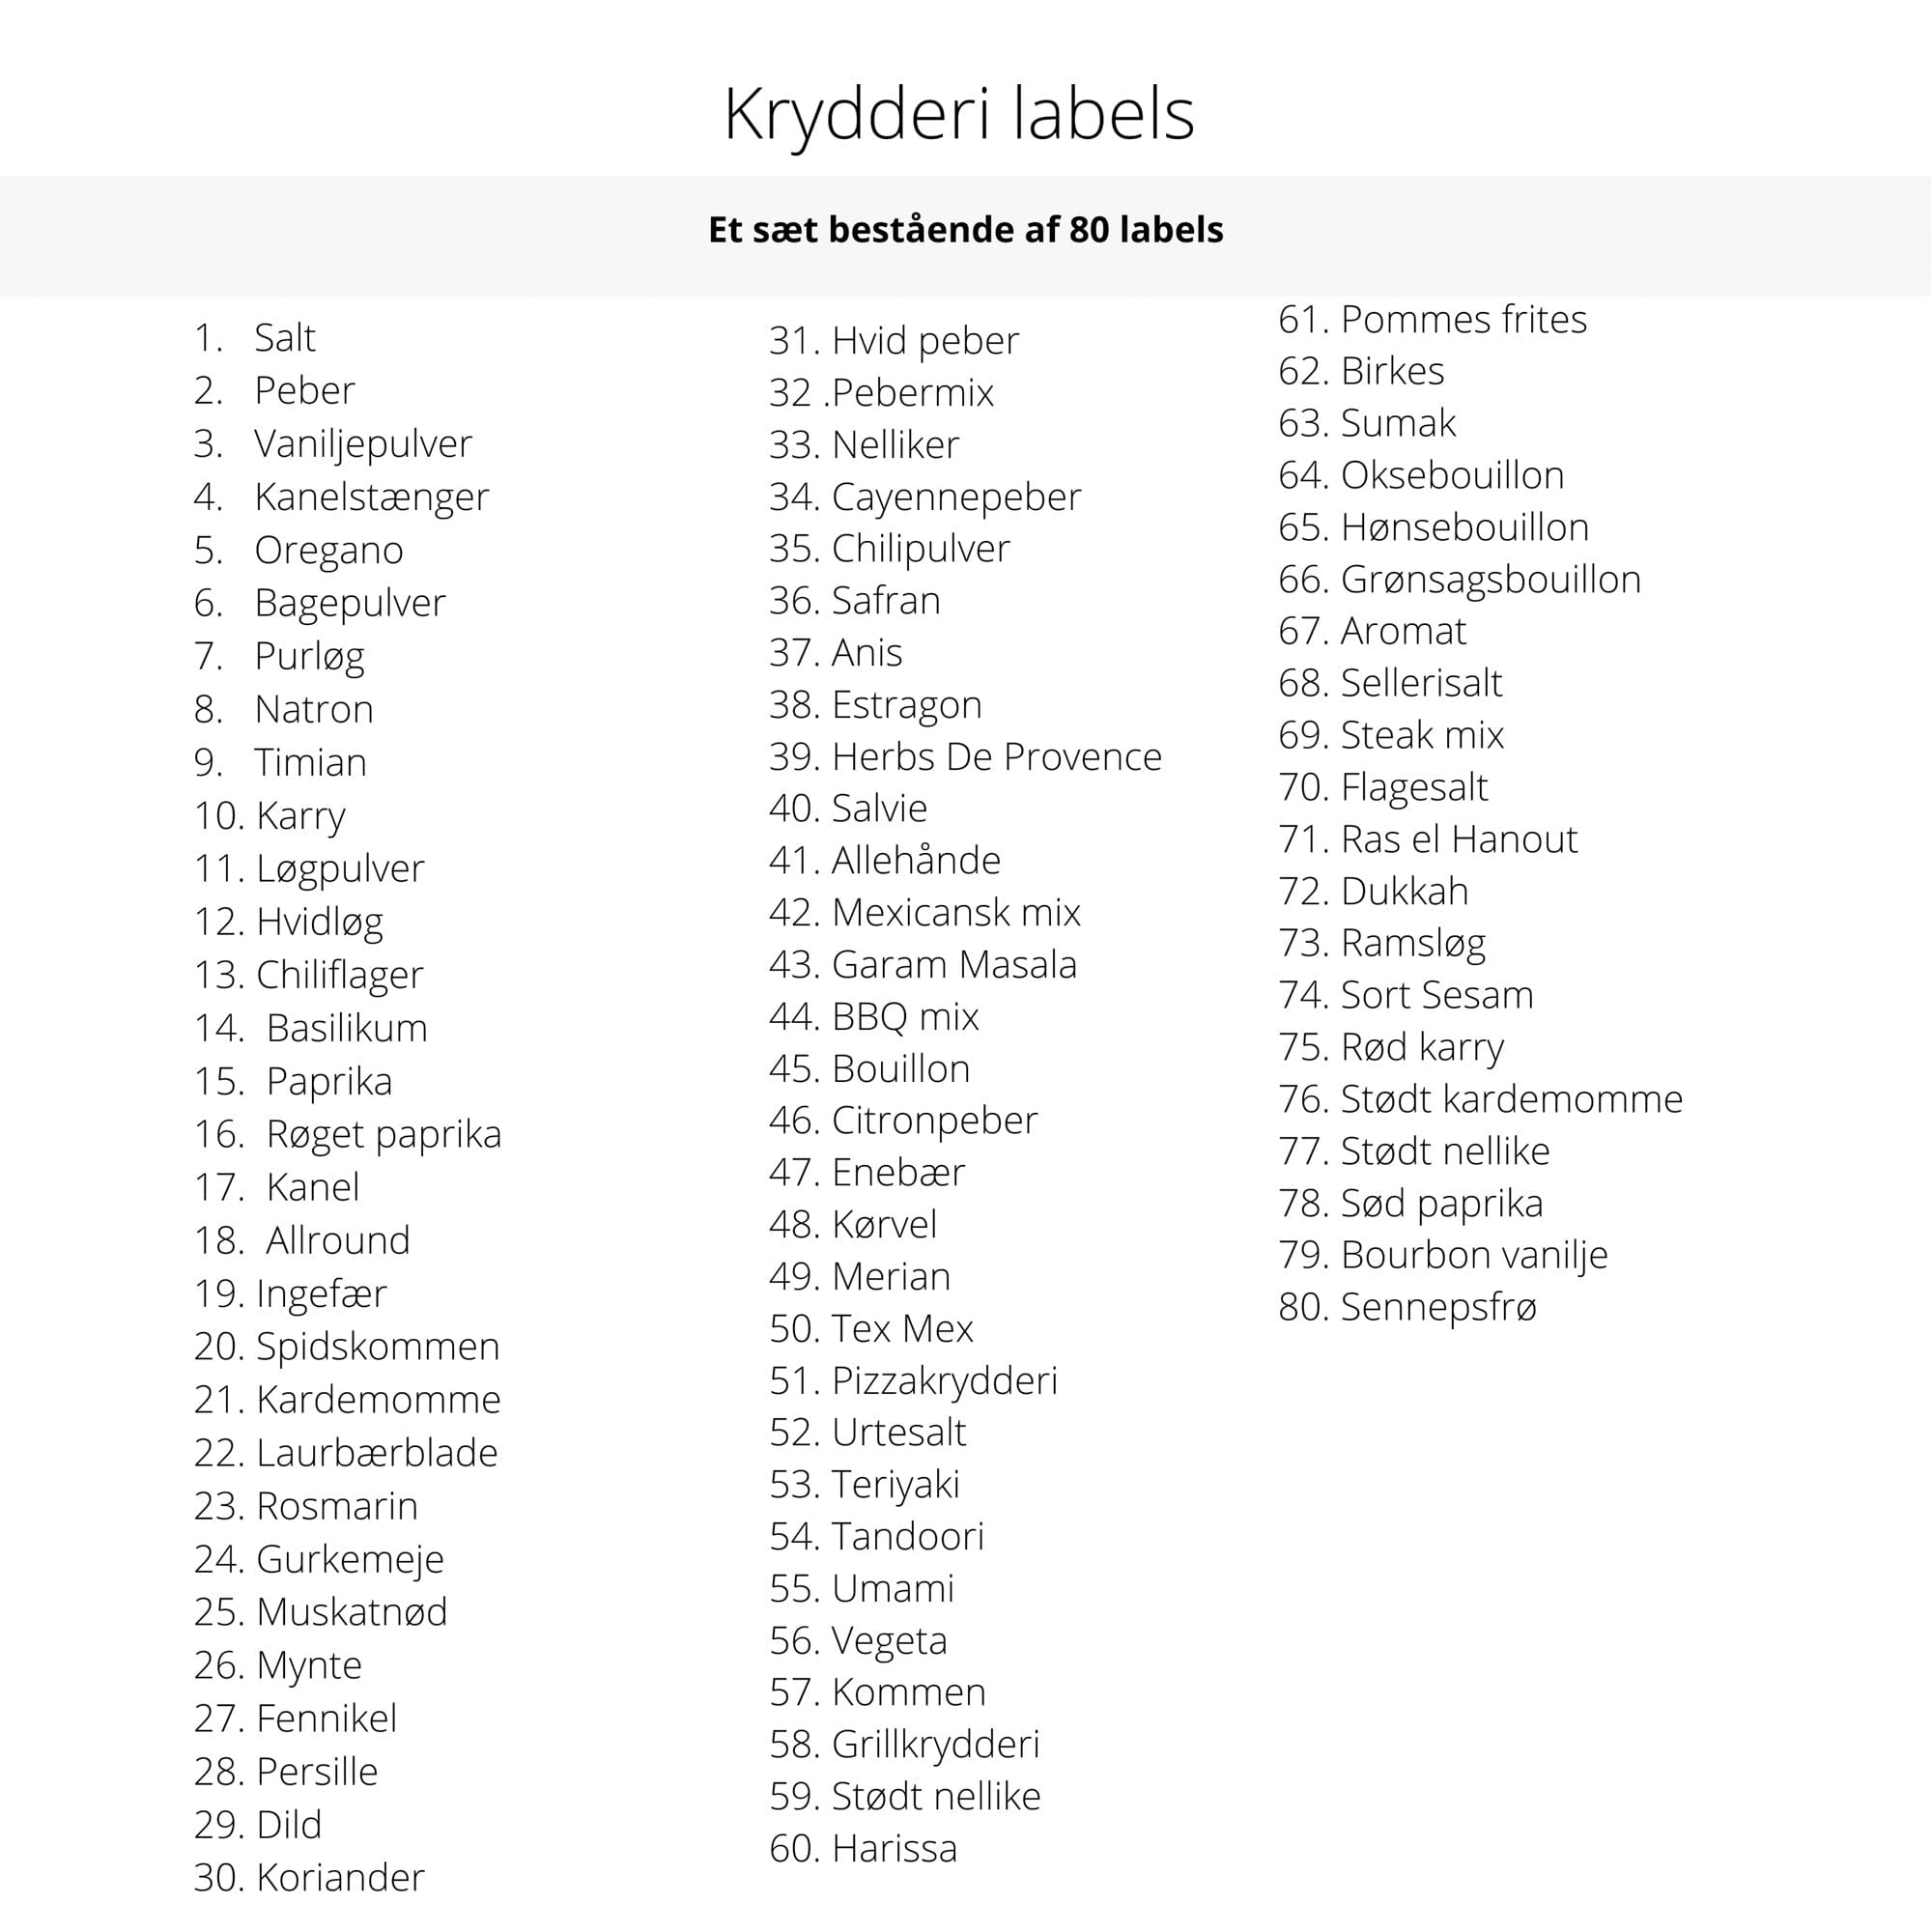
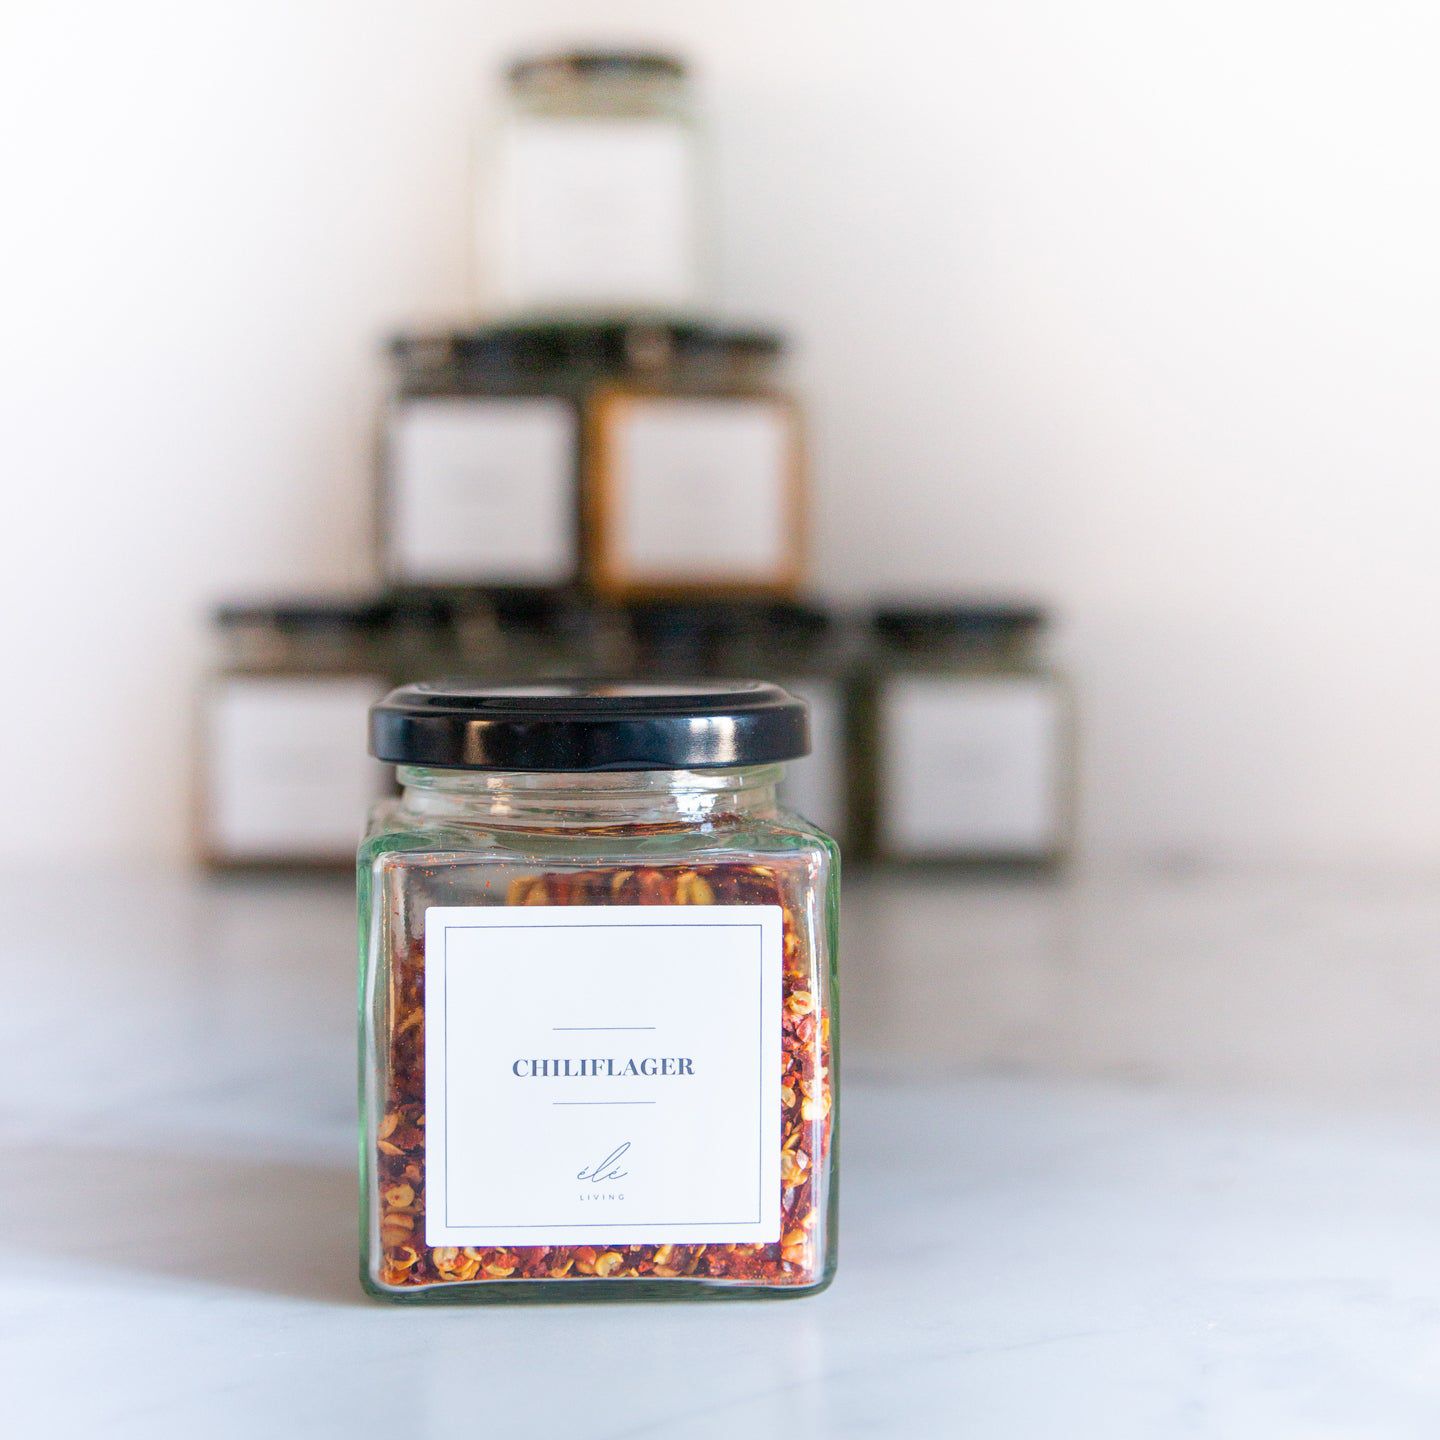
Spice storage
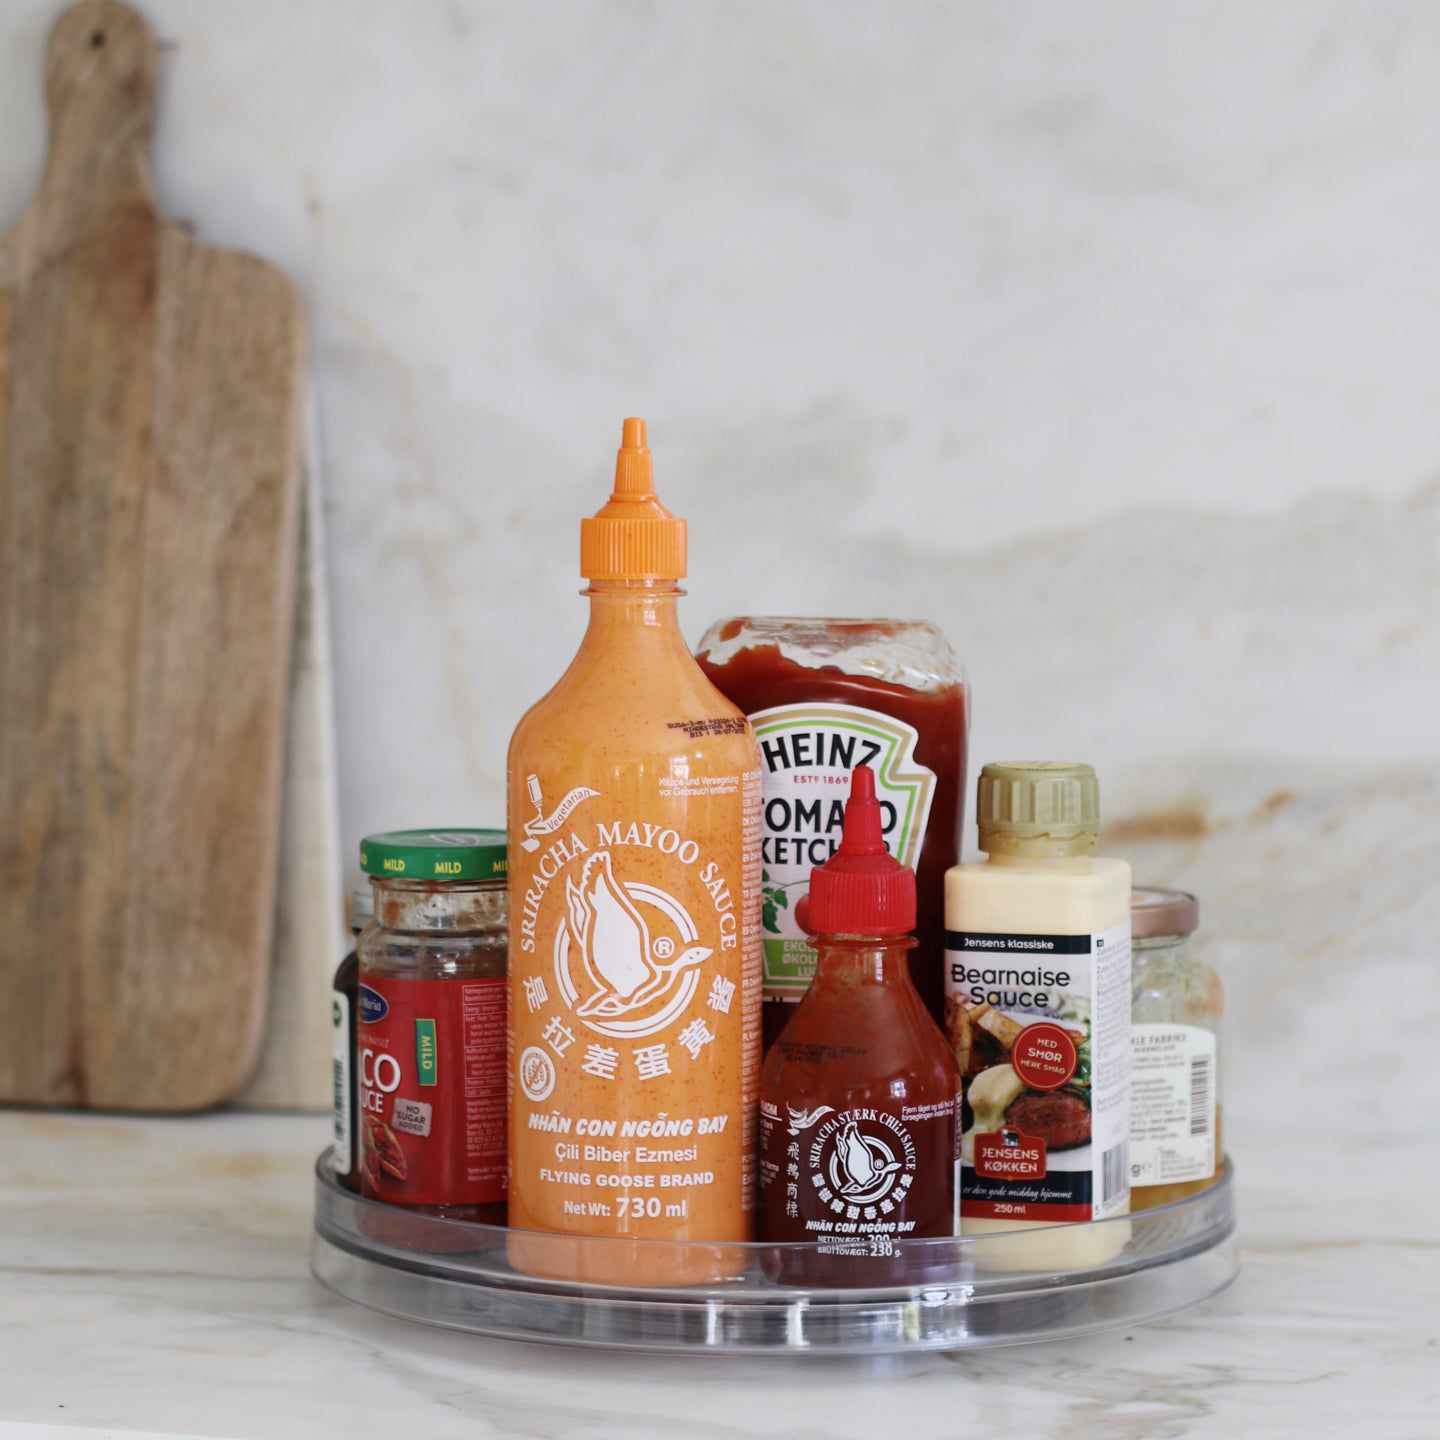
Spices are also dry goods, and a good system here saves time when cooking. Gather them in the same area and stick to a uniform series, so height and shape match. The Spice Jar Pack Solution - silver lid + labels provides a simple way to organise your entire spice zone at once. Sort by type or use, for example, daily staples, baking, and blends. Place them in a shallow box or on a shelf with the labels facing forward.
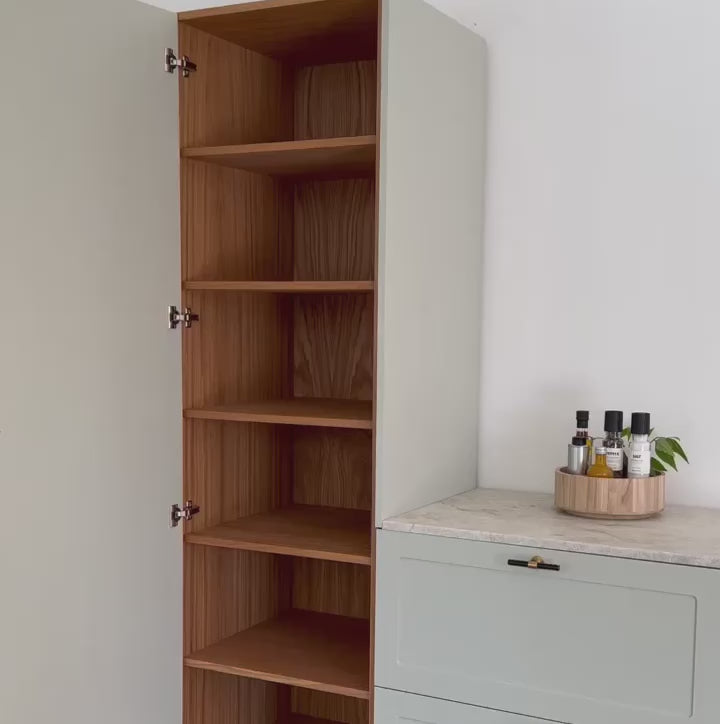
Cabinet organisation and zones
Create fixed zones that suit your family's routines, so you always know where to put items back. Think about shelf height, reach, and categories to ensure a natural flow.
Practical cabinet arrangement
- Top shelf: Rarely used dry goods such as special flours or extra stock.
- Middle shelves: Daily staples - flour, oats, pasta, and rice - in larger jars.
- Bottom shelf or drawer: Snacks, breakfast cereals, and baking accessories in smaller jars.
- Front row: What you use most often. Back row: Refills and extra packages.
Maintenance and routines
A simple system lasts if you follow the same steps every time. When you bring new dry goods home, first fill the jars and place any remaining items at the back as refills. Move the oldest items forward so you use them first. Take stock once a month: Check which jars are almost empty, write a shopping list, and quickly dry-wipe the shelf to remove loose dust or flour residue. Stick to the same jar sizes and labels to keep the system clear and neat.
With a few consistent materials and simple routines, your dry goods zone will be both functional and visually calming – a kitchen solution that creates ease in everyday life.