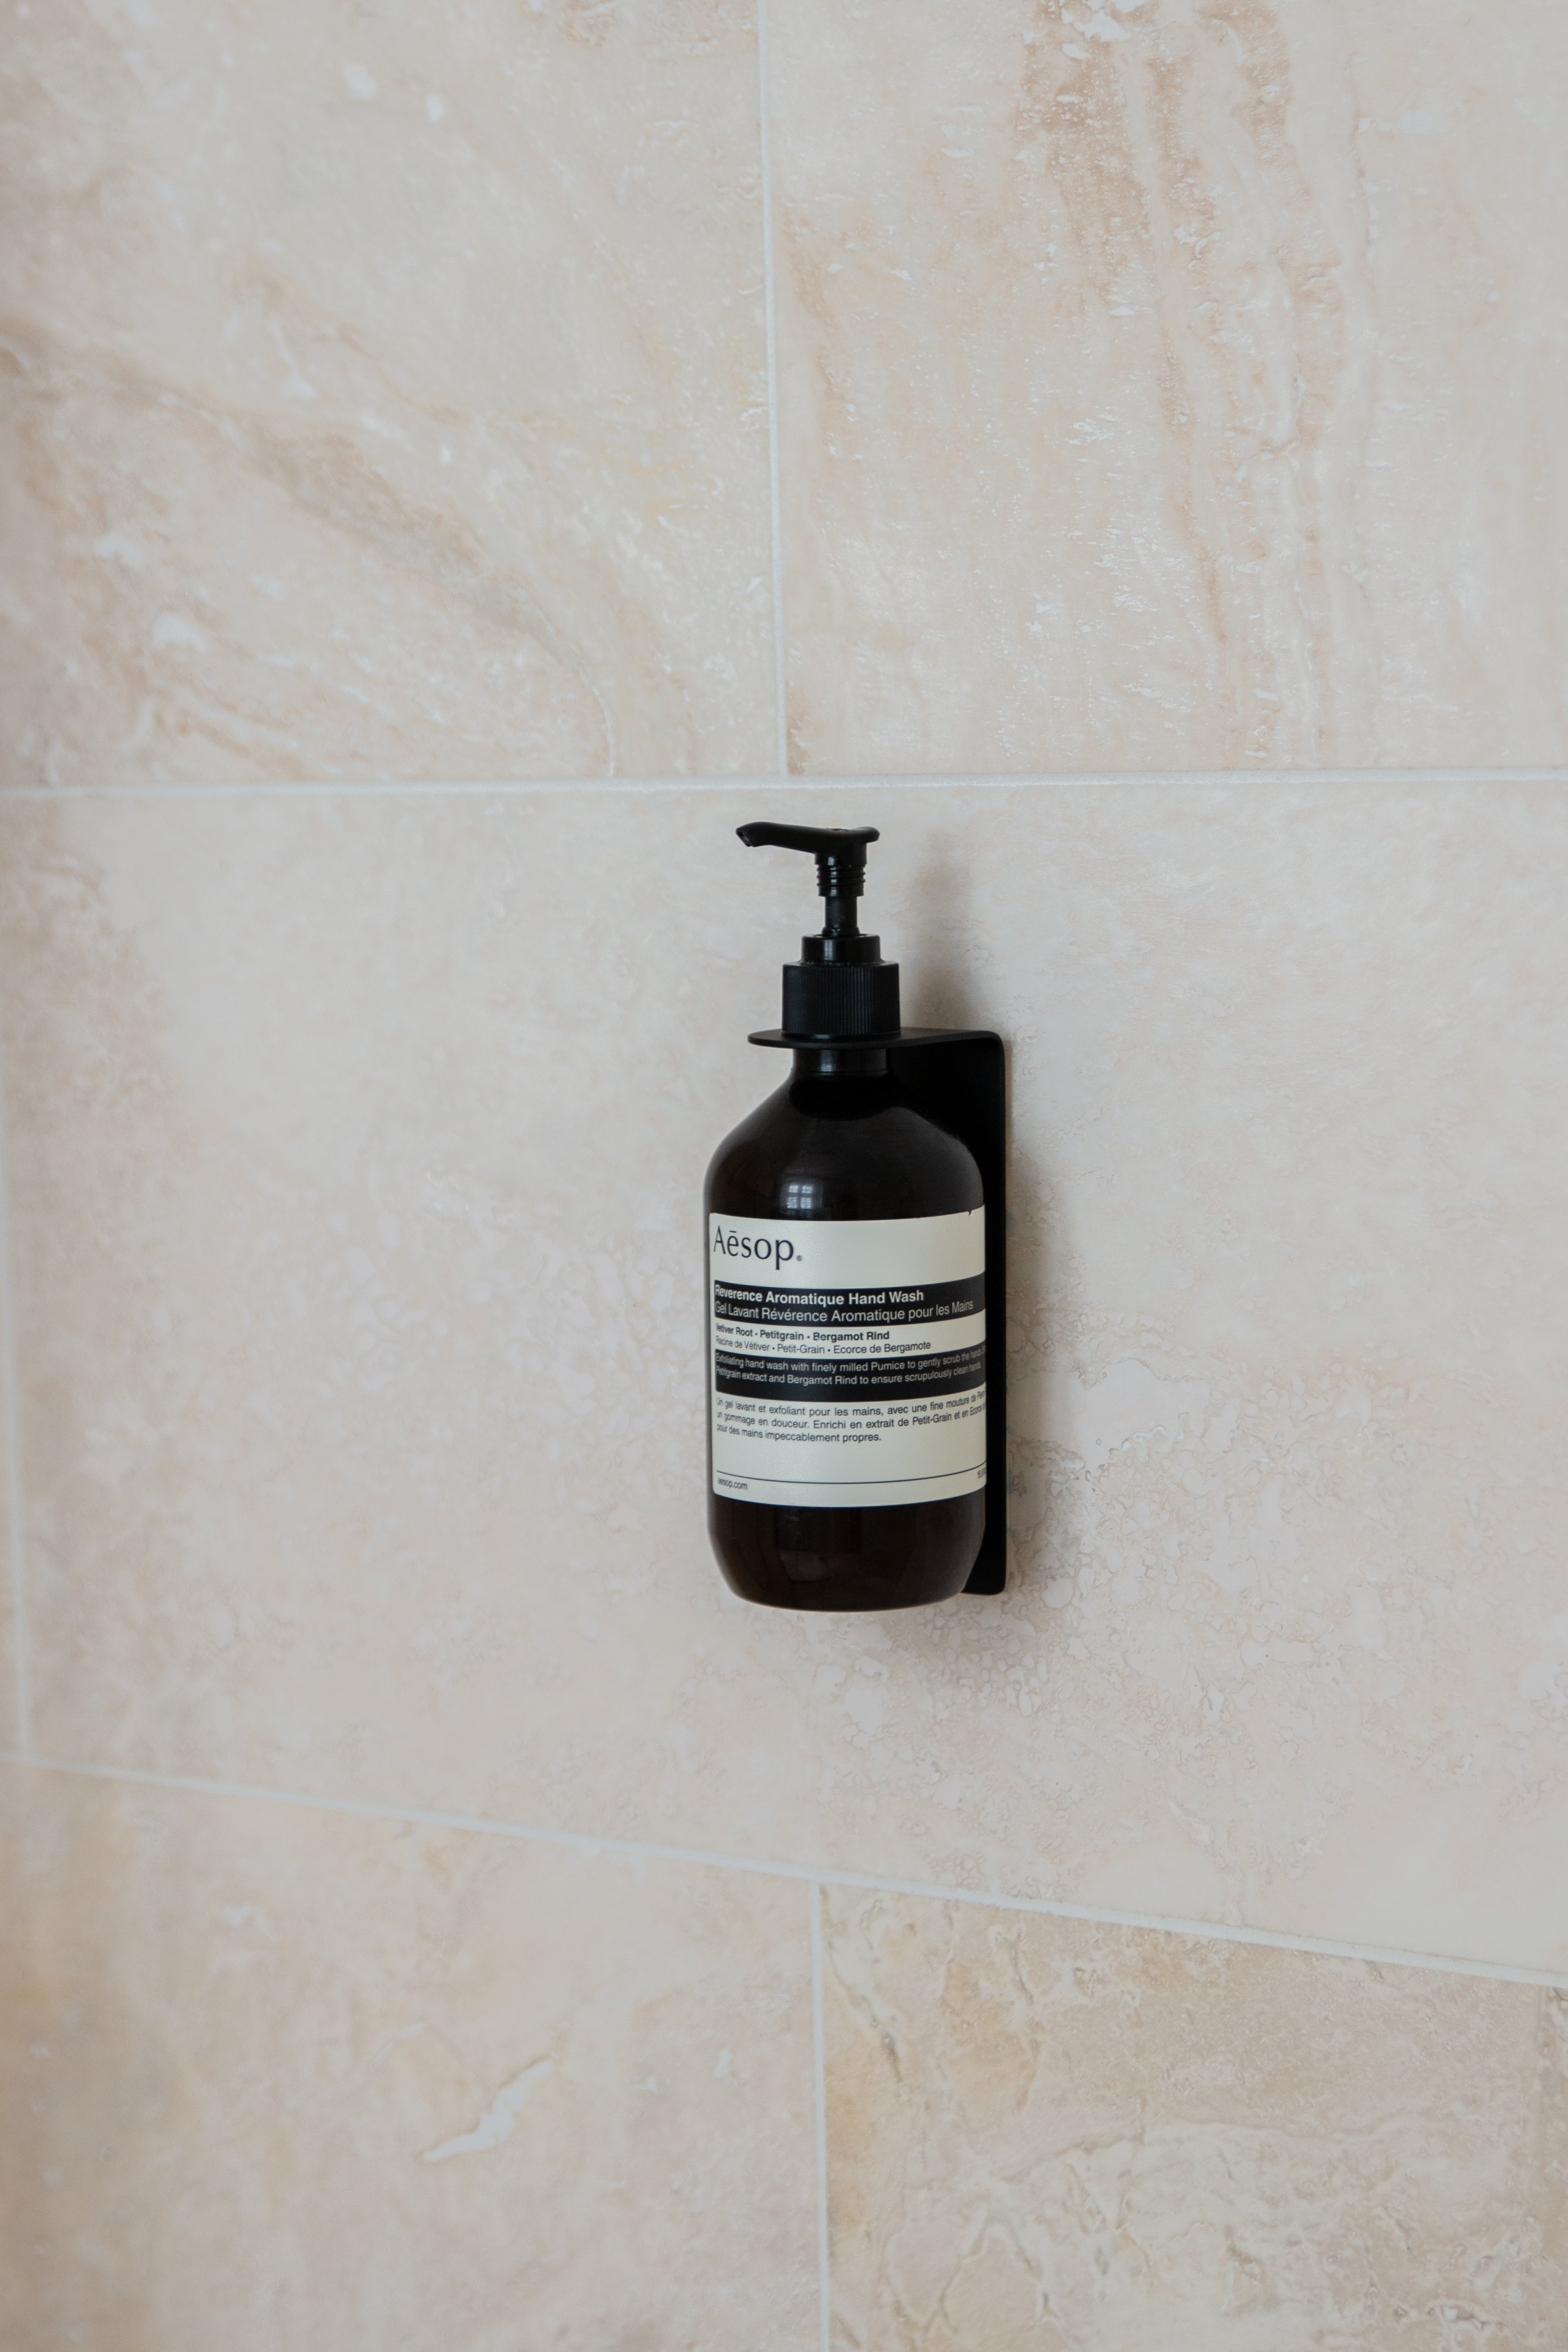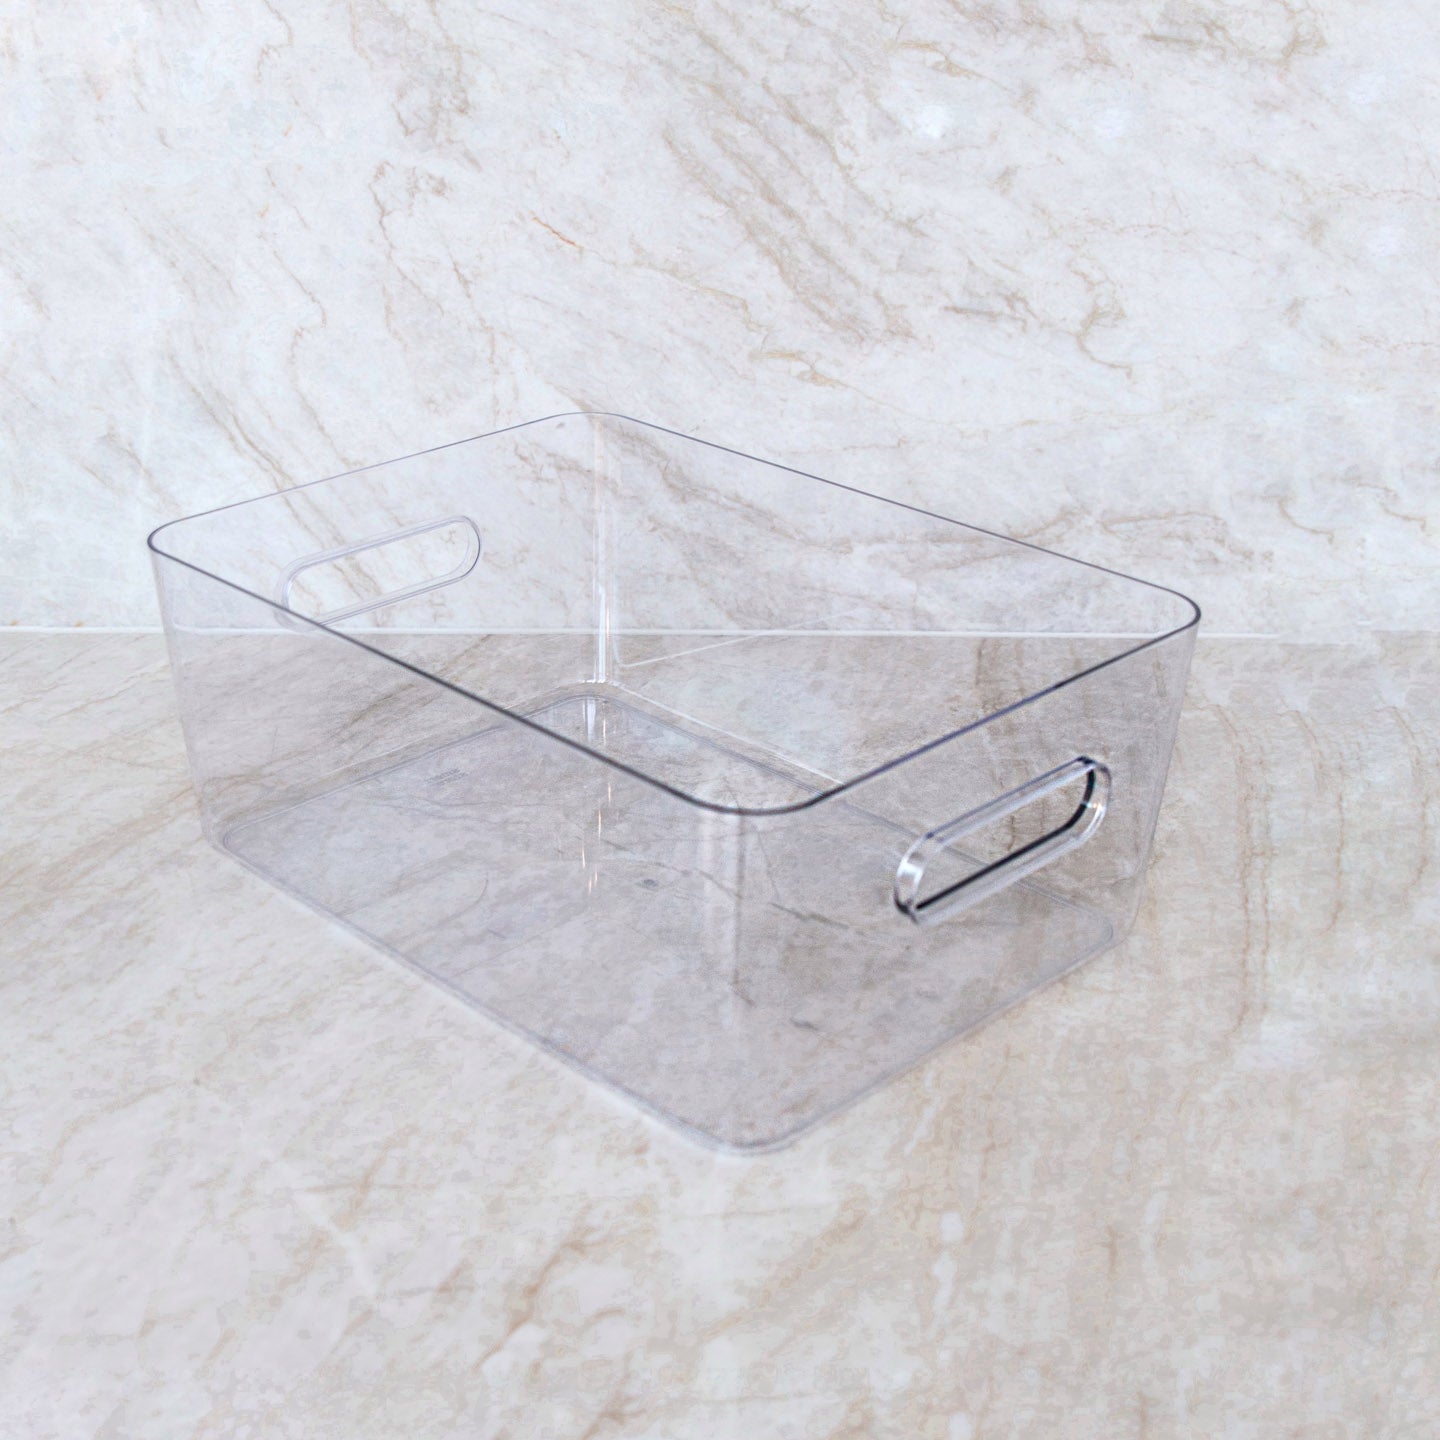


When your dry goods have designated places and thoughtful containers, cooking becomes faster and everyday life calmer. A simple system makes it easy to see what you have and what you need. Here is a practical guide to storing dry goods that combines clear organization with an aesthetic look.
Storage Jars for the Kitchen
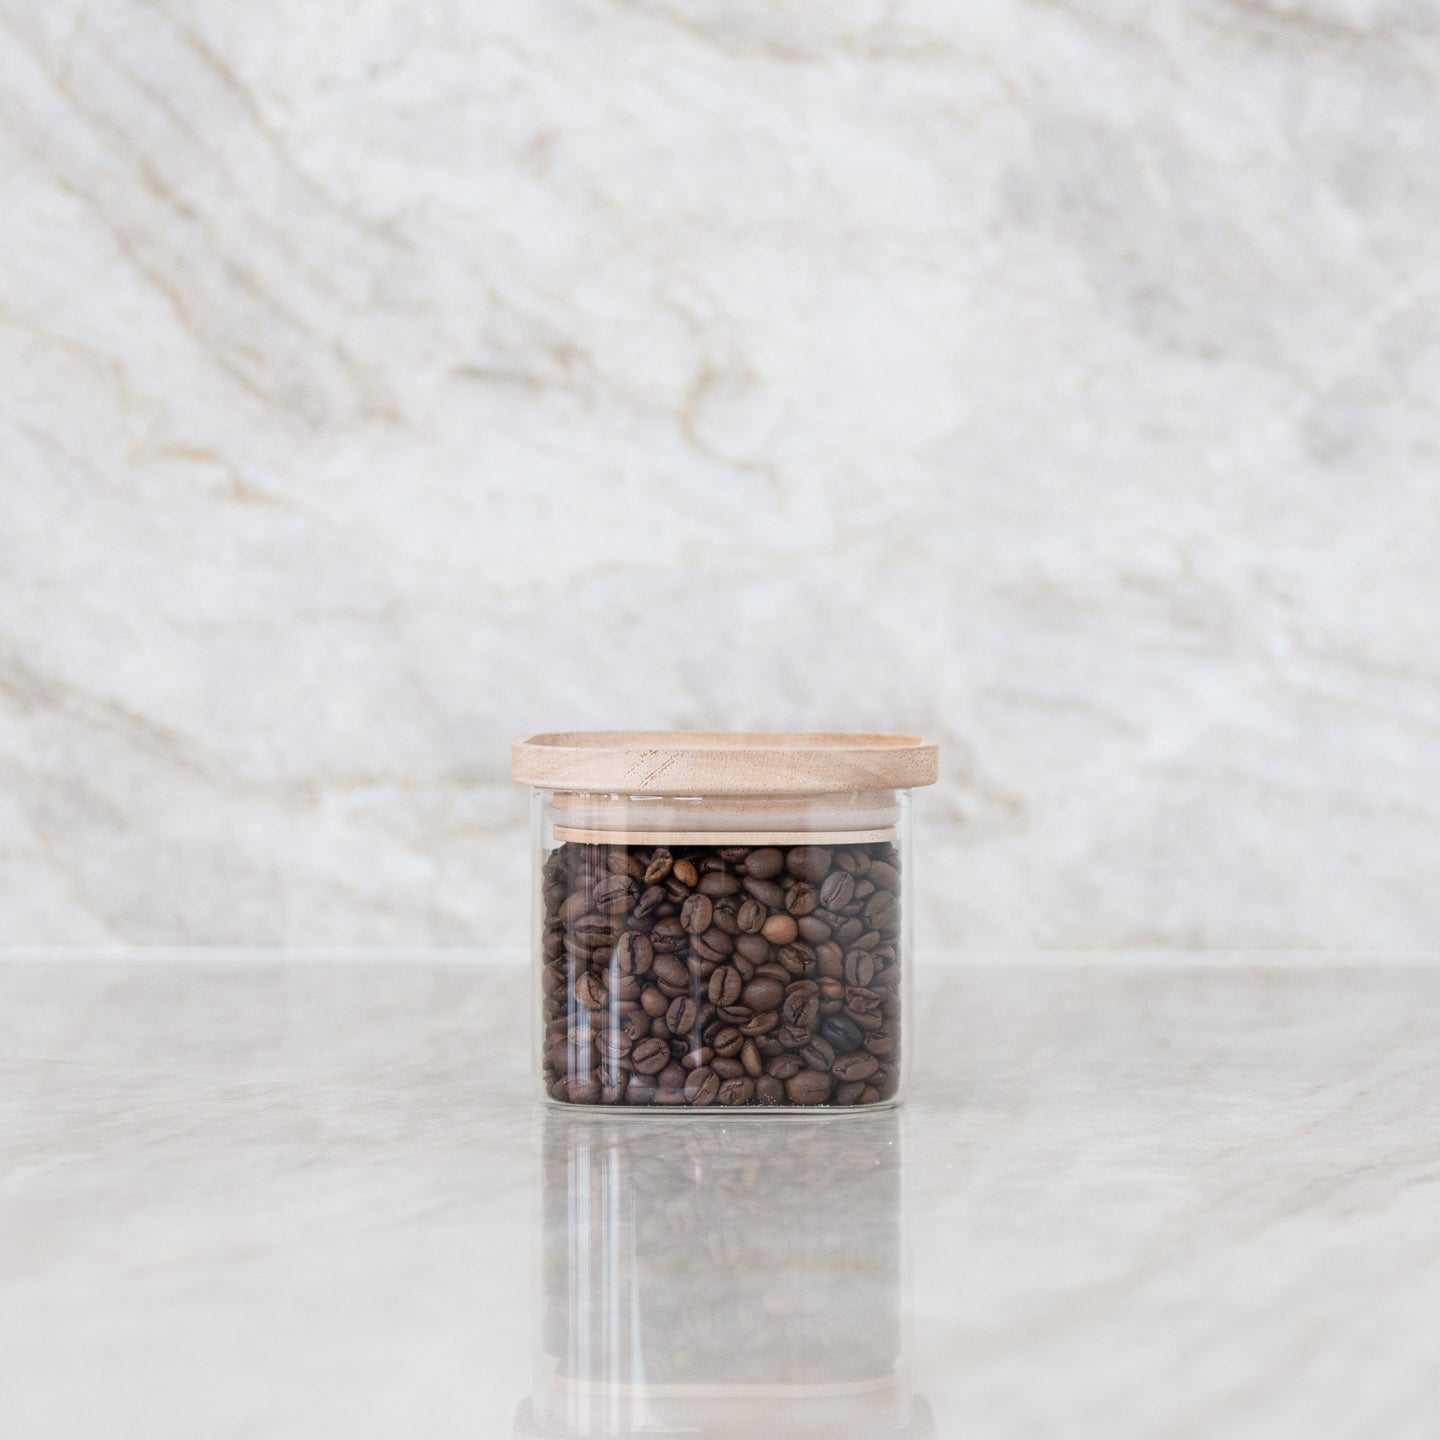
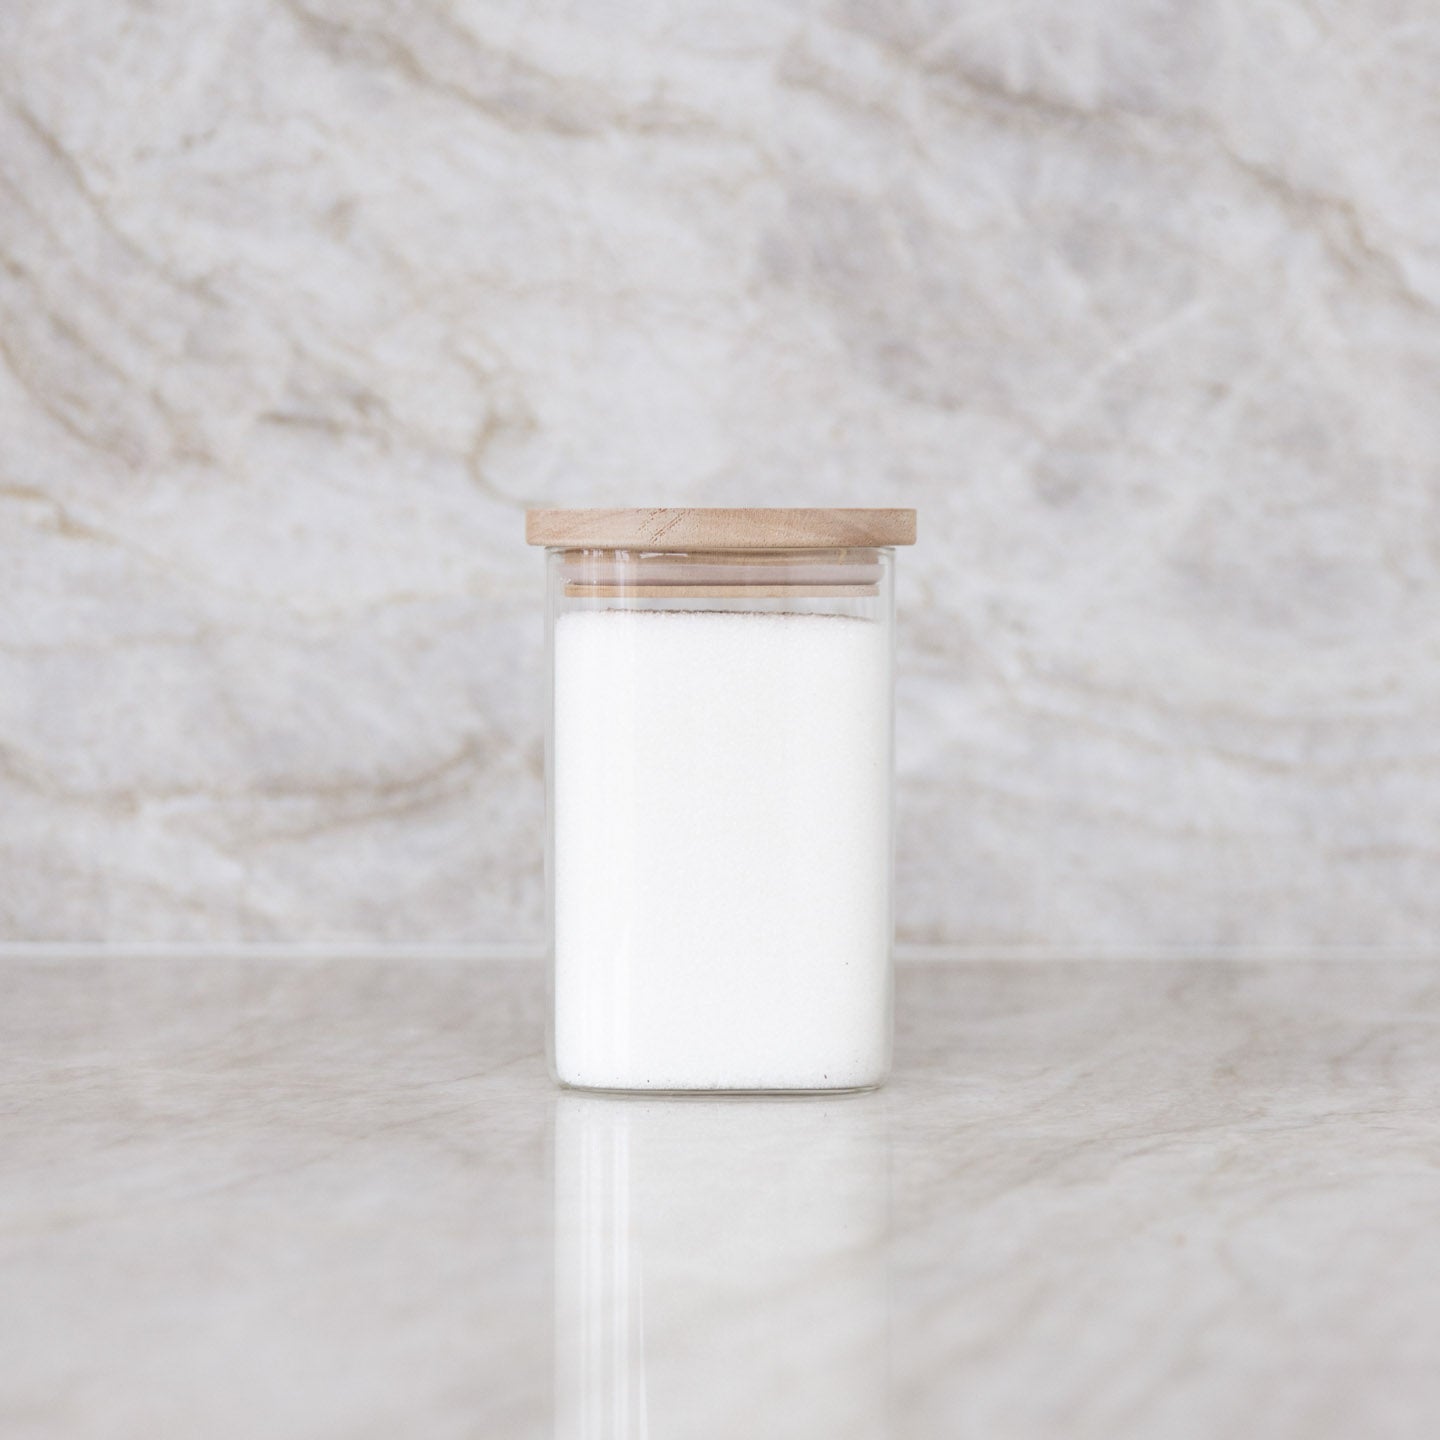
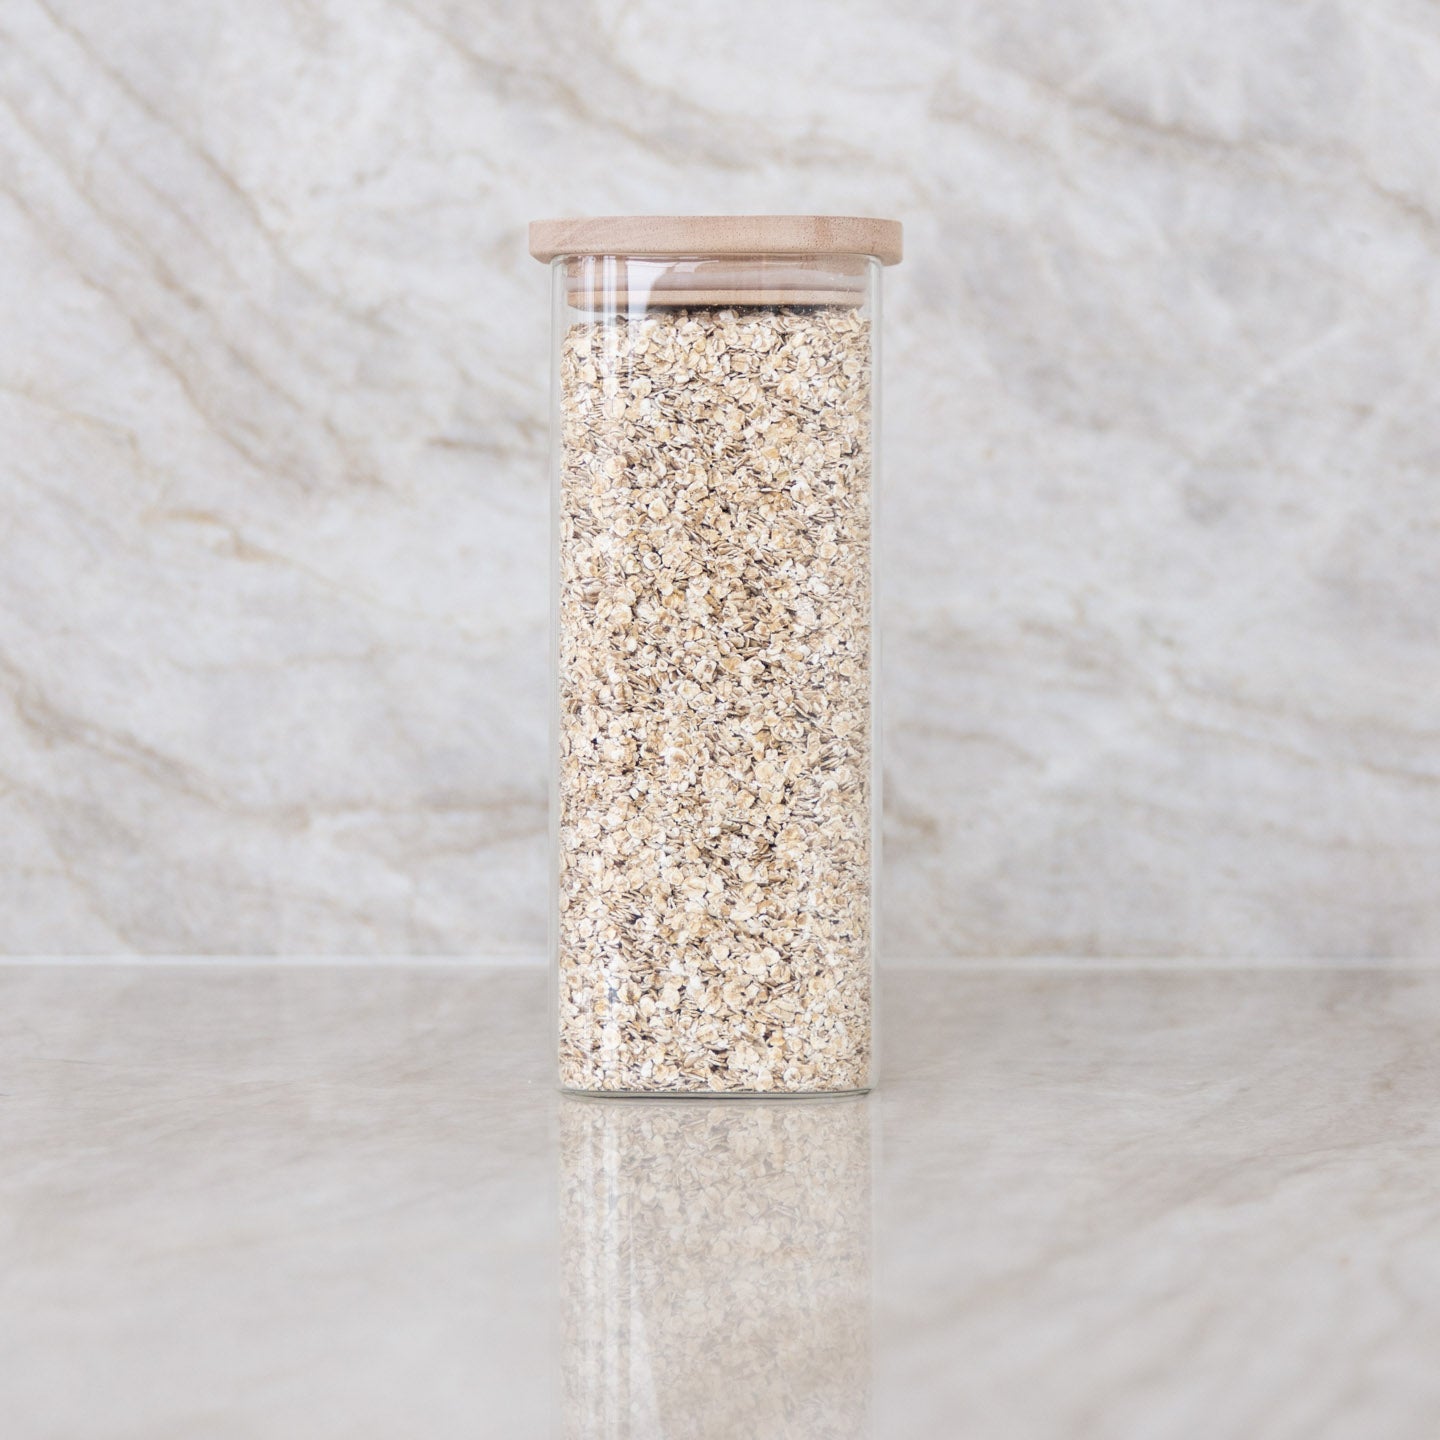
Transparent storage jars provide a clear overview, so you can see the quantities at a glance. Glass does not absorb color or odors from food and helps keep dust and pests out. Choose a few repeating sizes for a calm look in the cabinet. Square jars make the most of the height and stand stably side by side, while tall, narrow jars are ideal for spaghetti or rye pasta. Use the same lid type for a uniform look, e.g., bamboo, if you prefer natural materials.
How to Choose Sizes
Start by matching the jar size to your consumption. Oats and flour require larger volumes, while lentils, seeds, and nuts typically fit in smaller jars. Only fill jars with what you will actually manage to use within a reasonable period, so you avoid having old leftovers at the back.
Labeling Dry Goods
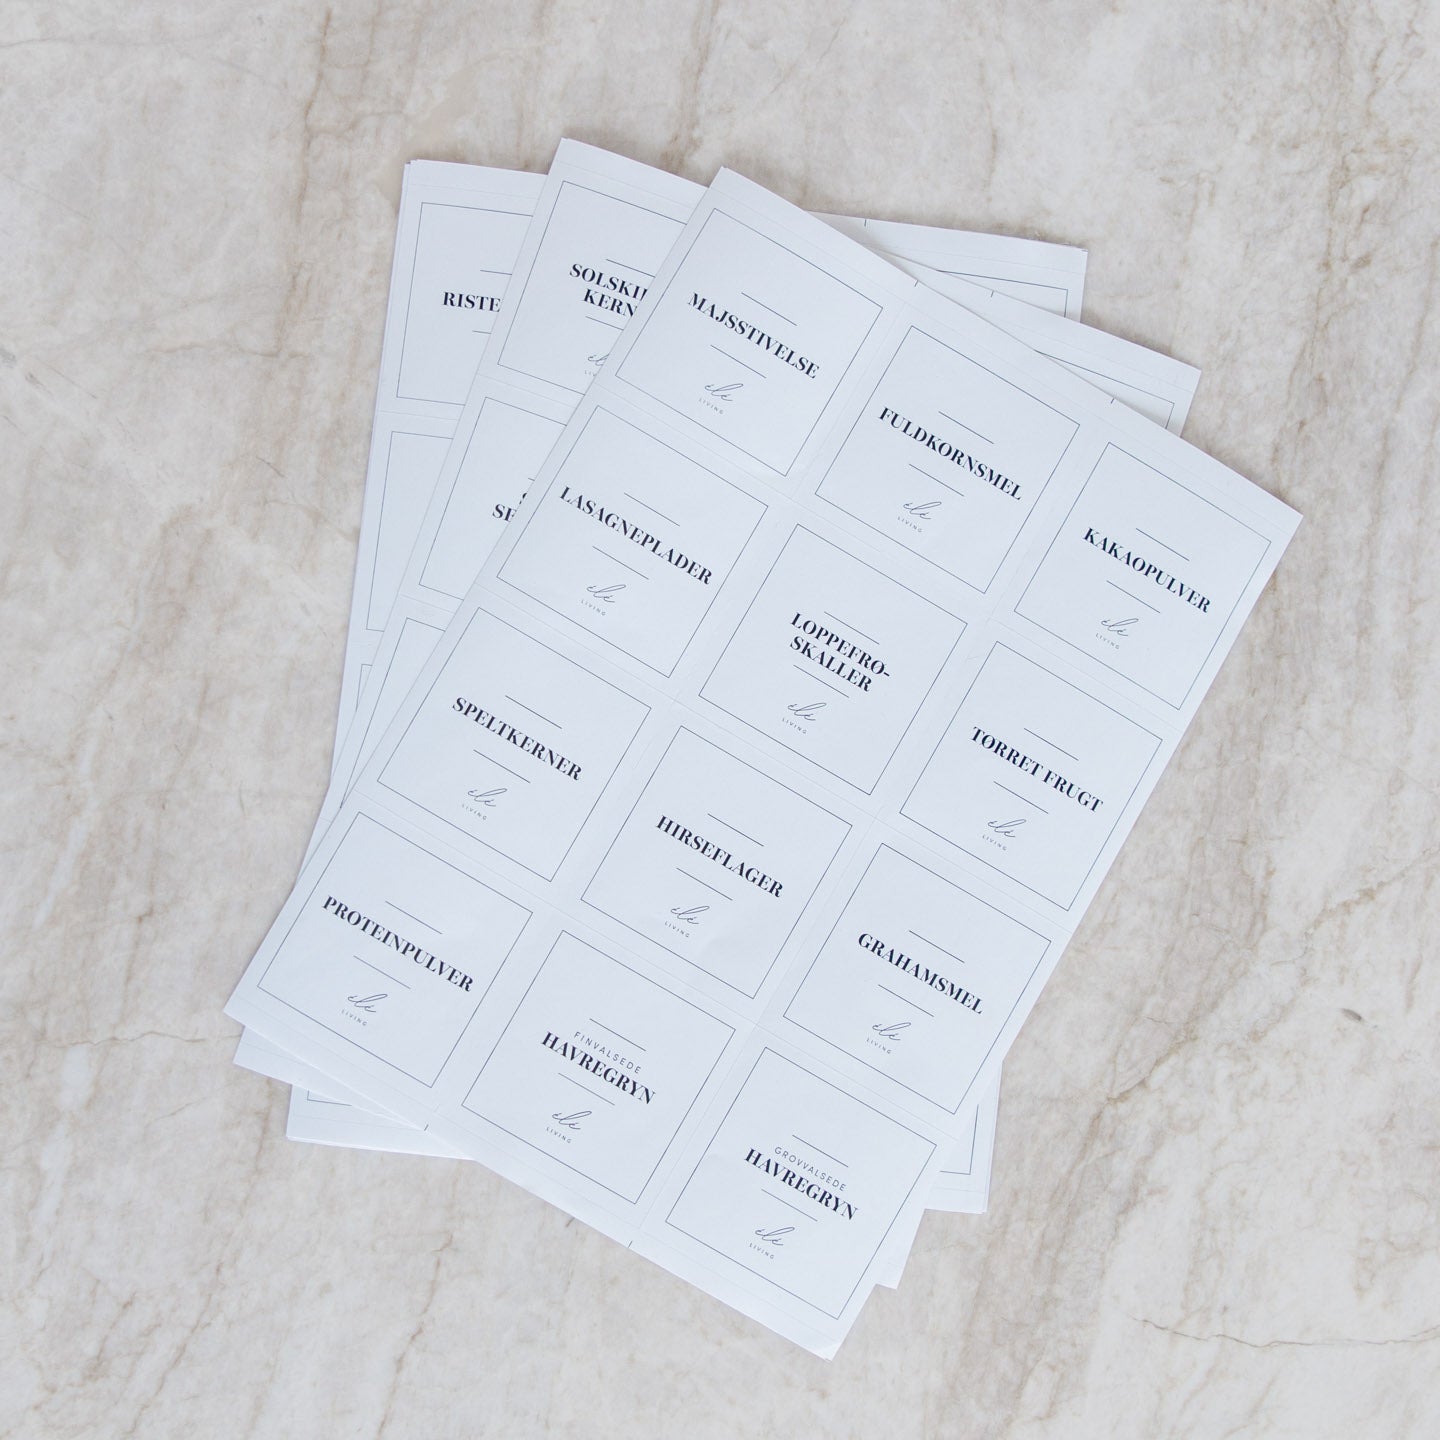
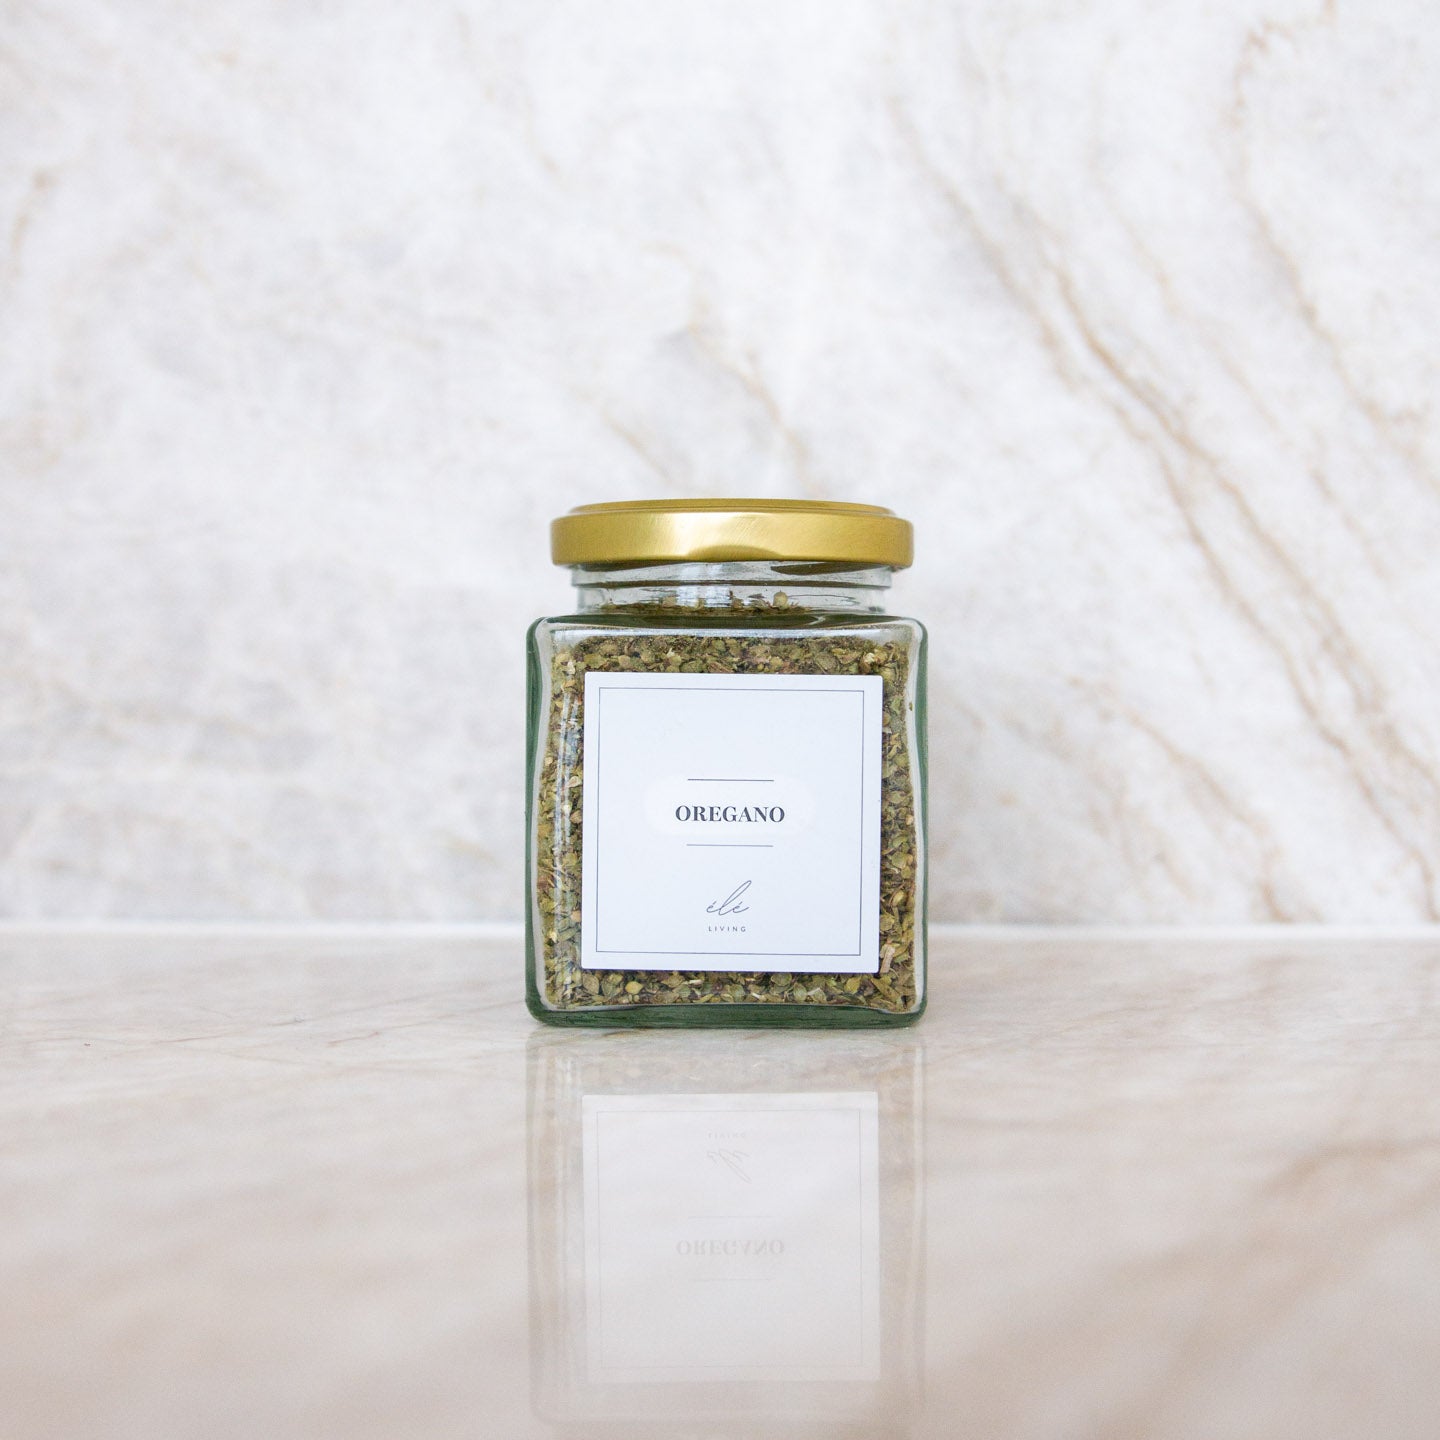
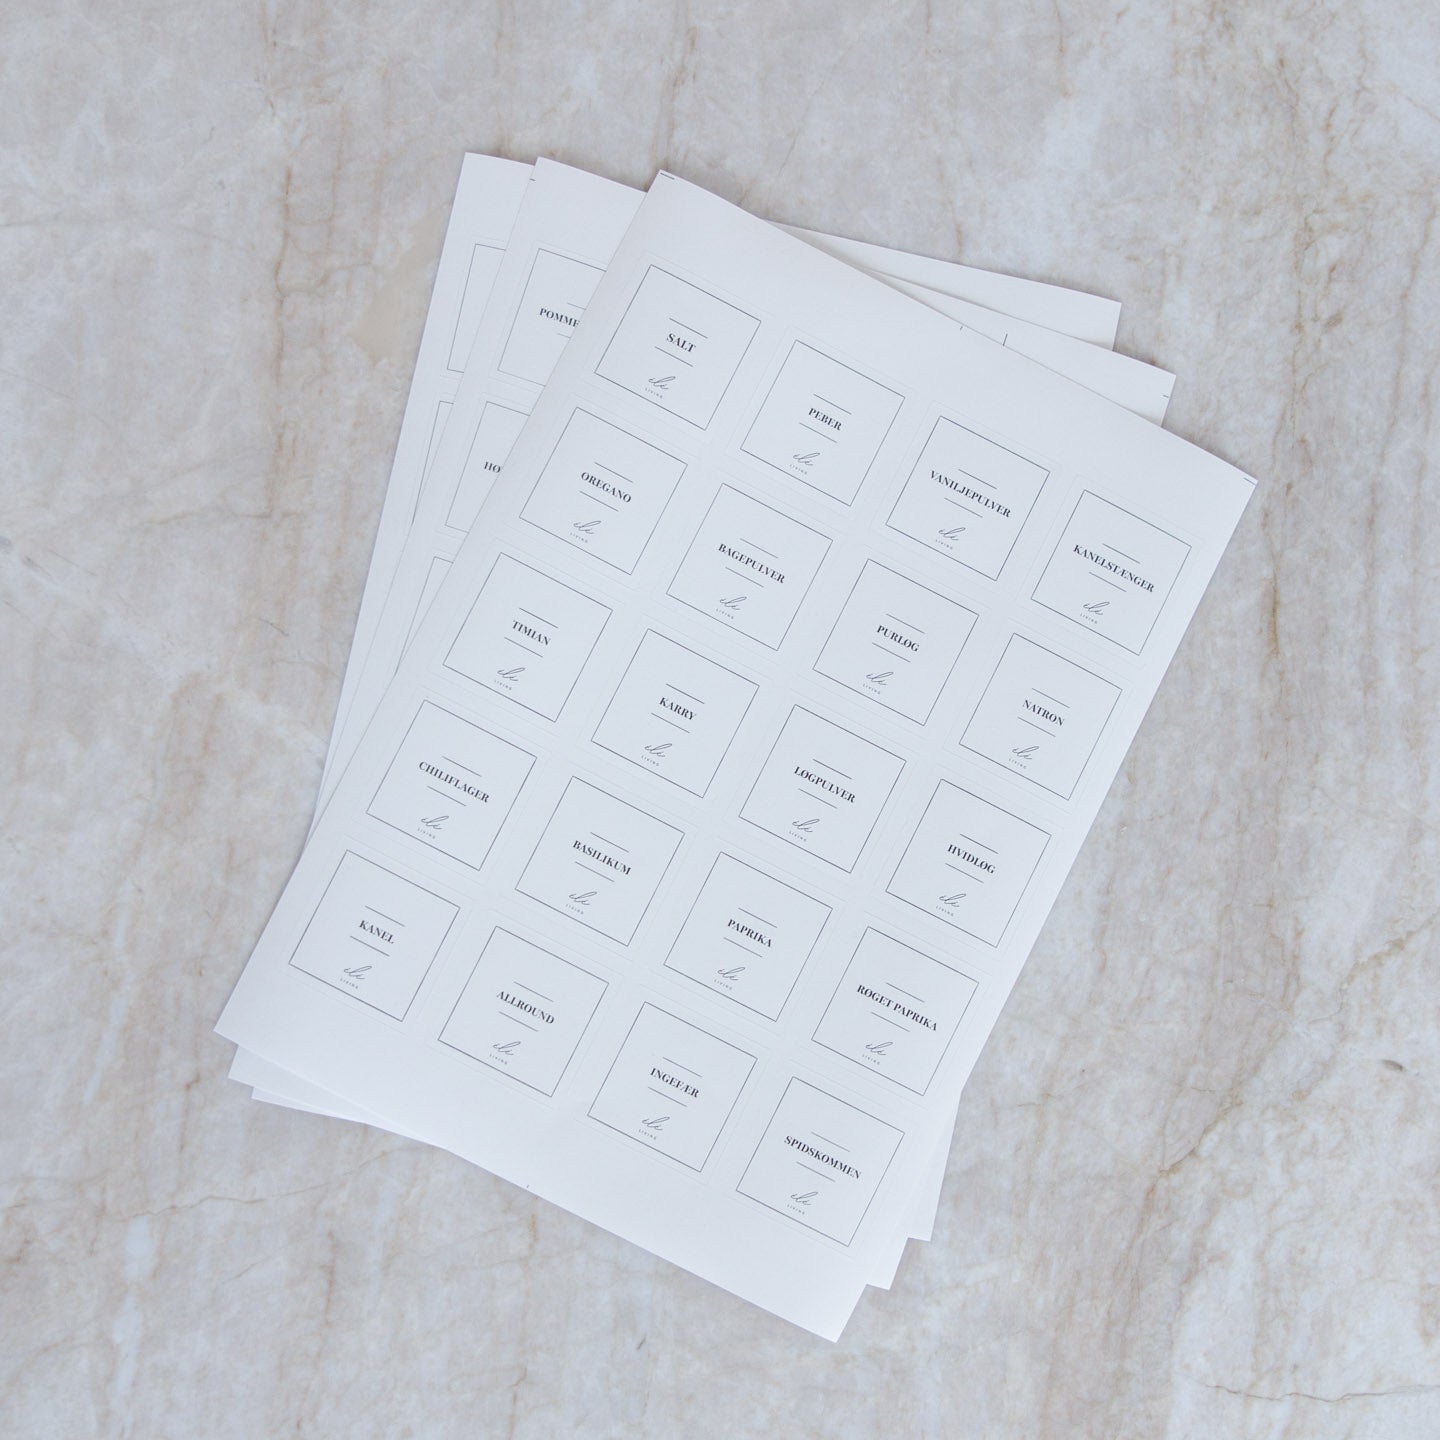
Label all jars with the product type and, if desired, the purchase date. This saves time and minimizes mistakes when items look alike. A simple choice is labels for dry goods, which creates a cohesive look and helps the whole family put things back in the right place. Write the product name, and if you are transferring from a bag to a jar, you can cut the preparation instructions from the bag and place them in the lid or in a small envelope in the cabinet.
Organizing Kitchen Cabinets
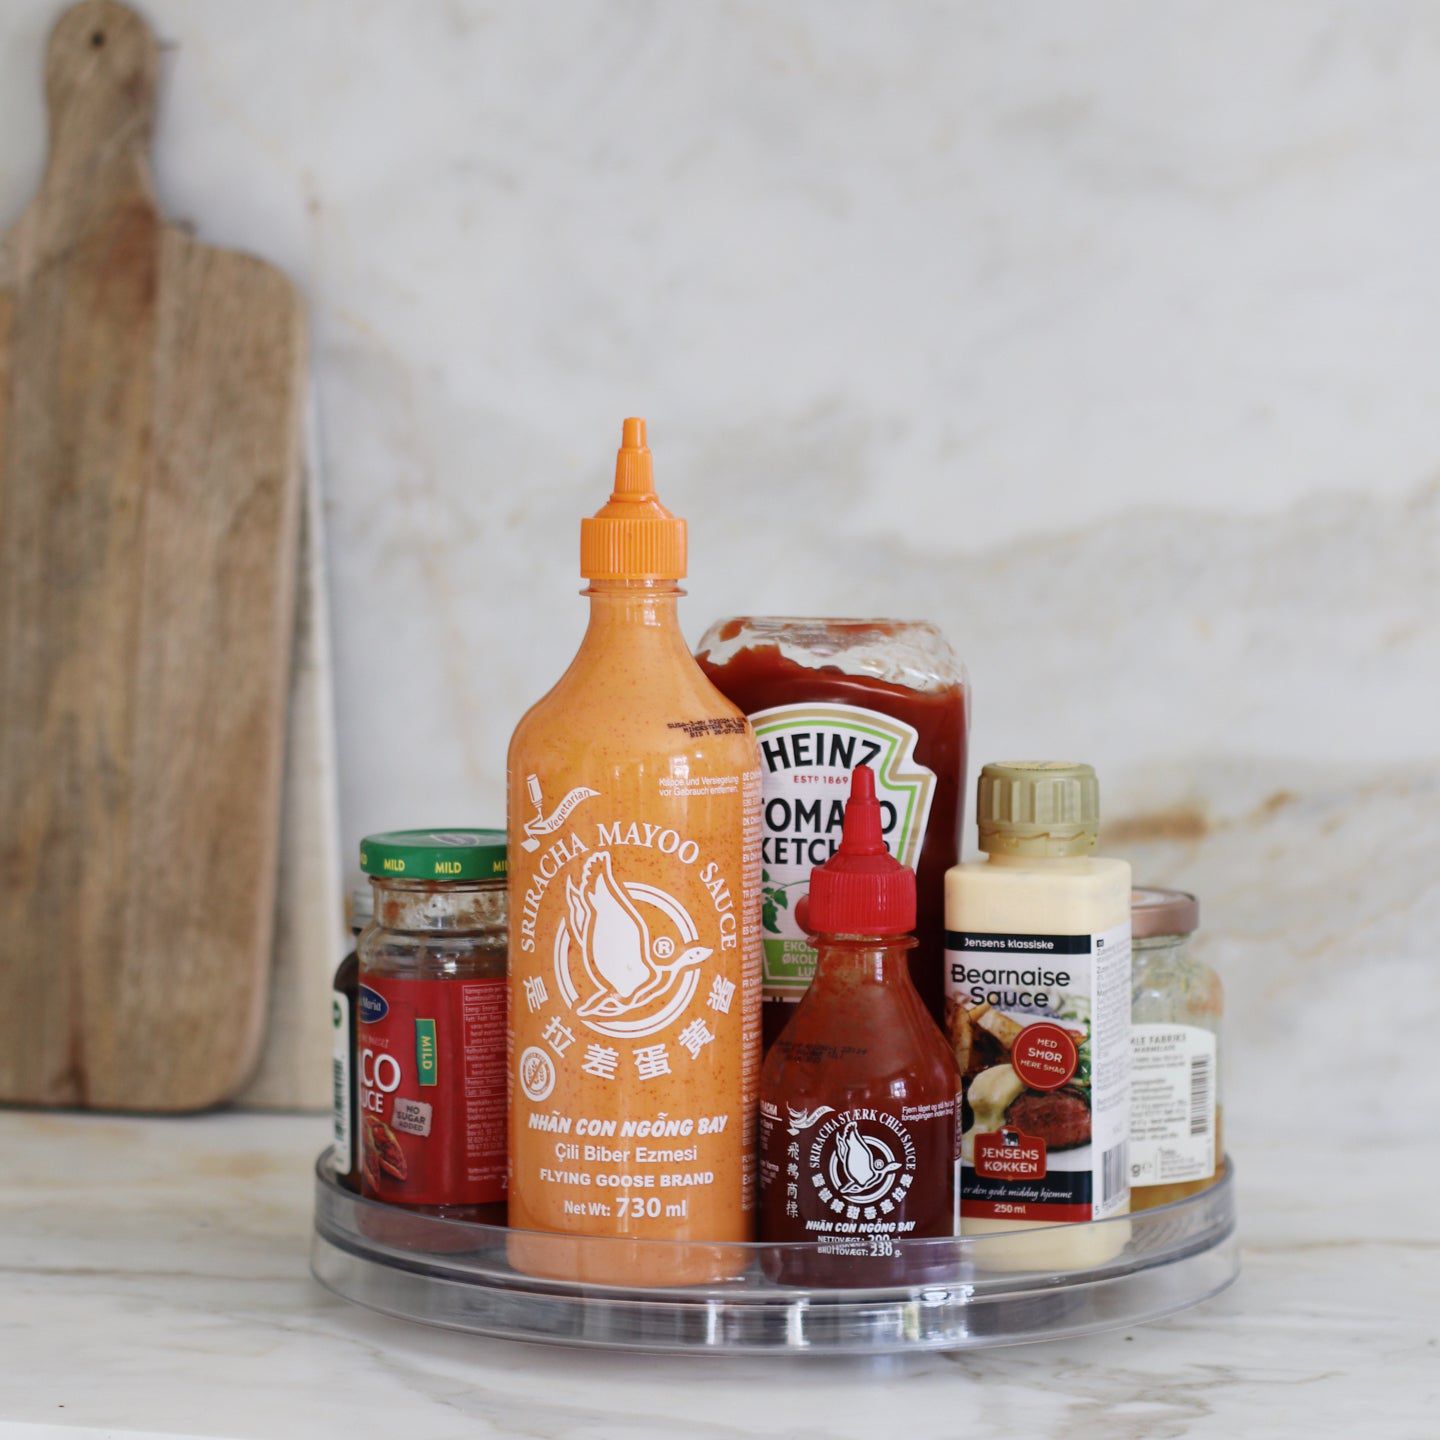
Place containers so they suit your routines. Things you use daily should be at the front and at eye level. Rice, pasta, and flour work well on the shelves you can easily reach. Smaller categories that would otherwise disappear at the back become more accessible on a wooden turntable - you simply turn it to reach the items at the back without moving anything else.
Choose what goes in the turntable
- Baking: baking powder, vanilla sugar, baking soda, small spice jars
- Breakfast: chia seeds, cacao nibs, coconut flakes
- Snacks: nuts, dried fruit, rice cakes in smaller jars
Step by Step
Empty the shelf. Sort into categories. Decide which quantities you want to have out in jars, and what can stay as a refill in a closed bag at the back of a box. Add labels, and group categories together. Finish with a quick photo of the setup - then it is easier to maintain the system.
Spice Storage
Spices keep best in a dark, dry place at a consistent temperature. Uniform spice jars provide an overview and make them easy to put away. Group everyday spices in one row at the front and special blends at the back or on a small stand. Note the open date on the bottom or label and use the oldest first. Avoid placing spices directly above the stove, where heat and steam can affect the quality.
Shelf Life and Placement
Dry goods thrive best in a cool, dry place away from direct sunlight. A cabinet away from the oven and other heat sources is ideal. Use the first in - first out principle: When you refill, pour the new goods at the back and move the older ones to the front. Keep large quantities in their original bags as a refill and fill jars as needed. This reduces clutter on the shelf because the jars always look roughly the same level. Store flour and grains in jars so they stand stably and are protected. Small grains and seeds in smaller jars make it easy to measure out without spills.
Once the system is set up, it only takes a few minutes of maintenance to keep the cabinet tidy. It creates calm, inspires you to use what you already have, and gives a harmonious look in the kitchen that is easy to maintain in everyday life.